Glass Etching Tutorial
Hi Friends, I wanted to share my glass etching project with you! I etched this vase for my Mom for Mother’s Day a couple of weeks ago. It was really easy (my kind of diy 🙂 The hardest part was deciding what to etch and making the stencil!

Okay, here’s what you’ll need:
~Vase/glass piece you’d like to etch
~ Etching Cream
~ Clear contact paper
~ X-acto knife
~ Cutting mat/board
~ Piece of paper
~ Pencil
~ Sharpie marker
~ Tape
~ A paint brush

Step One: Measure your glass piece (a vase in my case) to see how big your
contact paper and stencil should be. I don’t have a picture for this step, sorry :/
StepTwo: Decide what you want stenciled on you glad and draw it on a piece of paper. Go over it with a sharpie. A note about choosing your image: simple images work better since you are making a stencil and applying it to the glass. Getting too intricate can make it tricky! I chose a branch with birds to wrap around the vase.

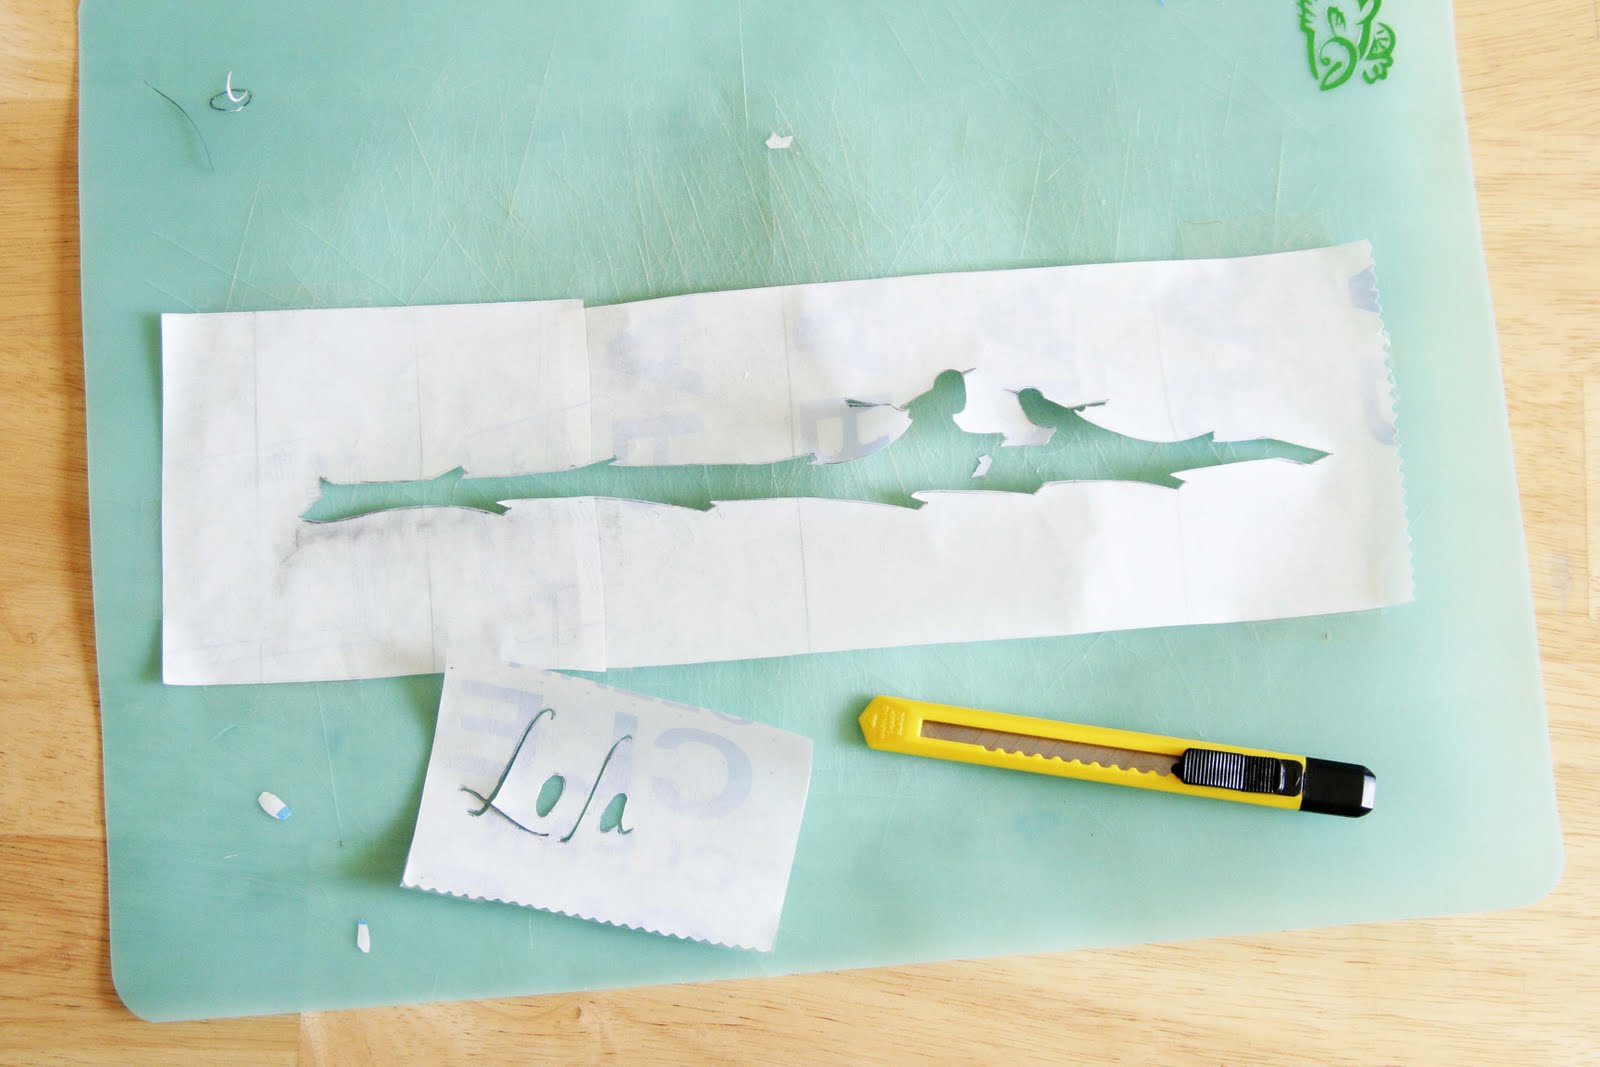
Step Three: Place your contact paper (paper side down) over your image and trace. I added the word “Lola” to the bottom of my Mom’s vase because that is what my boys call her 🙂

Step Four: Cut out your stencil. Make sure you keep track of all the
little pieces so you can use them later! I used tape to make sure nothing moved while I traced.
Step Five: Remove the paper and apply the contact paper stencil where you want it on the glass. It’s hard to see in this picture, sorry. Make sure you start with a clean, non-greasy surface of glass and that you get rid of air bubbles when you apply the stencil.
Step Six: Apply a thick and even coat of the etching cream to the stencil.
Let it sit for 5 or so minutes. Make sure you are in a well ventilated area.

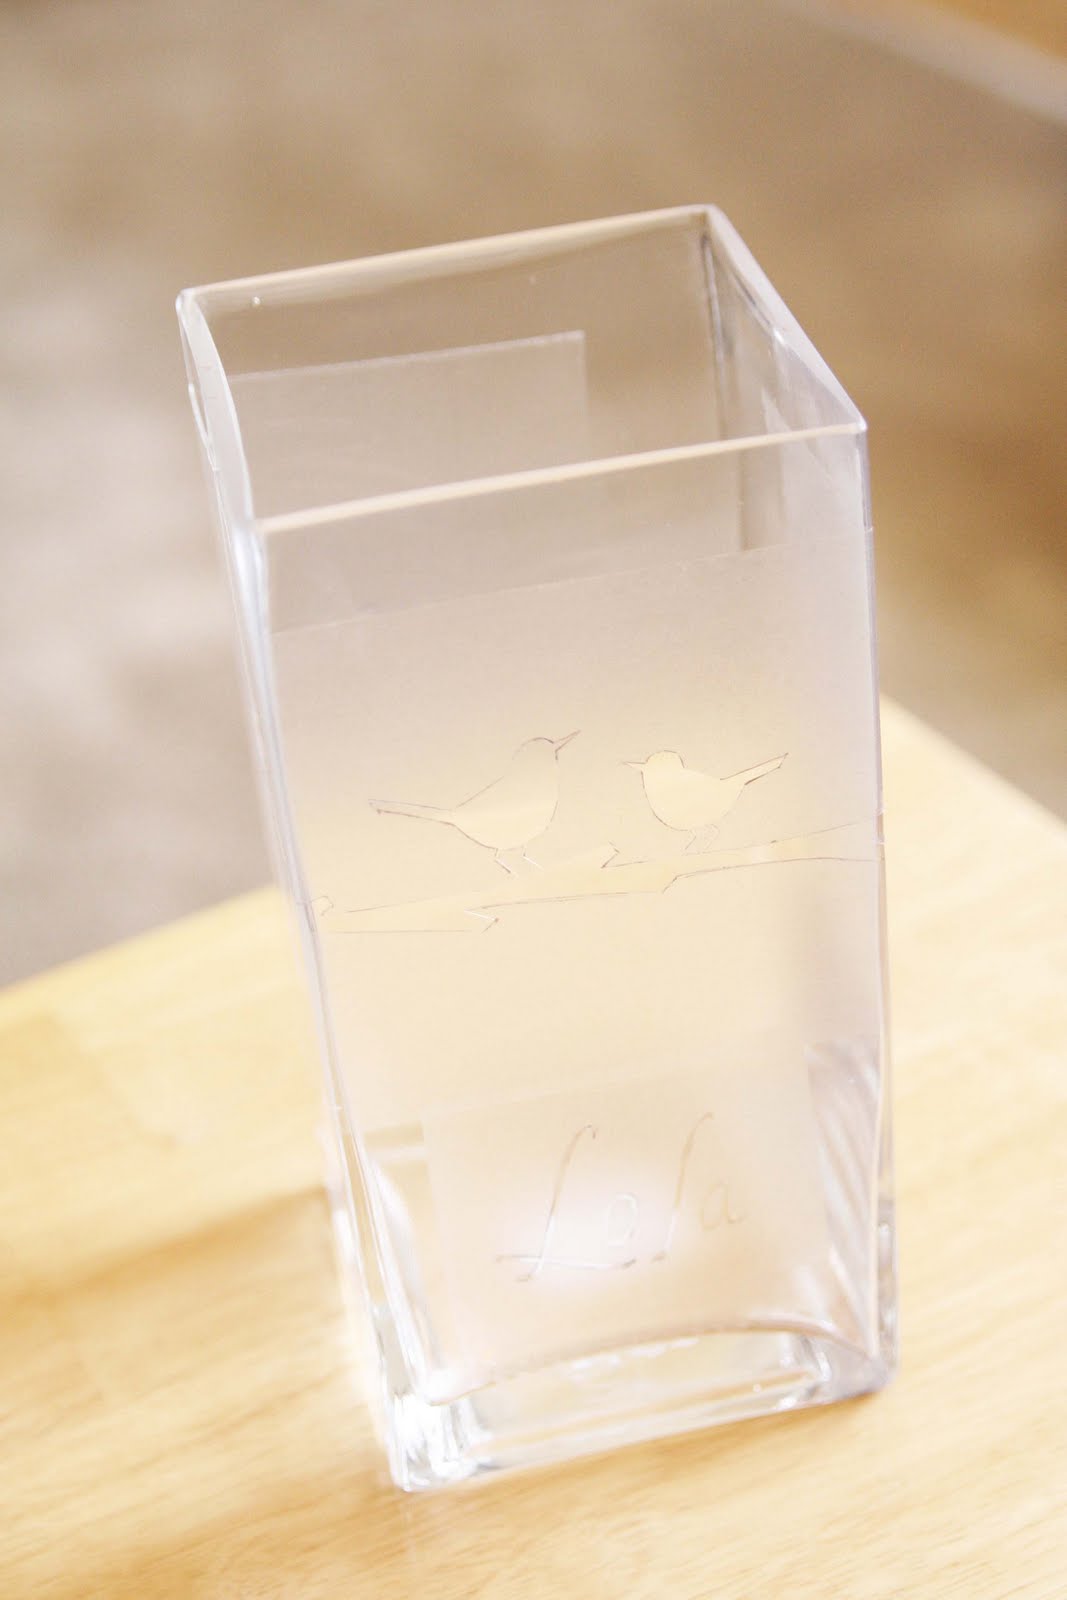
Step Seven: Rinse etching cream off with warm soap and water
(before removing stencil) and vio-la!!
My Mom liked her vase, especially because my Dad filled it with roses for Mother’s Day 🙂