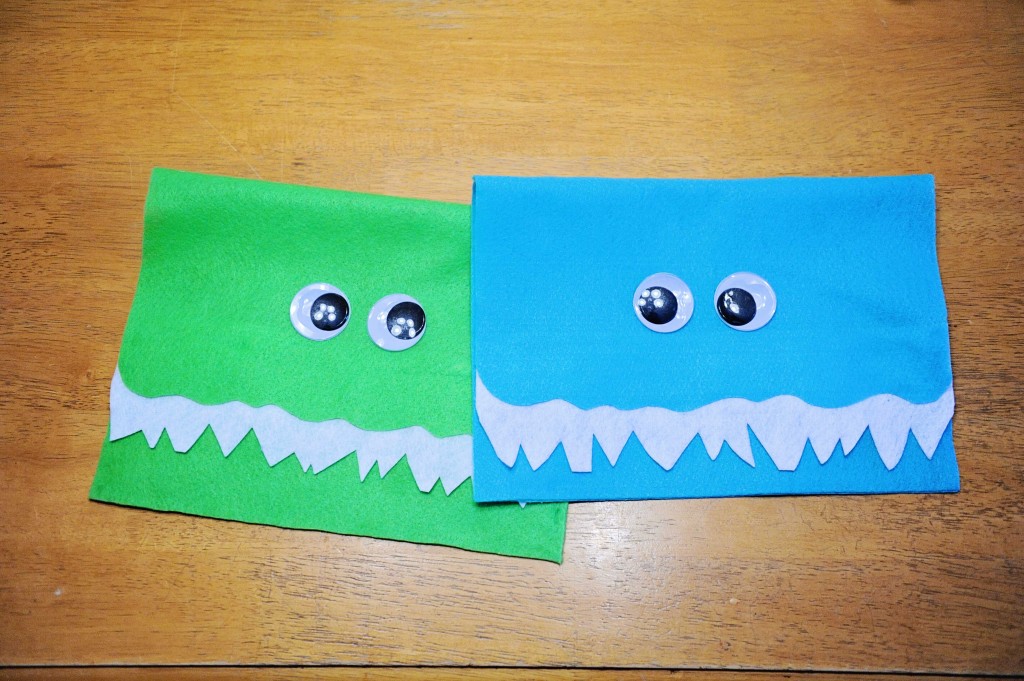
diy – valentines monster envelopes
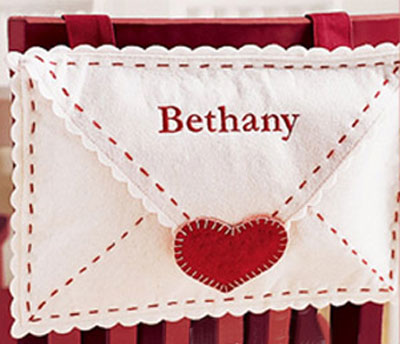
hello friends! recently i’ve seen some buzz about these valentines envelopes from pottery barn kids. super cute right? i think people attach them to the back of their kiddo’s chair and place sweet notes or other fun surprises in them on days leading up to valentines. it’s like an advent calendar for valentines day! well, in thinking of what to do for the boys, i thought i’d try to recreate the idea, but with a design that might appeal a little more to them!
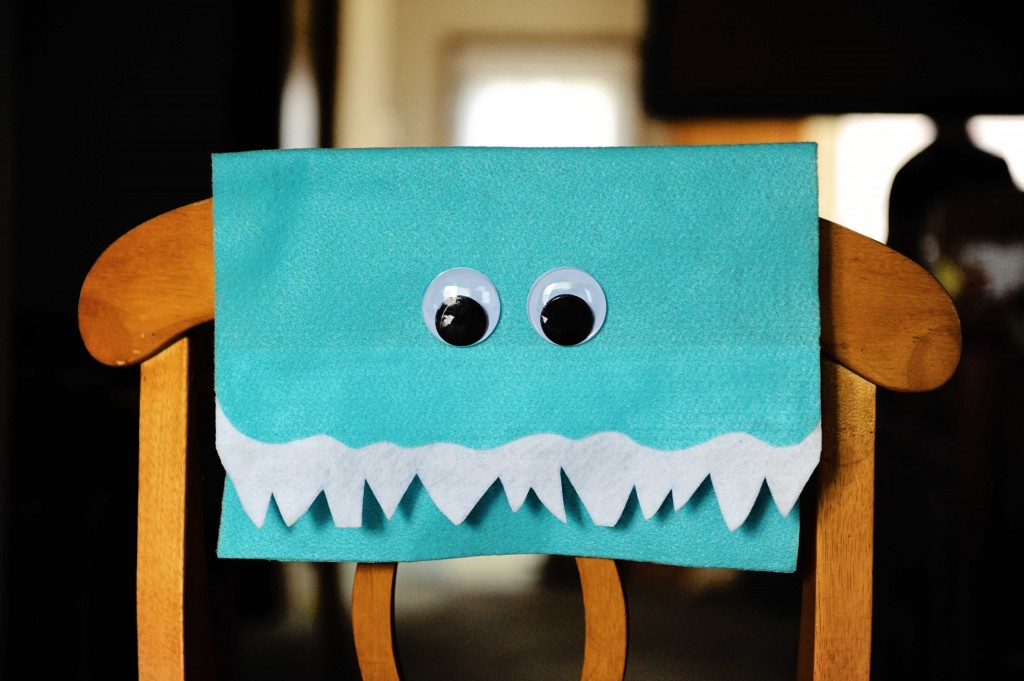
so i made each of my monsters a giant monster envelope!! i think these could be cute for girls too, maybe with a little bow on the side? i’m always about deviating a little from the traditional i guess 🙂 anywho, i thought i’d put together a little tute for you just in case you wanted to make some for your little ones! (warning: there are lots of pictures. there won’t be any guessing in this tutorial!)
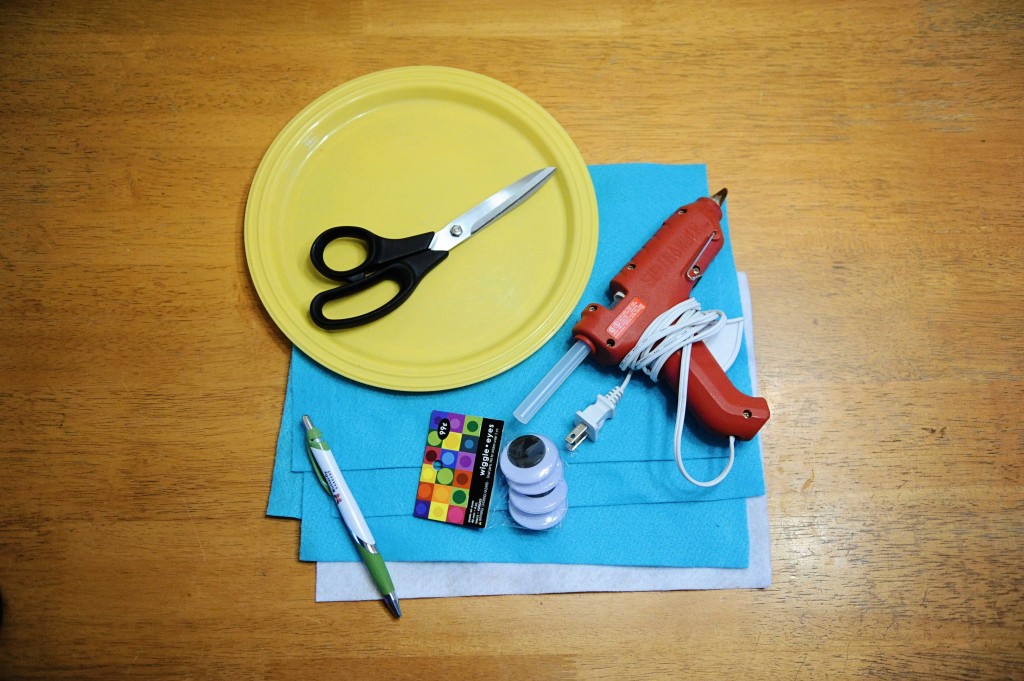
okay, here’s what you’ll need:
- 3 (8.5 x11) sheets of felt in the color of your choice
- 1 (8.5 x11) sheet of felt in white (i got my felt from hobby lobby: 4/$1 – yay!!!)
- wiggly eyes (i got the biggest size – 4 eyes for $2)
- glue gun & glue
- plate
- scissors
- pen
- 6 inches of velcro (not pictured, sorry 🙁
okay, ready? here we go!
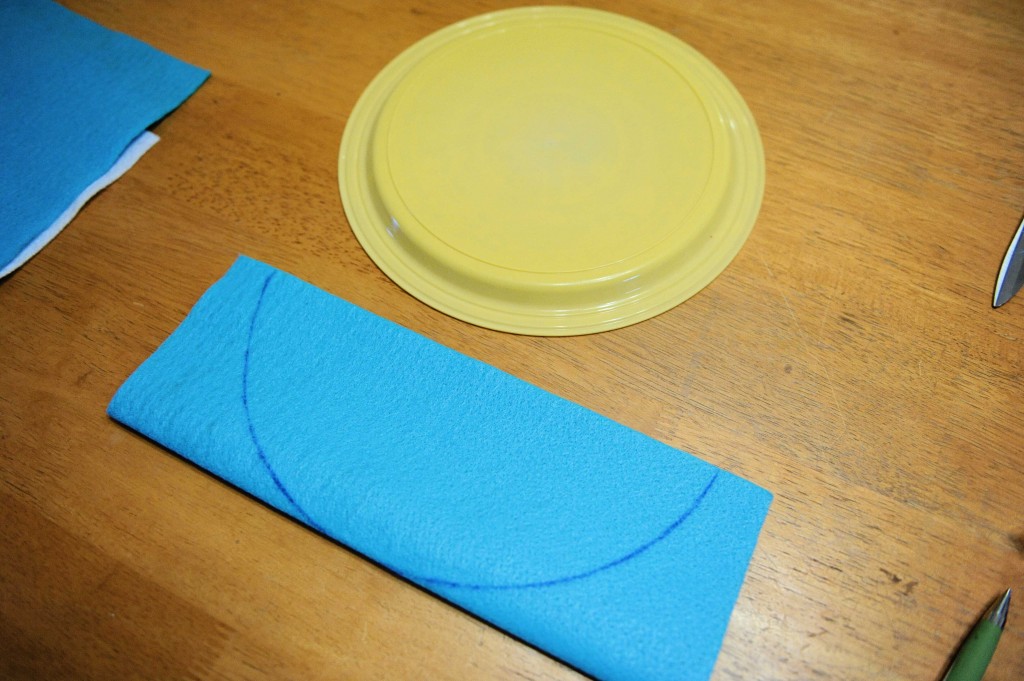
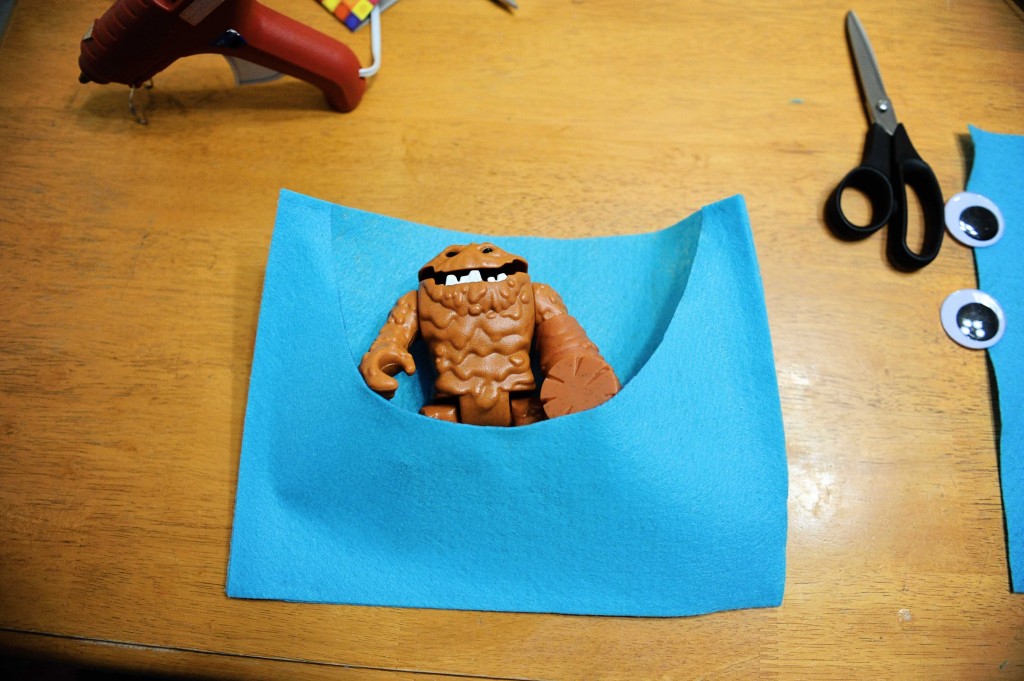
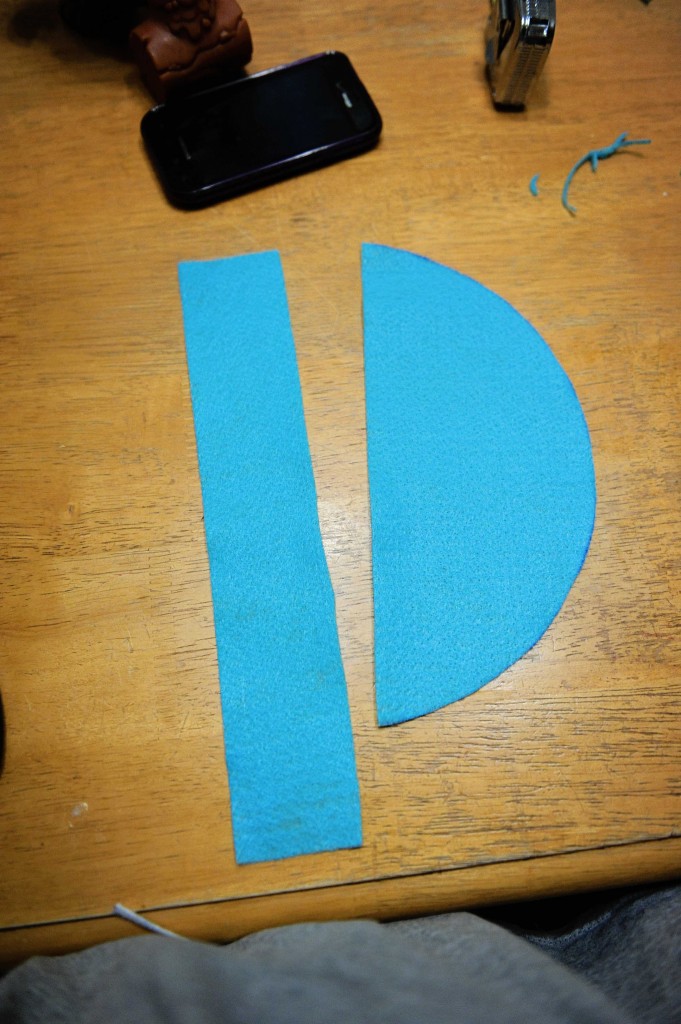
first, fold one colored felt sheet in half. place the plate to the folded edge and trace around it. you should have some space on each side.
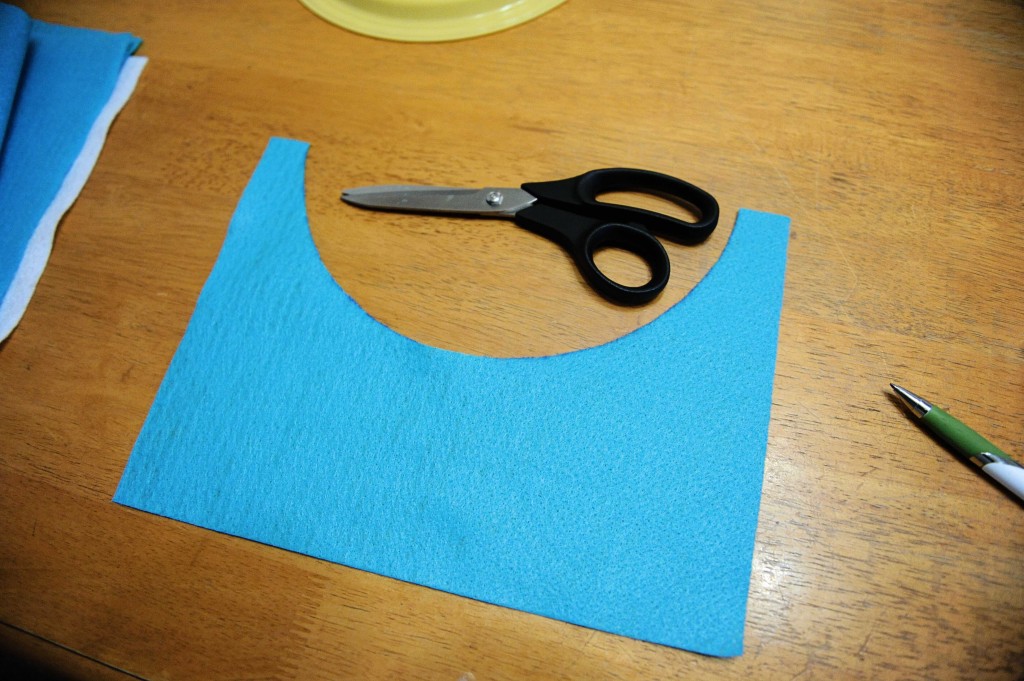
open the sheet and cut out your traced half circle. make sure to unfold the sheet before cutting!
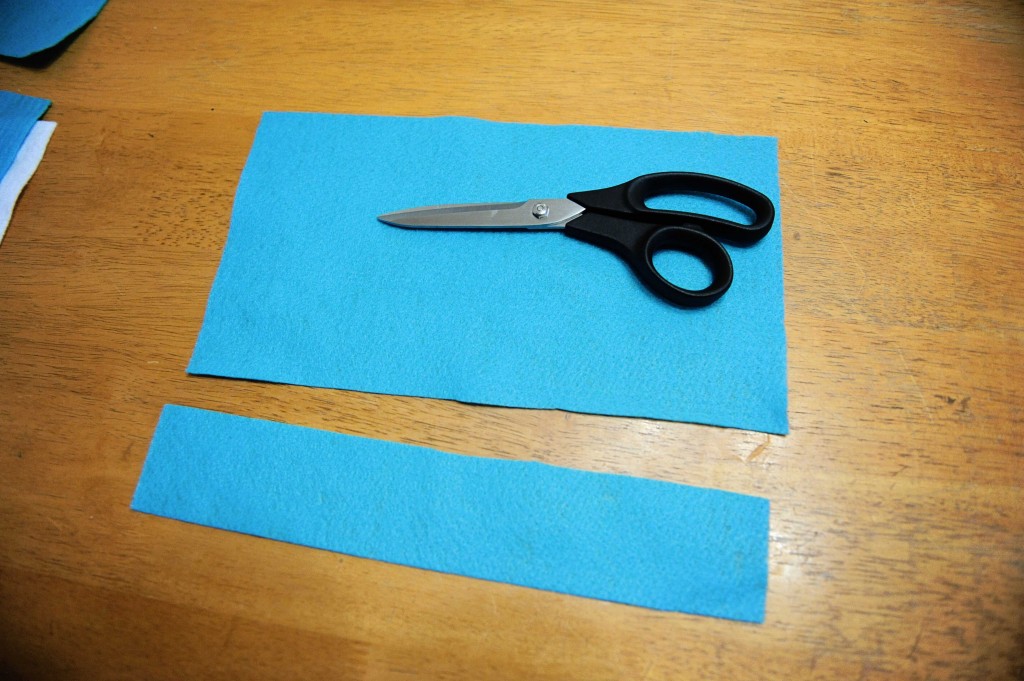
take another piece of the colored sheet and cut a 2.25″ strip off the bottom
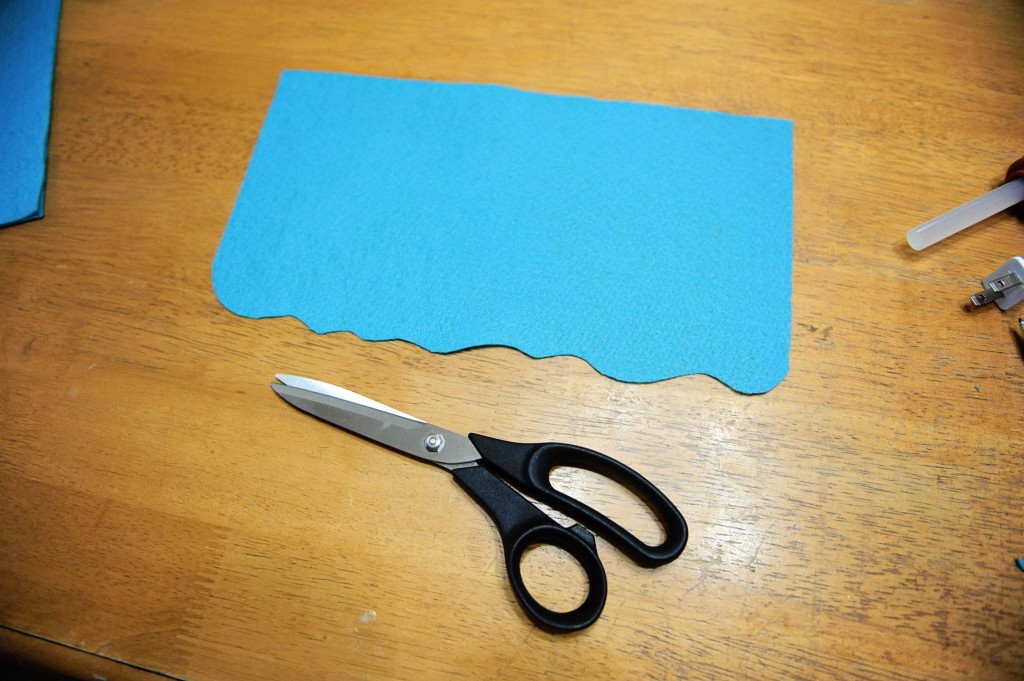
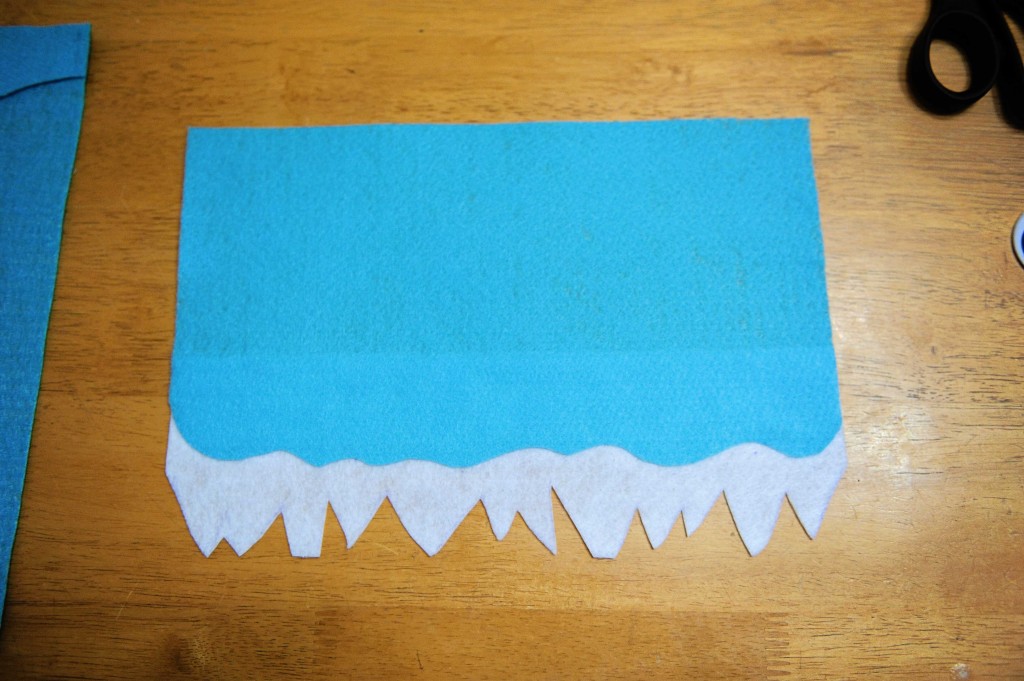
use your scissors to cut a wiggly edge into the bottom. this should not be super uniform, but try to keep all your curves within about an inch or two of each other. this will be the monster’s upper lip.
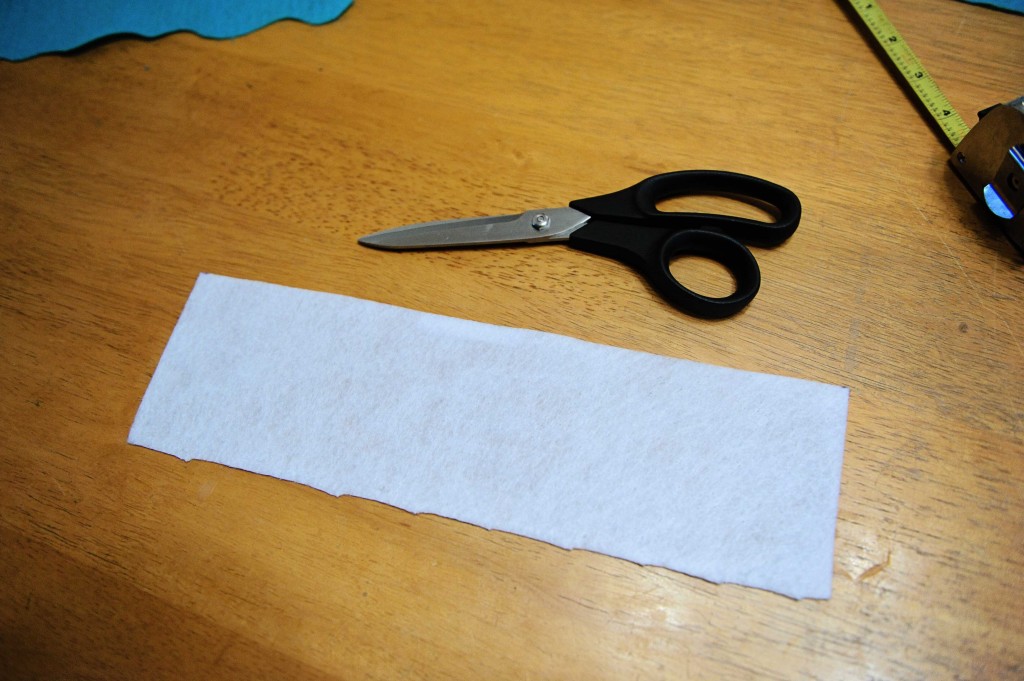
okay, cut a 3.5″ strip off of your white piece of felt
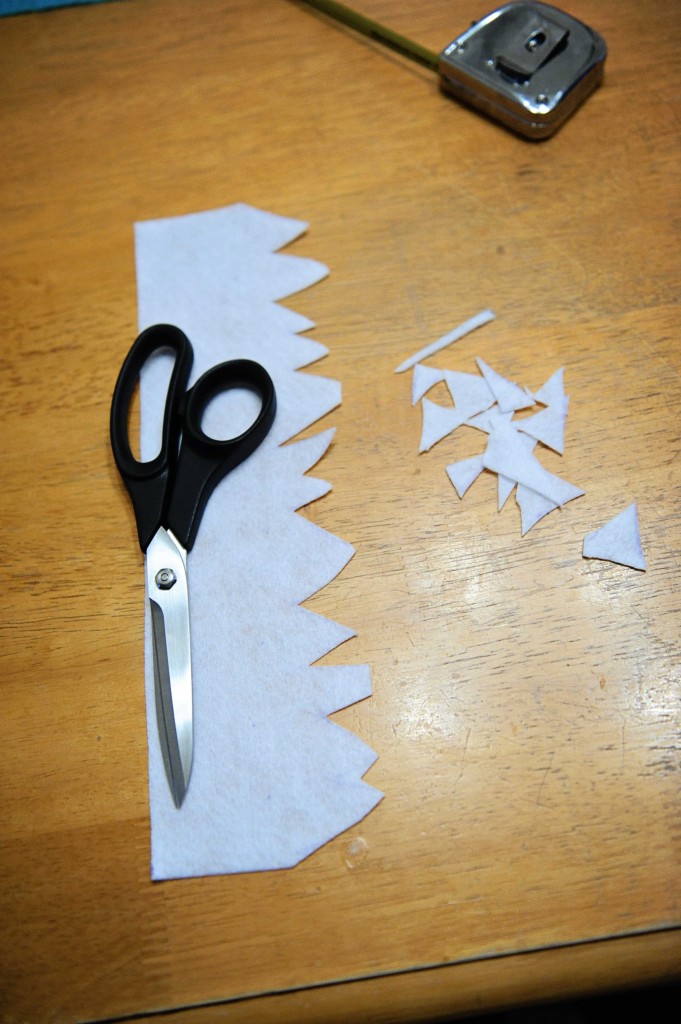
use your scissors to cut teeth into the length of one side. make sure cuts are within 1.5″ of each other
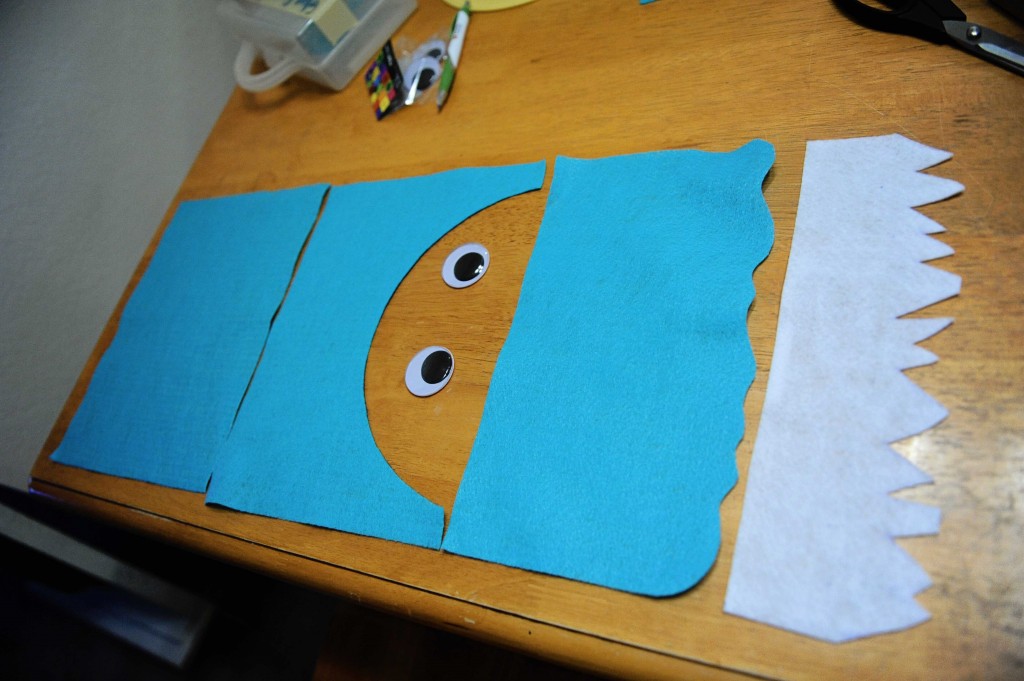
now you’re ready to start gluing! here are all your pieces so far:
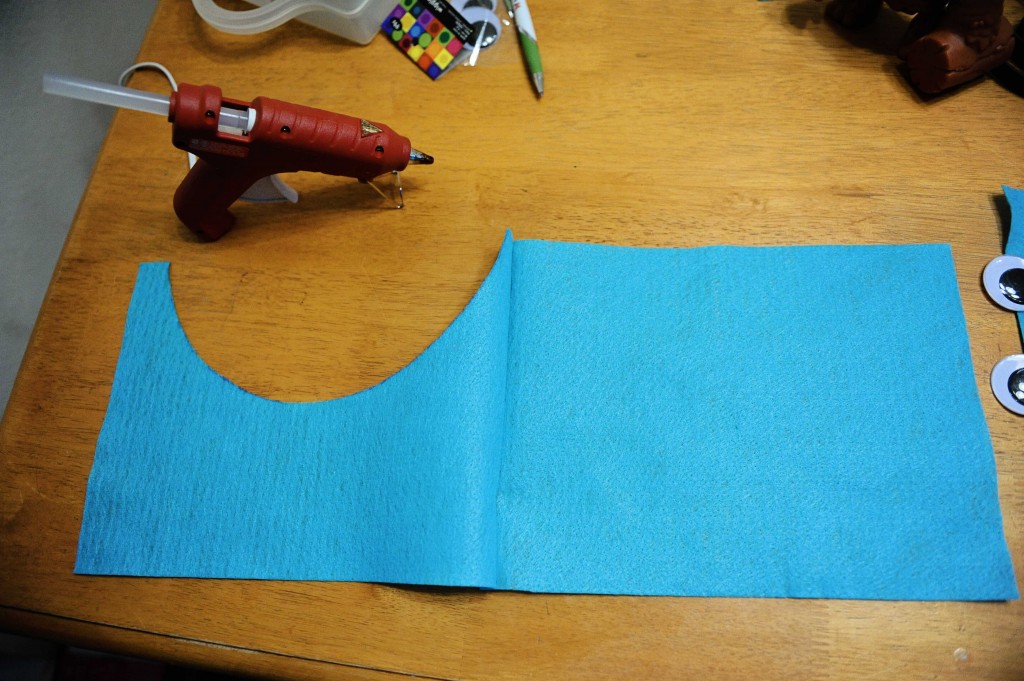
start gluing one side at a time. glue all edges except the inside of the half circle
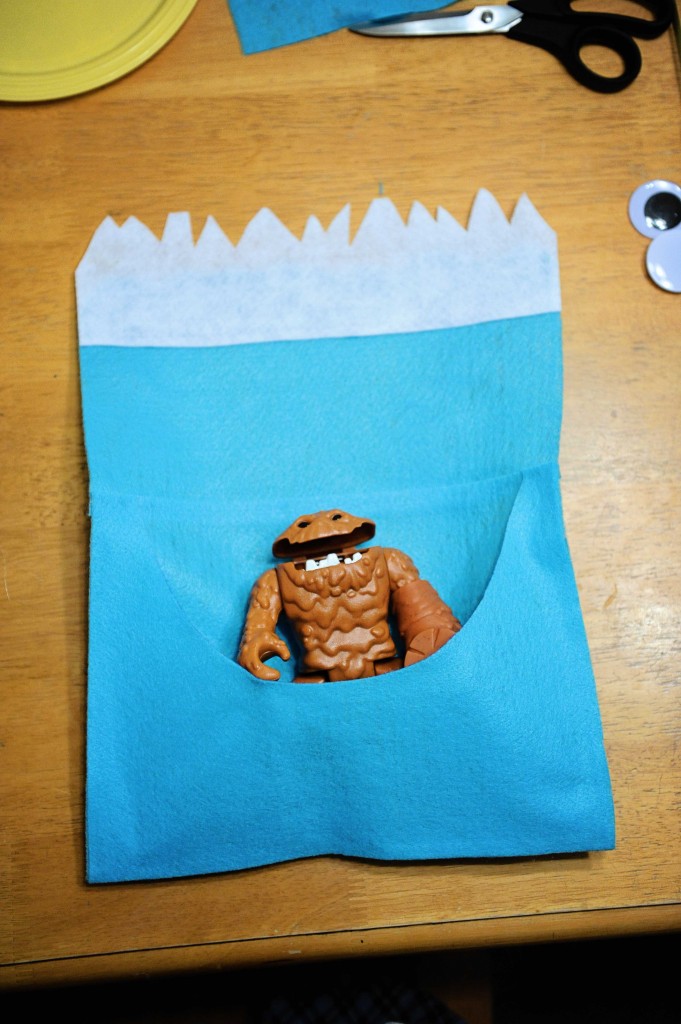
here’s what it should look like when you’re done gluing. this is the back piece of the envelope. clay face offered to demonstrate the pocket for me 🙂
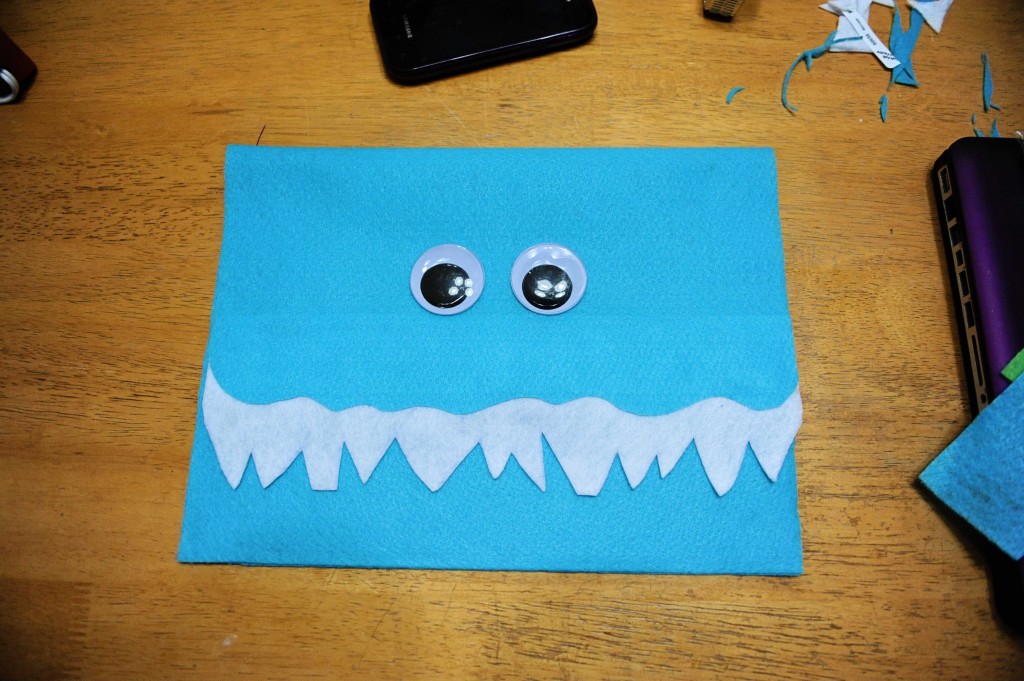
now glue your teeth to your monster’s upper lip. this will be your front piece
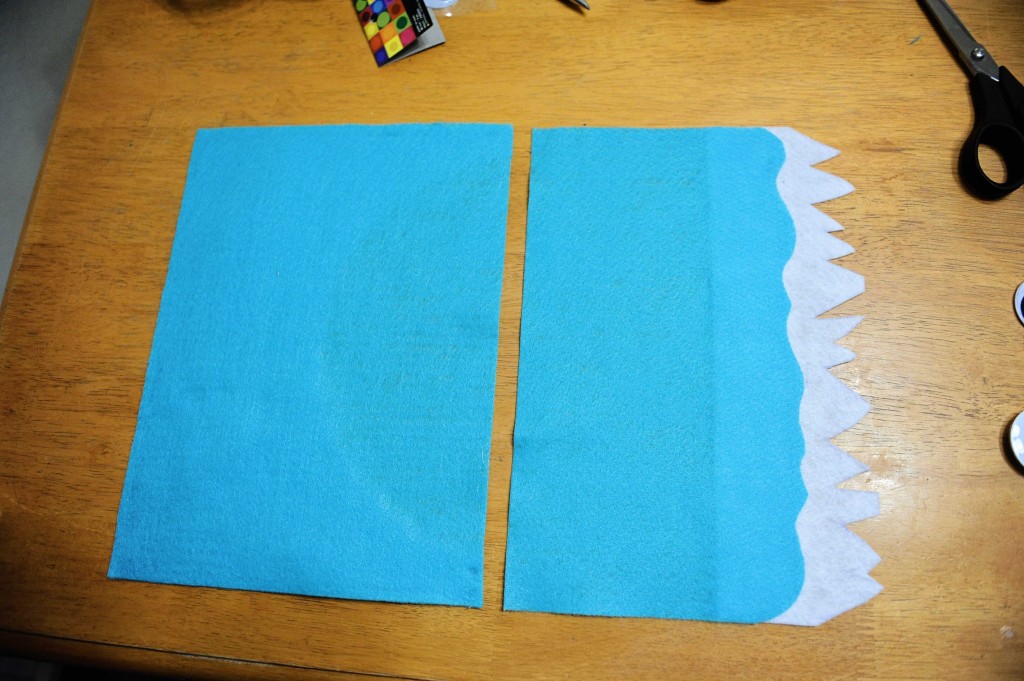
alrighty, lay your back piece with the pocket facing downward (like the left piece). lay your front piece beside it with the teeth underneath the lip. glue 1/2″ of the edge of the front piece over the edge of the back piece. the front should overlap the back.
here’s what you have when you turn it over (inside of the envelope). thanks again clay face 🙂
fold the front piece down and glue on the eyes.
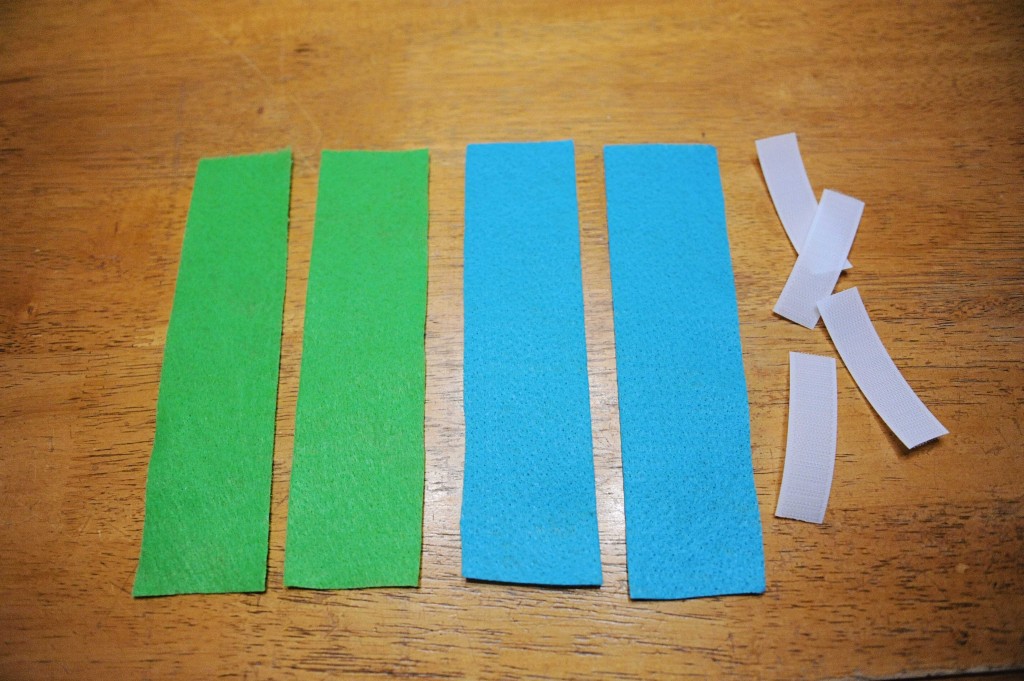
okay, now all you’ve got are the strips in the back to attach it to the chair! use your scrap pieces and cut out two strips. they don’t have to be exact, but mine were about 2″ x 6″
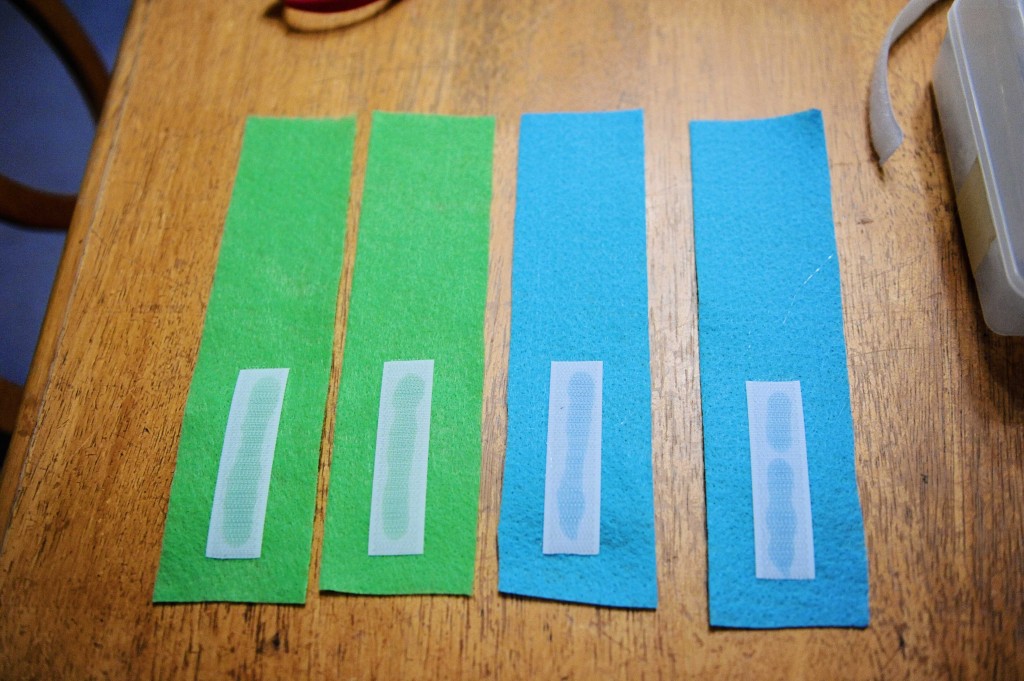
cut 3″ strips of velcro. you’ll need two for each envelope (i made two envelopes). you’ll only be using the spiky side of the velcro (there’s probably a technical term for that, right?)
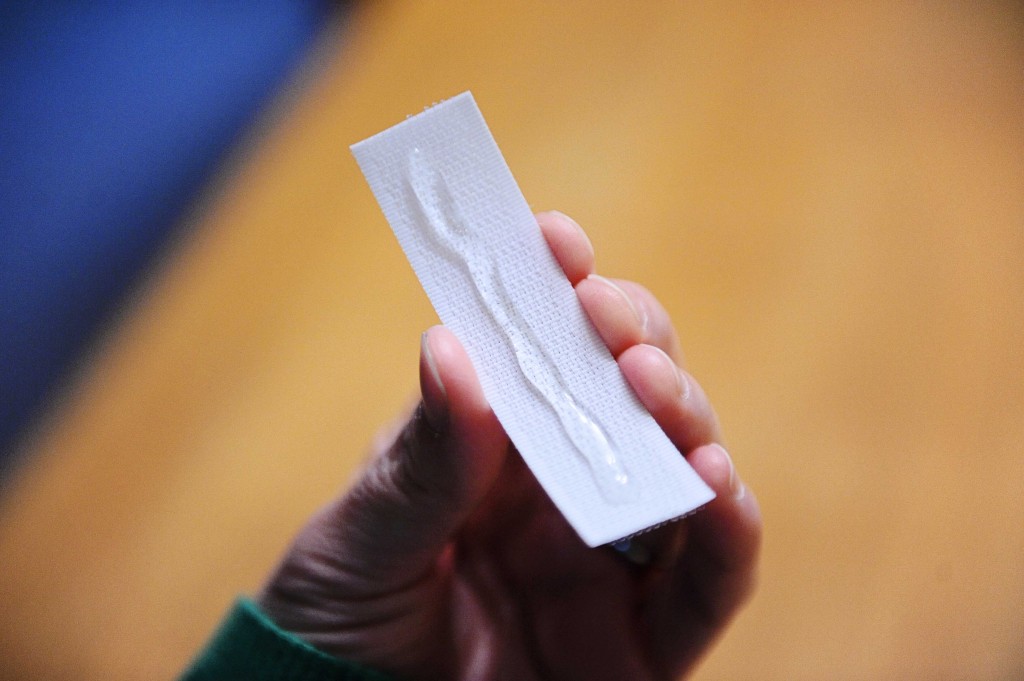
almost done! place a strip of glue down the length of the back side of the velcro strip and attach to one end of your colored felt strip.
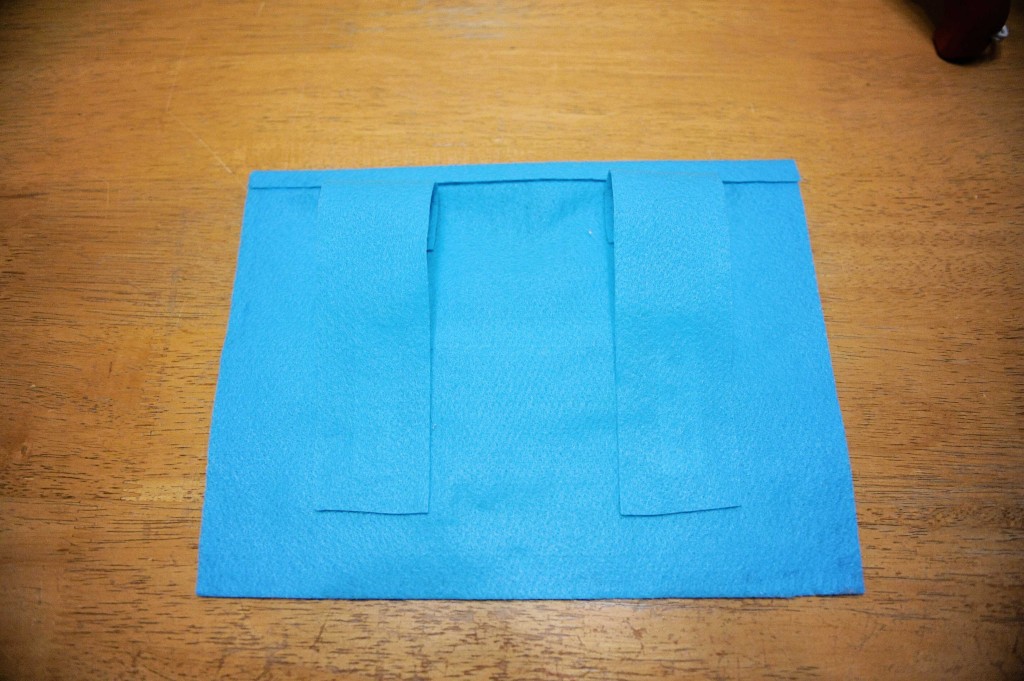
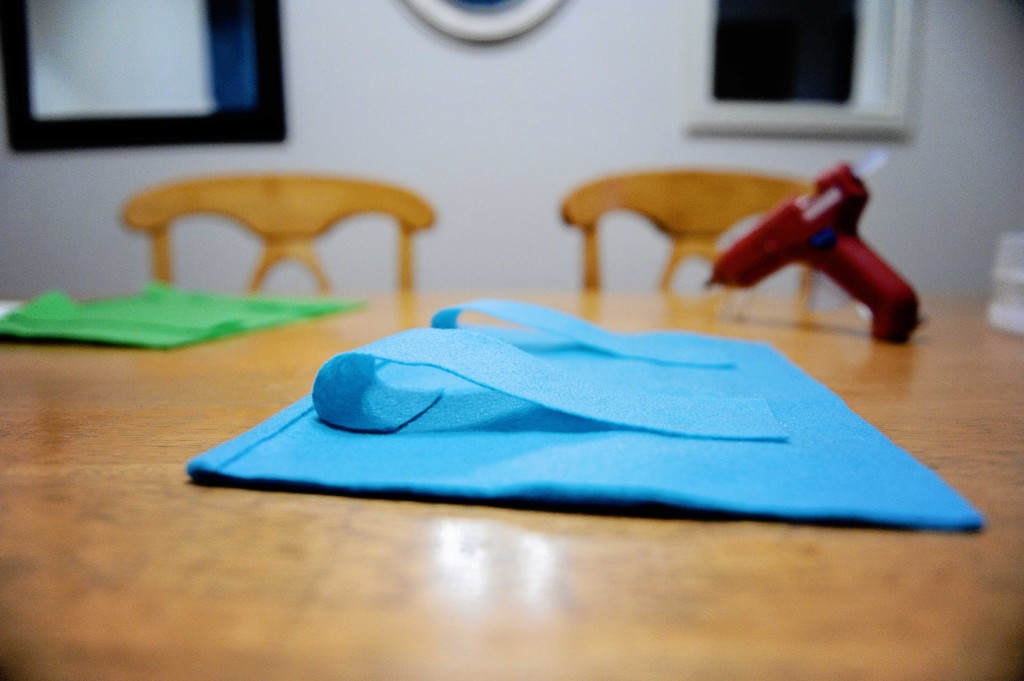
now to attach your strips. lay your strips on the back of your envelope with the velcro side towards the bottom. curl the top of your strip under and glue in place.
here’s a side view
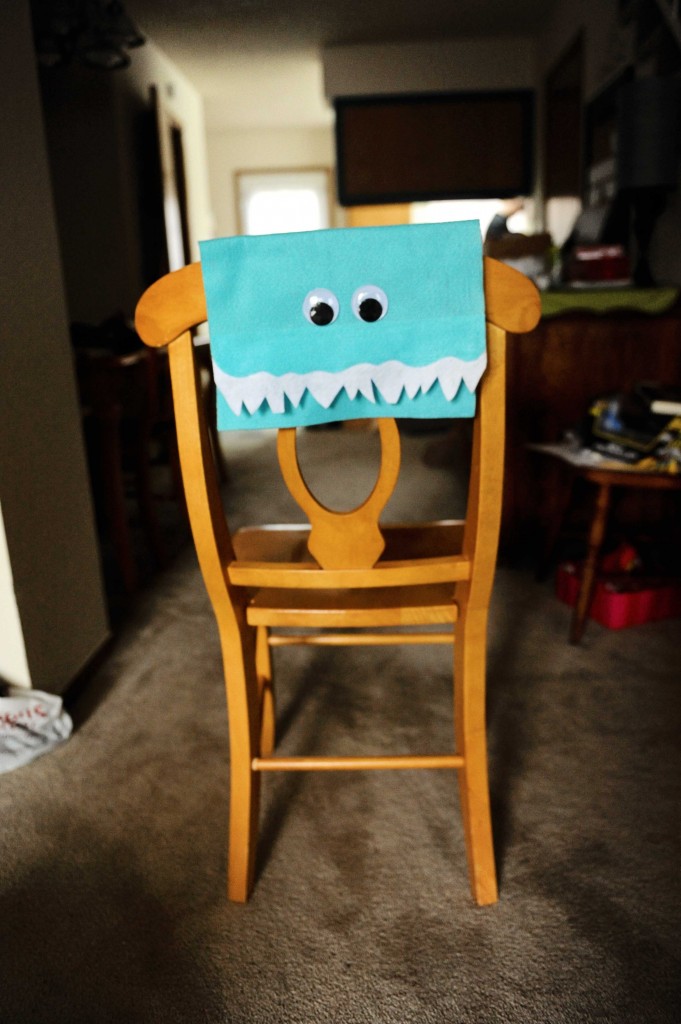
okay, attach to the back of your kiddo’s chair and admire your craftiness! i think we’ll actually put ours on our stair railing 🙂
here are the two i made. my plan is to put a fun surprise in them each day of valentines week! super fun! and i’m excited that i can use these again next year! these each cost me under $2 to make, which is for sure less expensive than pottery barn 🙂 i think you could use these for any occasion – birthday week, even as a party favor bag at a birthday party (maybe make them smaller?) that would be fun, each kid’s chair with a monster envelope just for them!
okay, hope you have fun making your own monster envelopes! if you do, send me a picture; i’d love to see them!
