day 15 + a tutorial
~ day 15 ~
It seems like such a short time ago, my babies were actually babies, tiny and immobile and completely dependent. And now look at them! They’re so big! (and not really babies anymore 🙁 They’re talking and running and learning and growing! They’re incredible little men with thoughts and personalities of their own!
What’s most amazing to me is that I have no idea how that actually happened! I mean, I watched them grow and understand about things like cell reproduction, etc. But it’s the Lord that makes their bodies work, causes all the intricate parts of their eyes and ears and hearts and brains and muscles to function – that’s incredible to me!! How can anyone doubt that we are fearfully and wonderfully made?
Okay, so today I am thankful for the Lord’s amazing design, and that He causes us (and everything else!) to live and grow.
And to go along with that, I wanted to share a fun tutorial with you. Many of you have probably seen this floating around the web, but a couple weeks ago, we tried this fun science experiment – growing pumpkins in a pumpkin! The season for picking out pumpkins is pretty much over, but if you’re wanting to give it a try, here’s what you’ll need:
– a pumpkin
– a knife to cut out the stem
– potting soil
-water
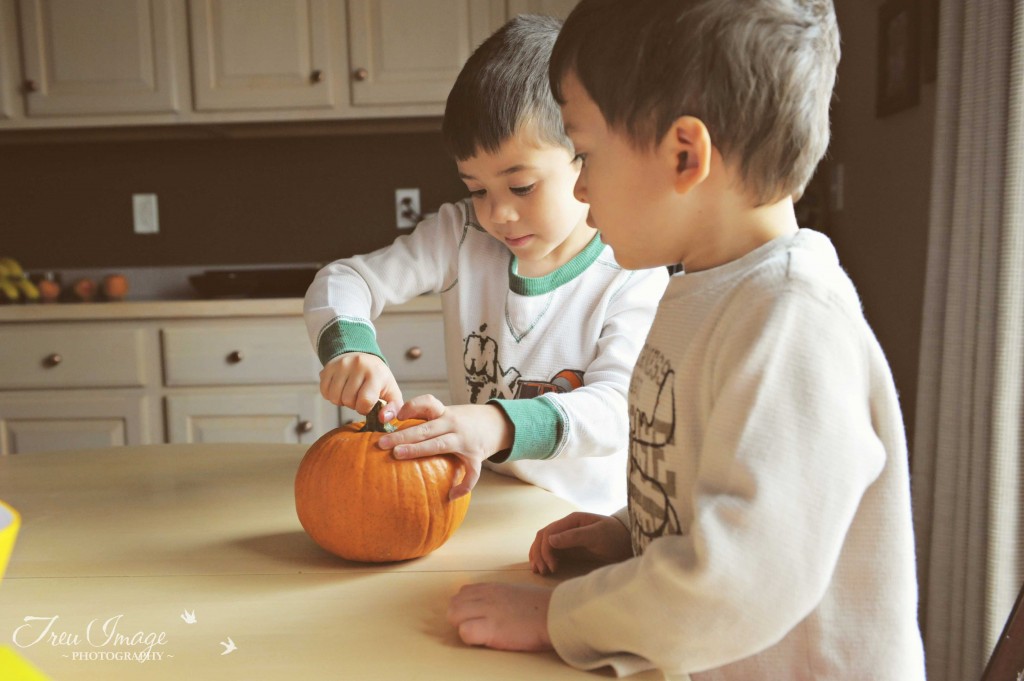
Step 1: Take your pumpkin (we used a small one, not sure how this would work on a bigger pumpkin since the sprouts have to grow up through the soil) and cut out the stem. This is pretty much like you would if you were just going to carve it, but cut straight down instead of at an angle towards the center. You won’t be putting the top back on, and the sprouts need room to grow up through the opening.
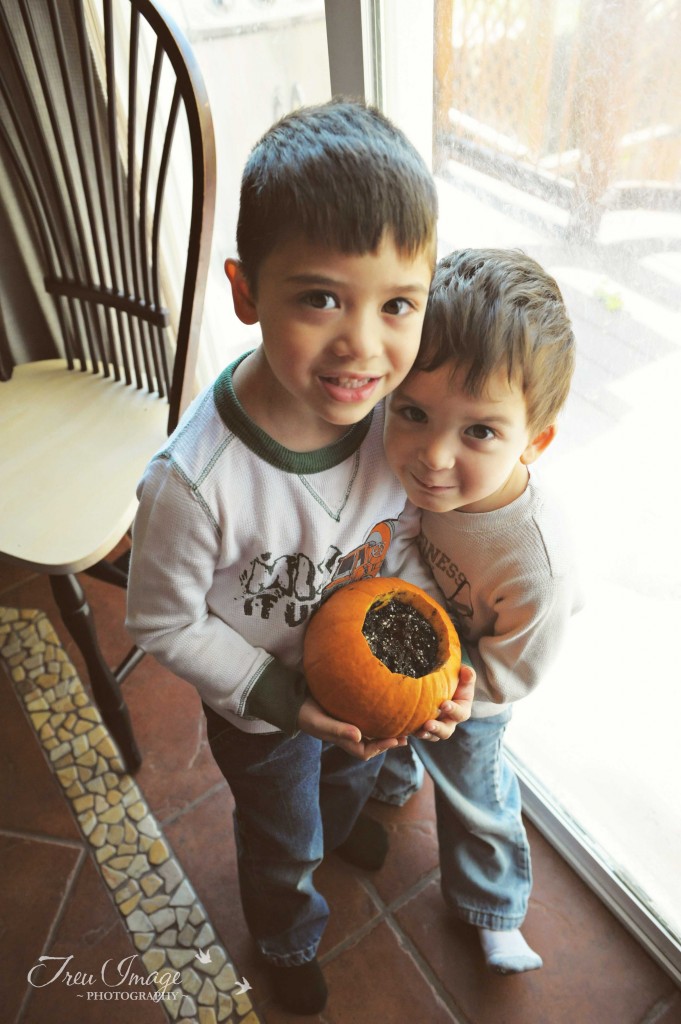
Here are the boys with our little pumpkin. Ethan is excited while I’m pretty sure Silas is wondering what time it is in Japan. Seriously, he asks all the time, so he can figure out if the ninjas are sleeping or not 🙂
Okay, no picture of me cutting the top off because, well, my hands were busy. Please be super careful though, when doing this. Cutting into the hard outside of a pumpkin while little ones are up close makes me nervous :/
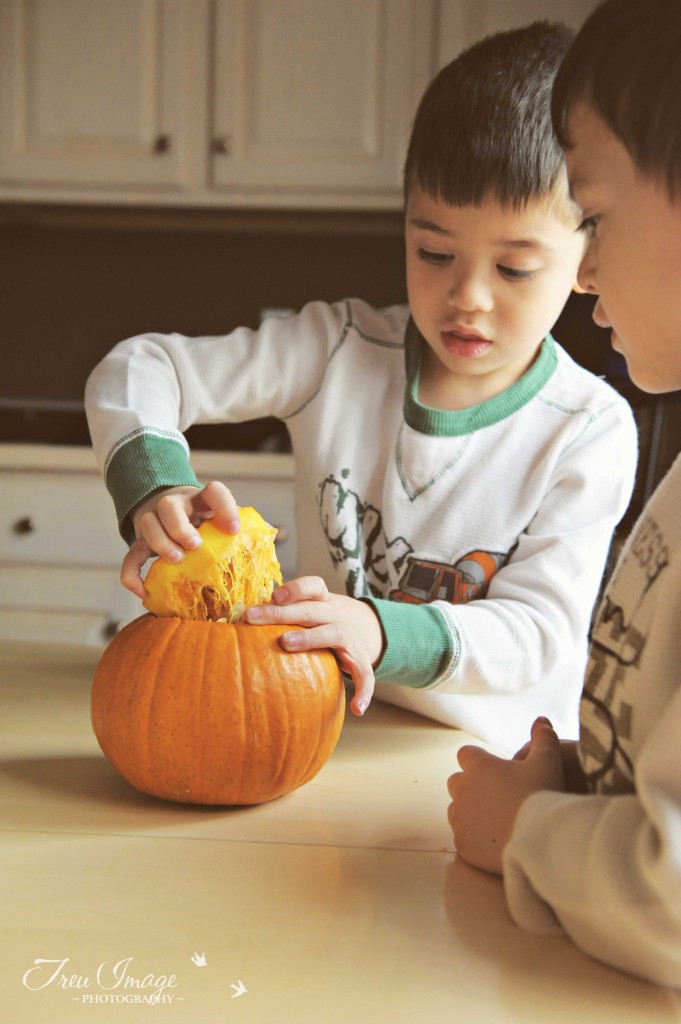
Step 2: Remove the top of the pumpkin and discard.
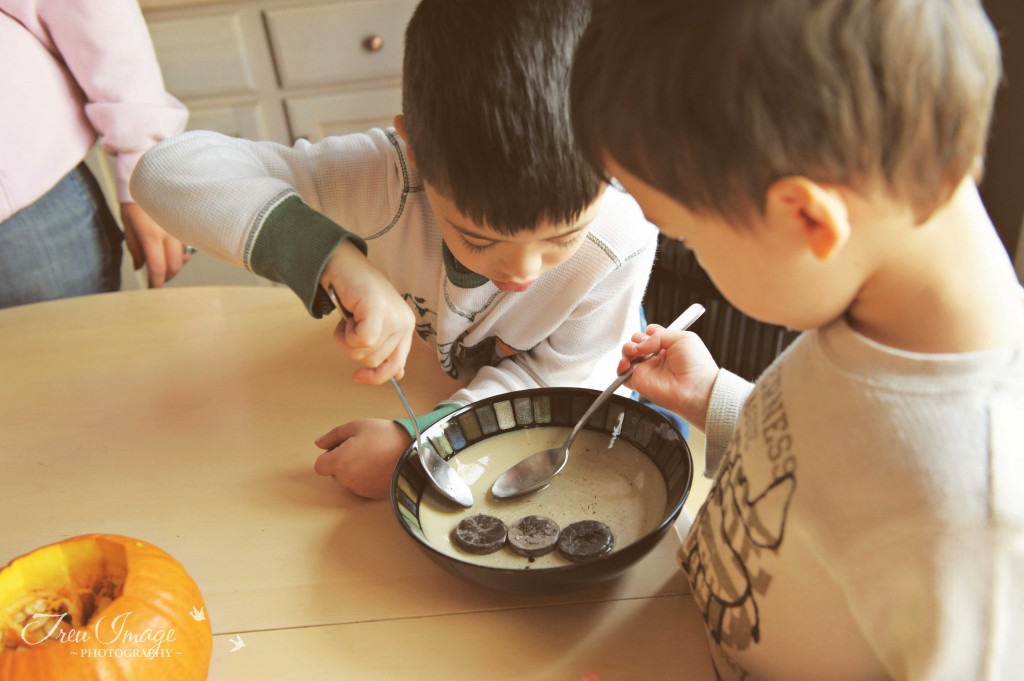
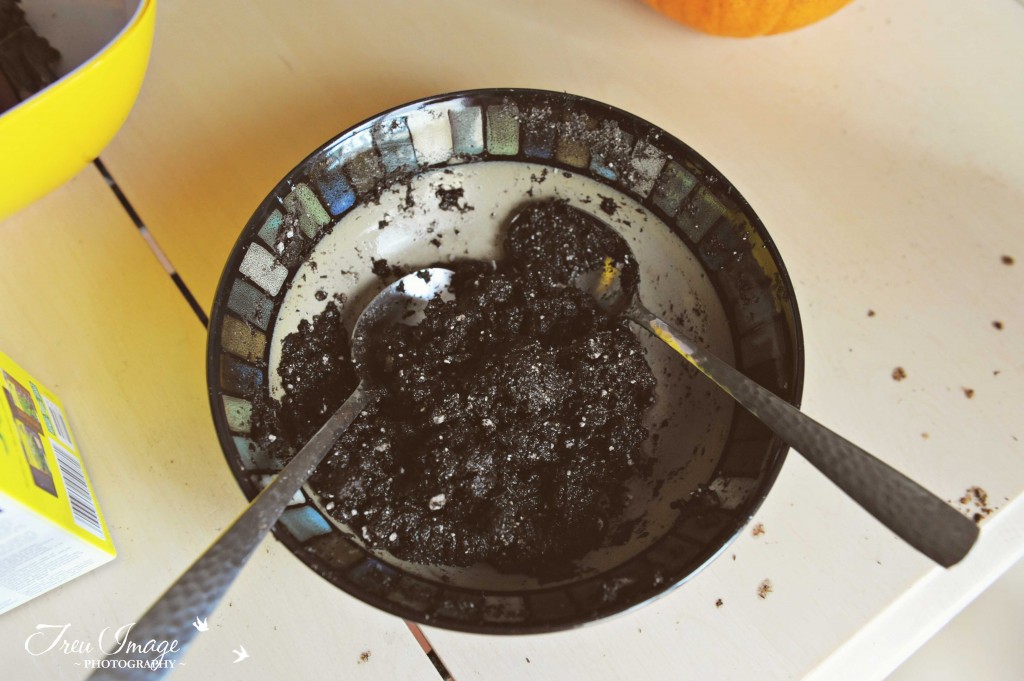
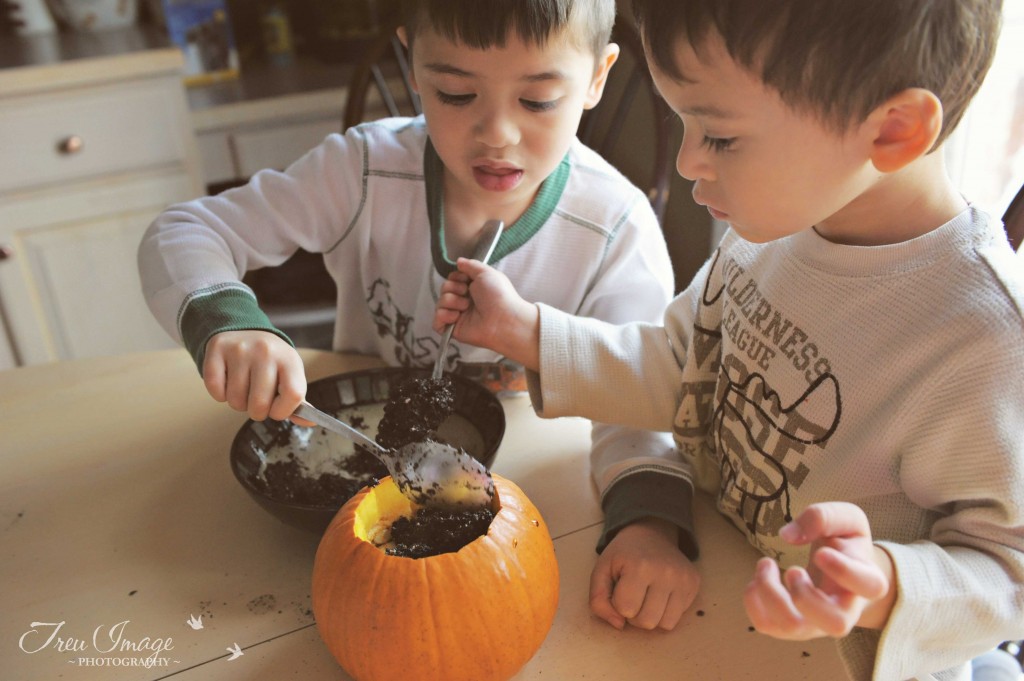
Step 3: Get your soil and fill the pumpkin (we used these little soil pellets which needed to be reconstituted with water, so that’s what the boys are doing here. If you have regular potting soil, that would be easier 🙂
Just a note – do not take anything out of the pumpkin except for the top you cut out and whatever comes out with it. We added the soil straight into the pumpkin, seeds, slimy stuff and all 🙂
Step 4: Add water. You don’t want too much, and there’s no place for the water to drain, so once you’ve watered the soil, tip the pumpkin to drain any excess water out.
Here are the boys with our pumpkin plant, excited for it to sprout!
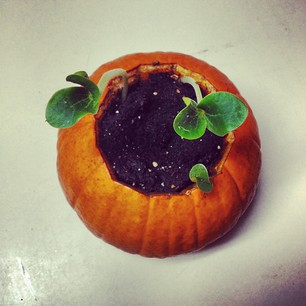
Step 5: Place your pumpkin near a window, water as the soil gets dry, and wait! Ours sprouted after only a week and a half! So cool!
Okay, that’s it! This was a really cool opportunity to talk about the life cycle of plants and specifically pumpkins.
I love Acts 17:28 which says, “For in Him we live and move and have our being.” So cool 🙂


