Freezer Paper Stencil Shirt
Hey Friends! I wanted to share a new tutorial with you! Freezer paper stenciling
is a very inexpensive way to screen print your own shirts…awesome right?
For this project I wanted to make a custom Spiderman shirt
for a very special little girl who just celebrated her 5th birthday.
Five year old girl who loves Spidey… how cool is she? 🙂
Okay, so here’s what you’ll need:

~ Freezer paper (it must be freezer paper, not wax paper)
~ Shirt (or any piece of clothing/fabric you’d like to use)
~ Image for design
~ Iron
~ Permanent fabric paint
~ Sponge paintbrush
~ Piece of cardboard
~ Exacto knife
~ Sharpie
~ Pencil
~ Cutting mat or board
(I know that looks like a long list, but I promise you already have most of this stuff!)
Step One: Prewash and dry your piece of clothing (if new) to avoid later shrinking
Step Two: Draw or print the image for your design and go over it with a Sharpie marker.
Make sure you measure your design so that it fits right on your shirt
(ex: smaller shirt, smaller design)

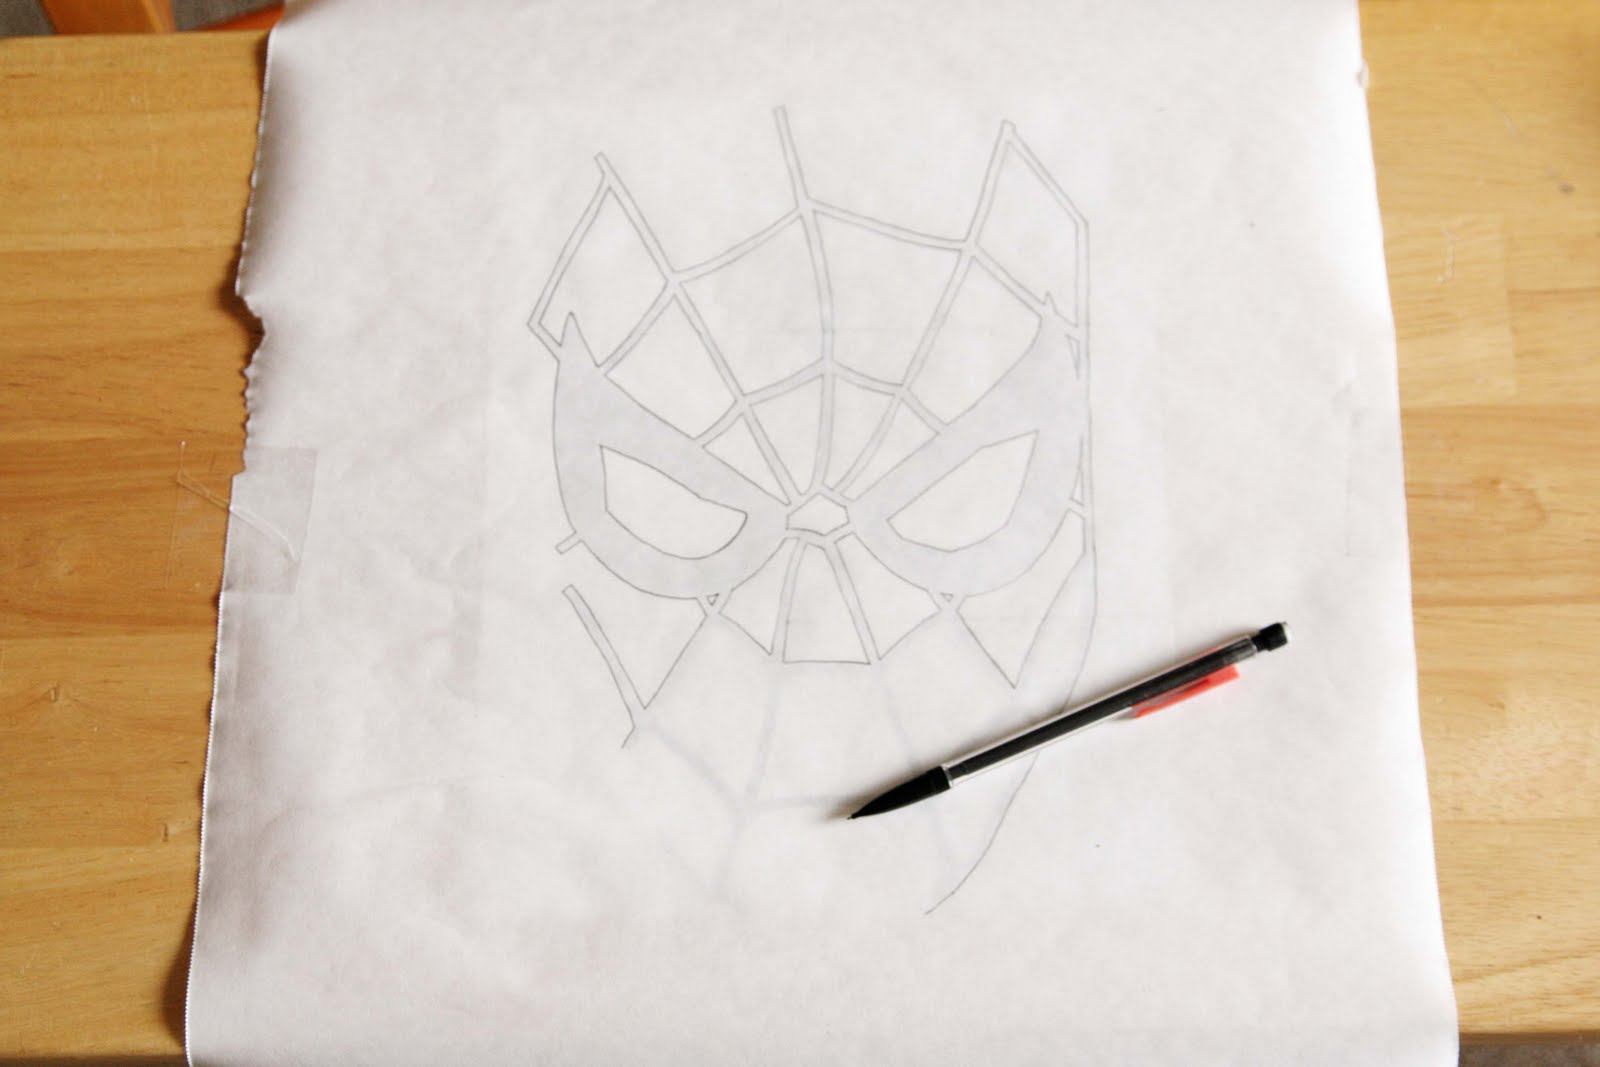
Step Three: Place a piece of freezer paper over your design (shiny side down)
and trace with a pencil
A couple things here:
1. If you are doing a design with lines like I did, make sure to trace around the lines and not
just the line itself. You are making a negative of the image so you’ll need a space to fill in
with the craft paint to make the lines.
2. I found it helpful to tape both the design and the freezer paper down
so that nothing moved while I was tracing.
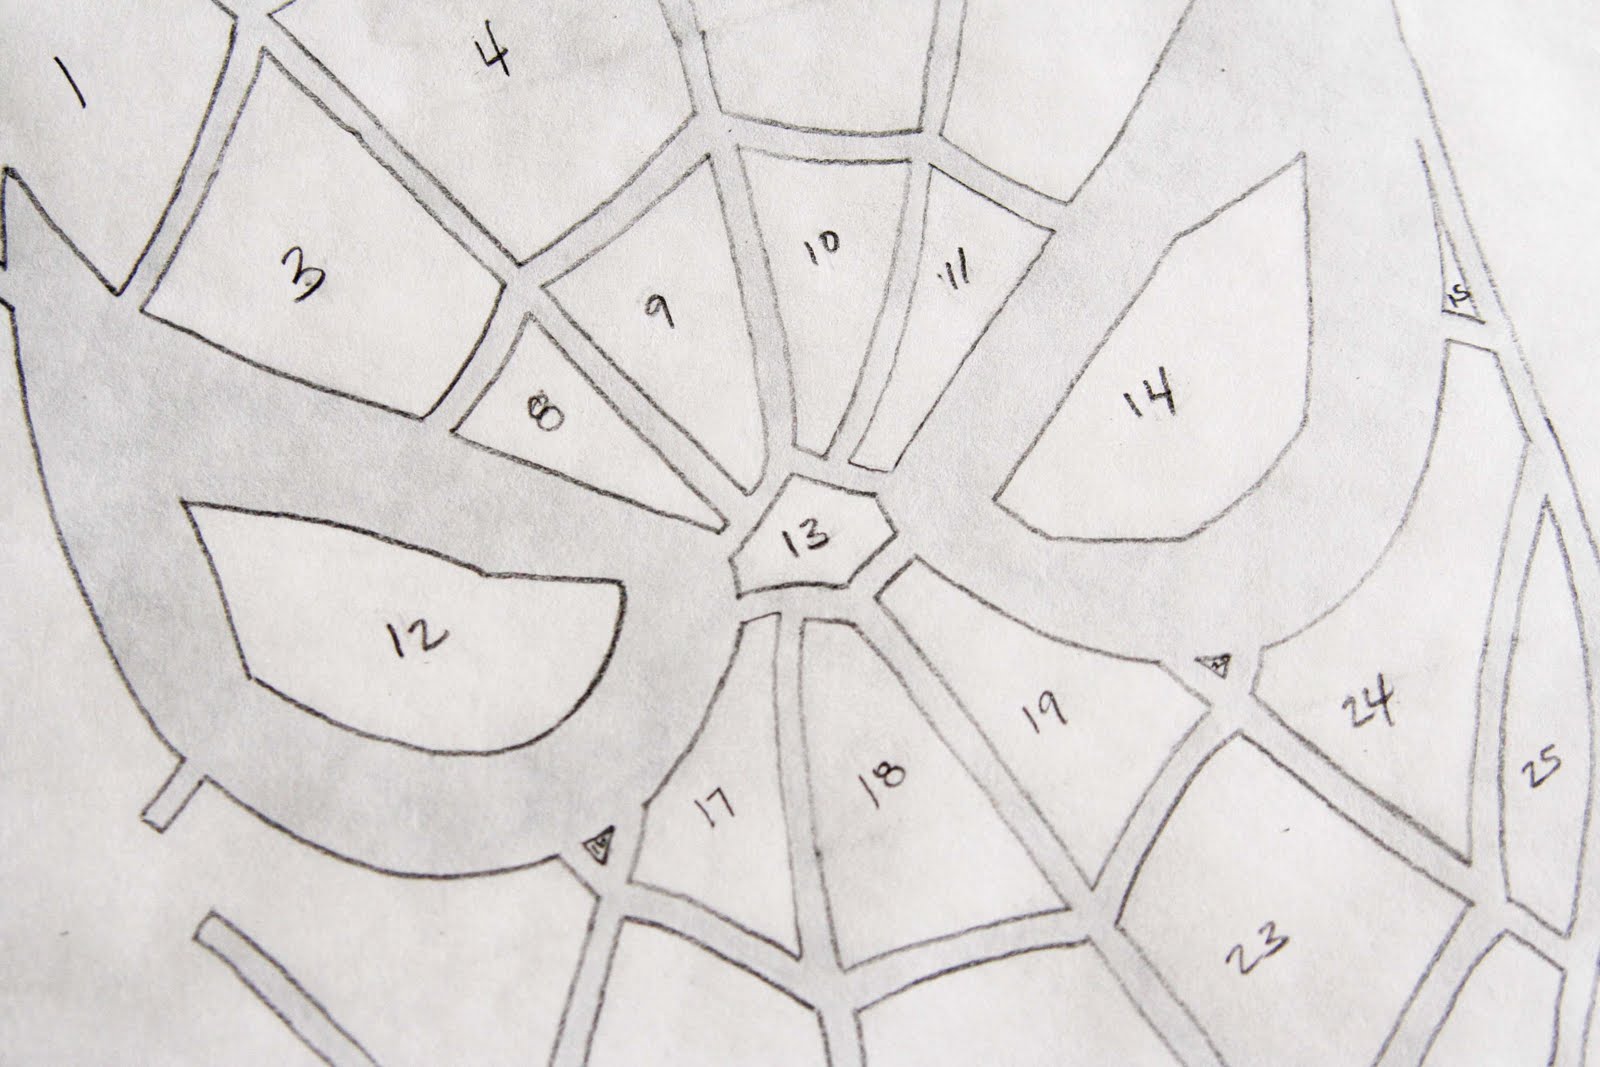
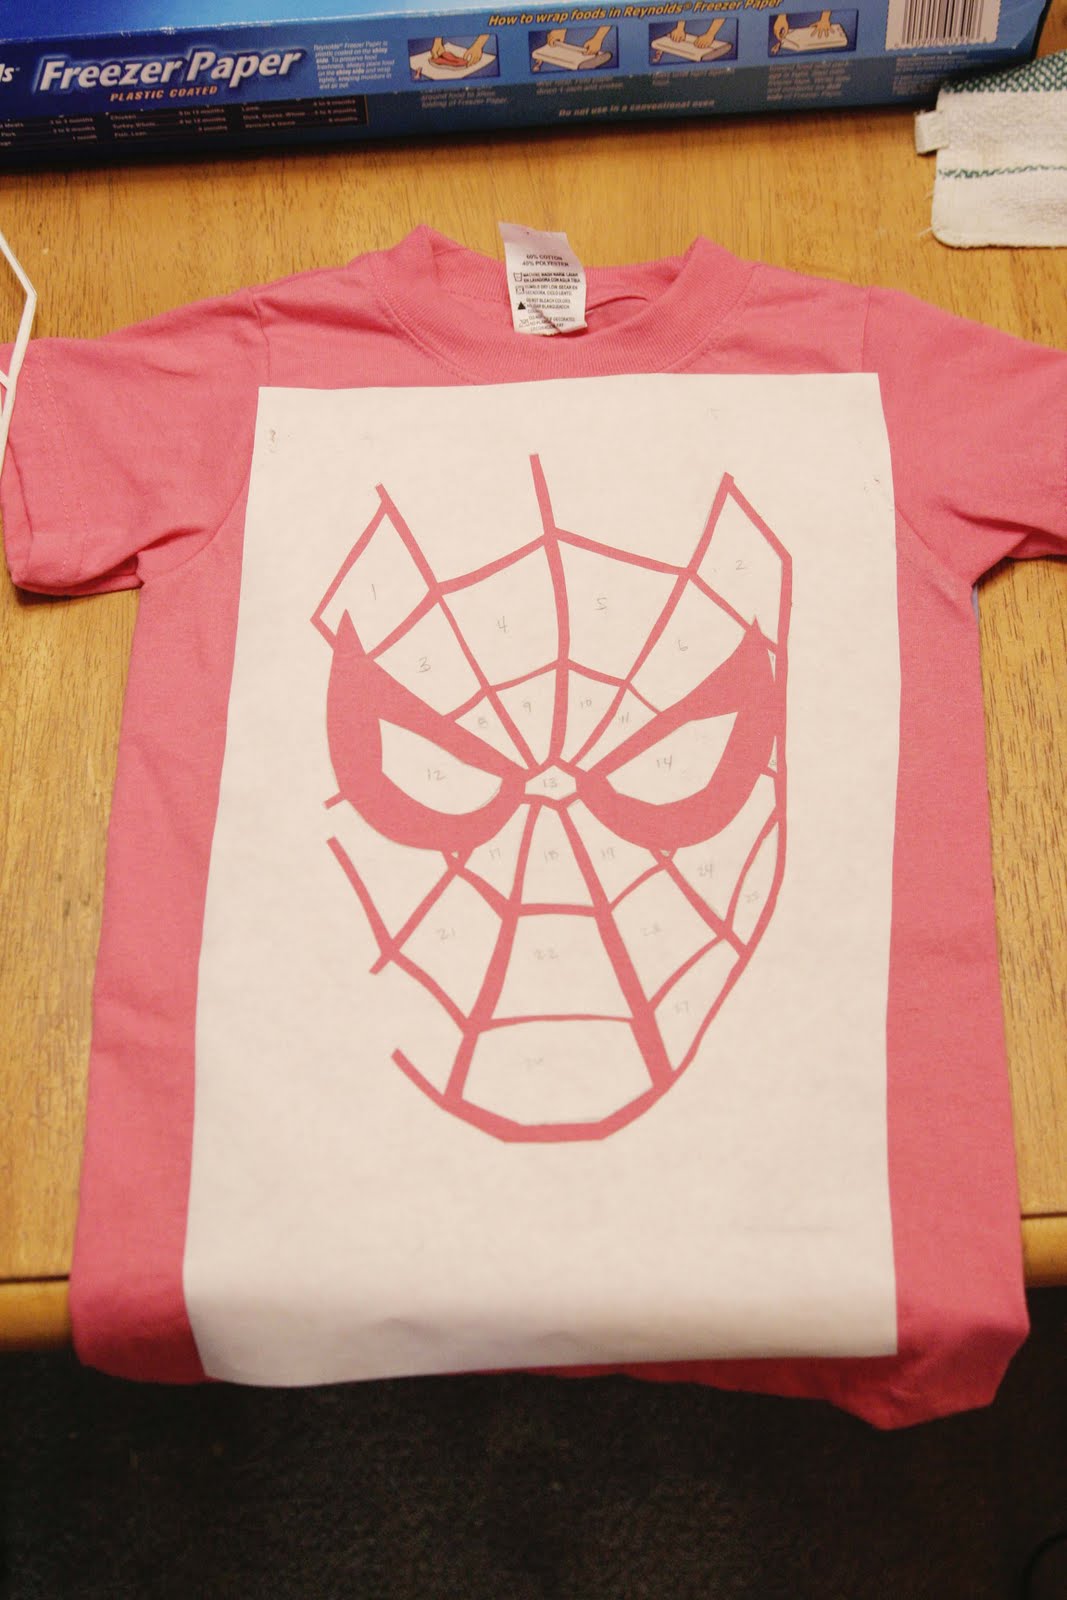
Step Four: If your design is more complex, number all the pieces
Step Five: Place your traced freezer paper on a cutting mat and
carefully cut out your design with an exacto knife.
Be very careful with this step; remember you are making a stencil so
any extra cuts will let the paint seep through.
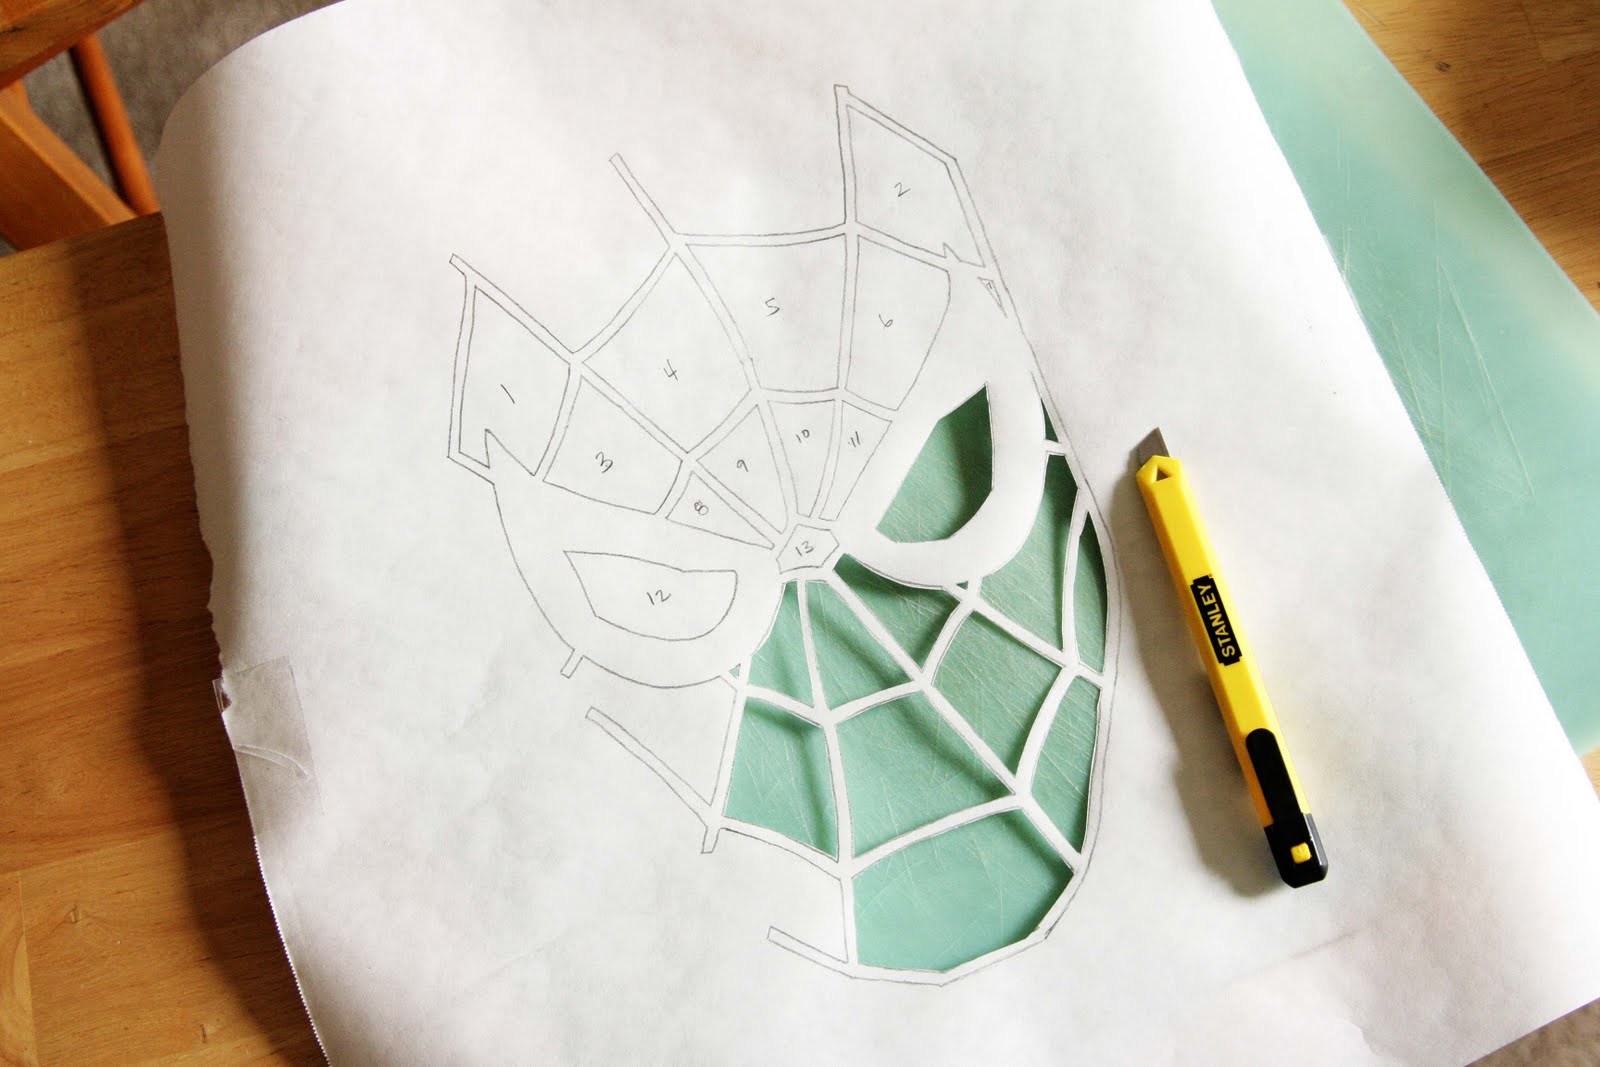
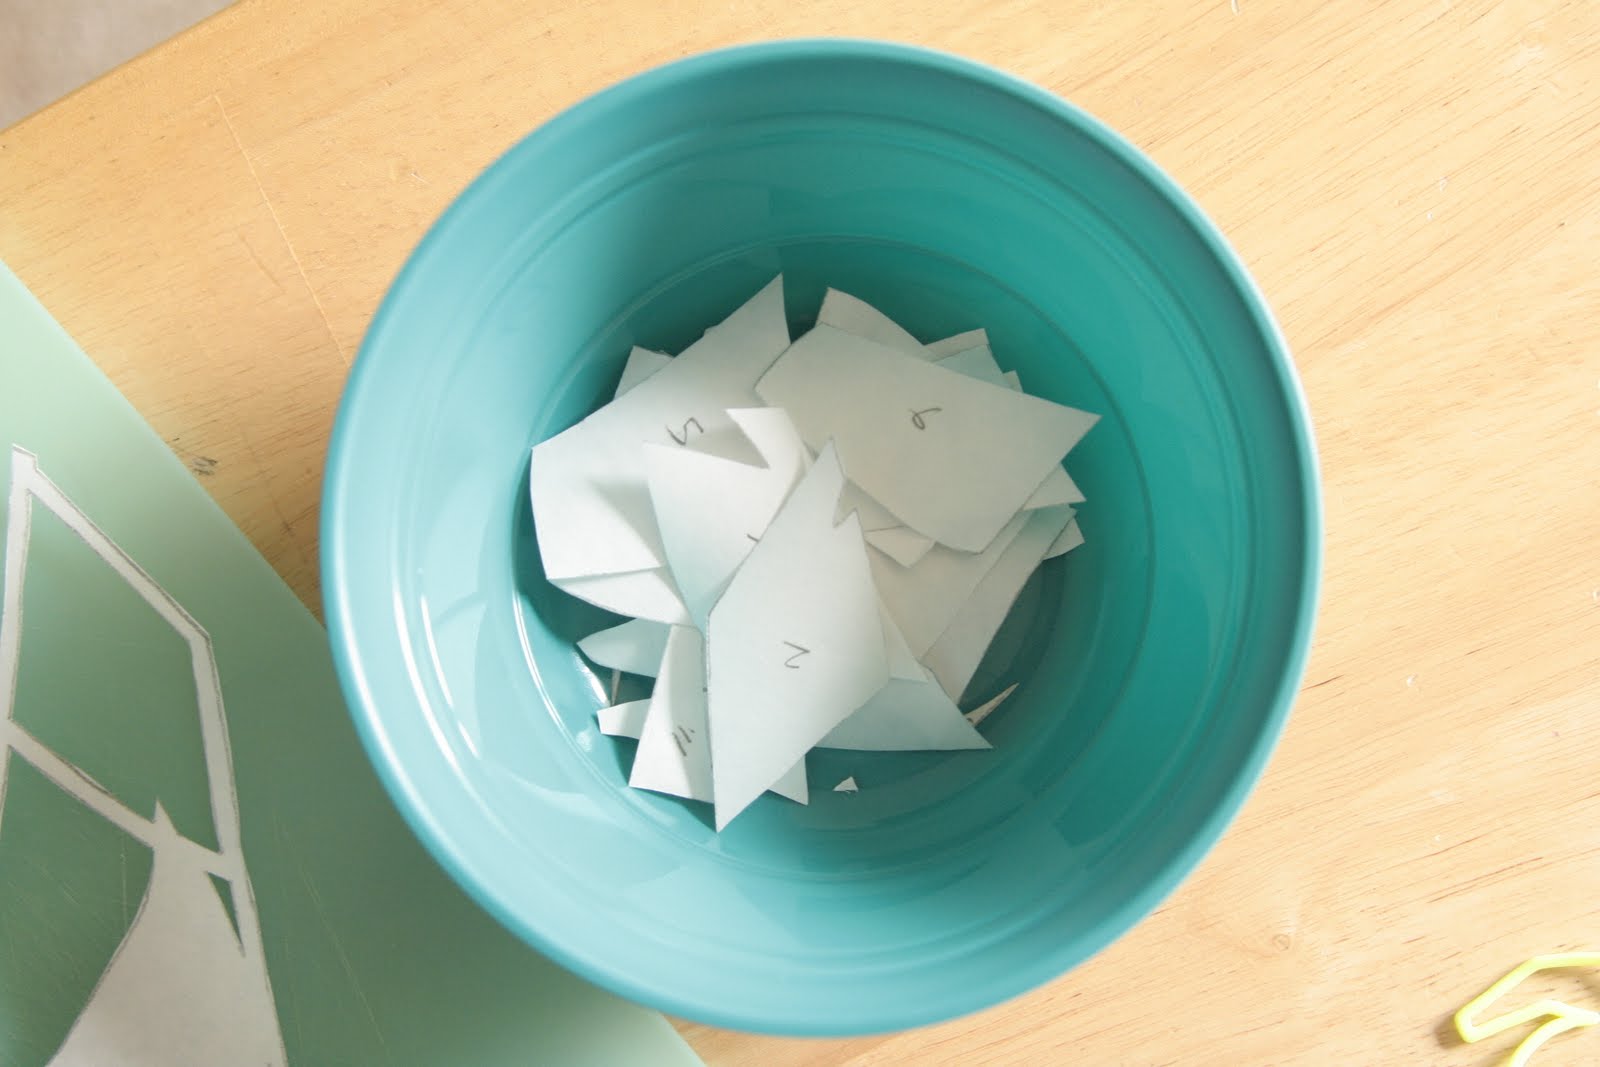
If your design has inside pieces like the center of an “o” (or all the pieces that make up a Spidey face :), make sure to save those as you will need them later.
Step Six: Reassemble your design on the shirt (shiny side still down).
This is where that numbering you did earlier comes in handy 🙂

Step Seven: Iron over design.
Make sure that every piece of the stencil is ironed down.
This will create a sealed stencil and keep paint only where you want it.
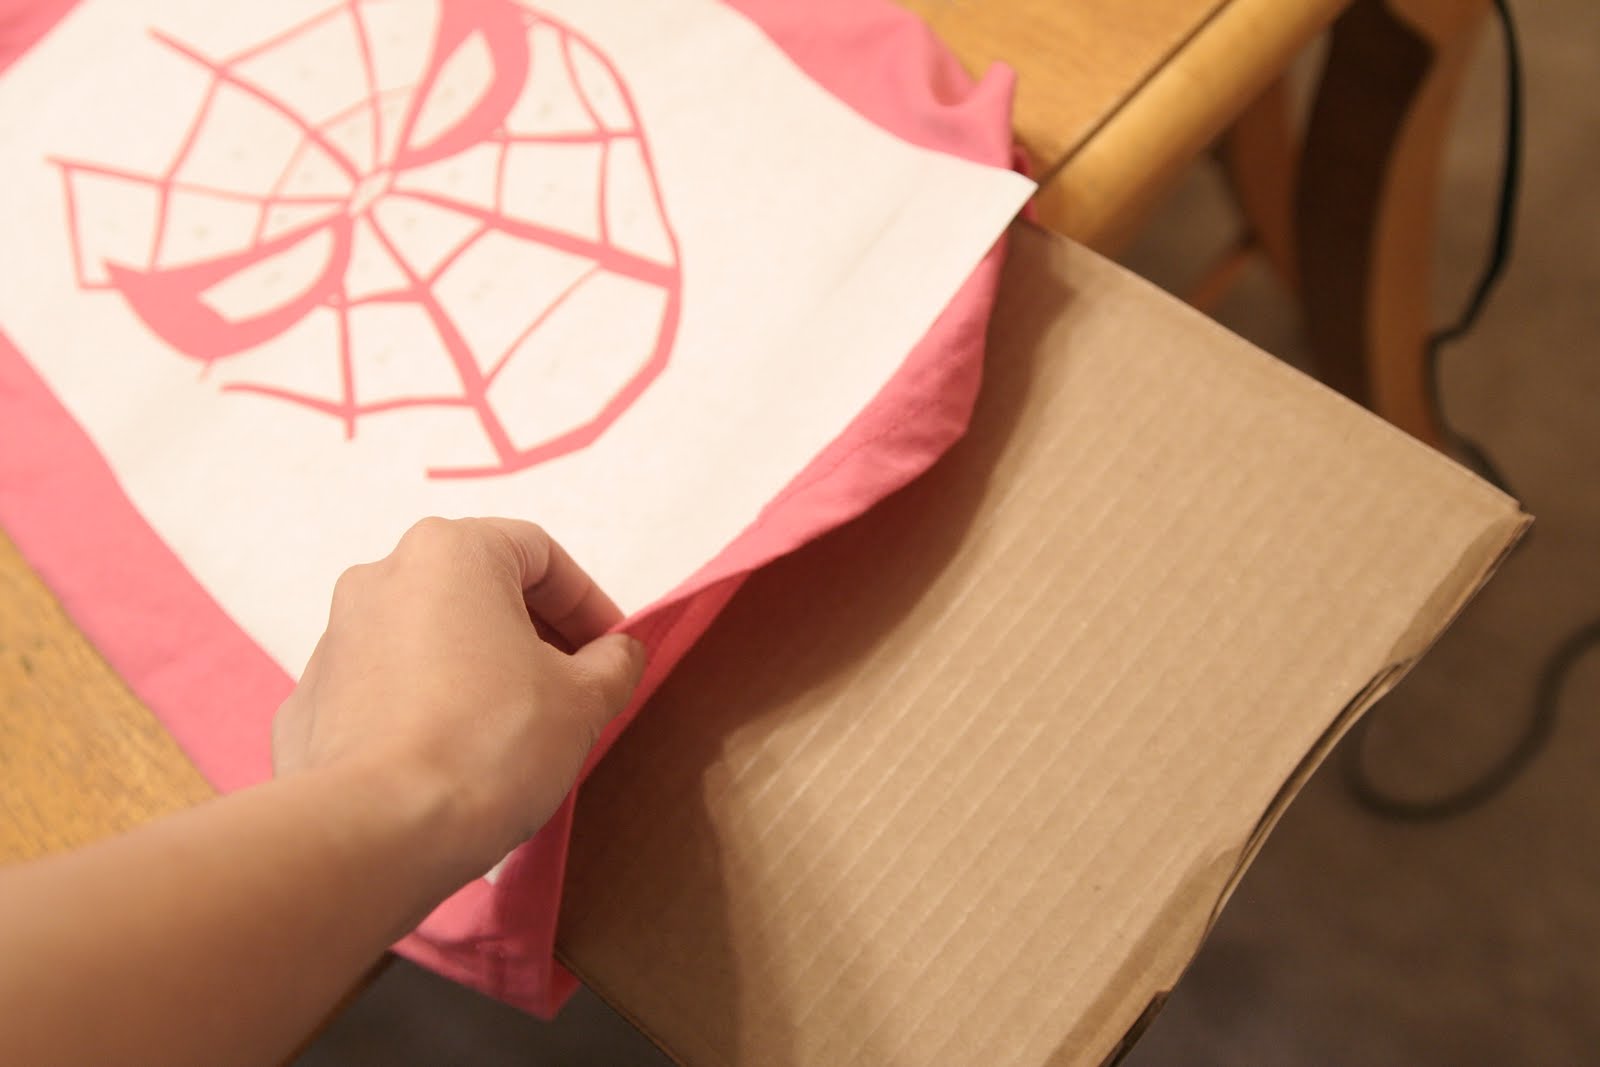
Step Eight: Place a piece of cardboard inside the shirt to keep paint from
bleeding through to the other side
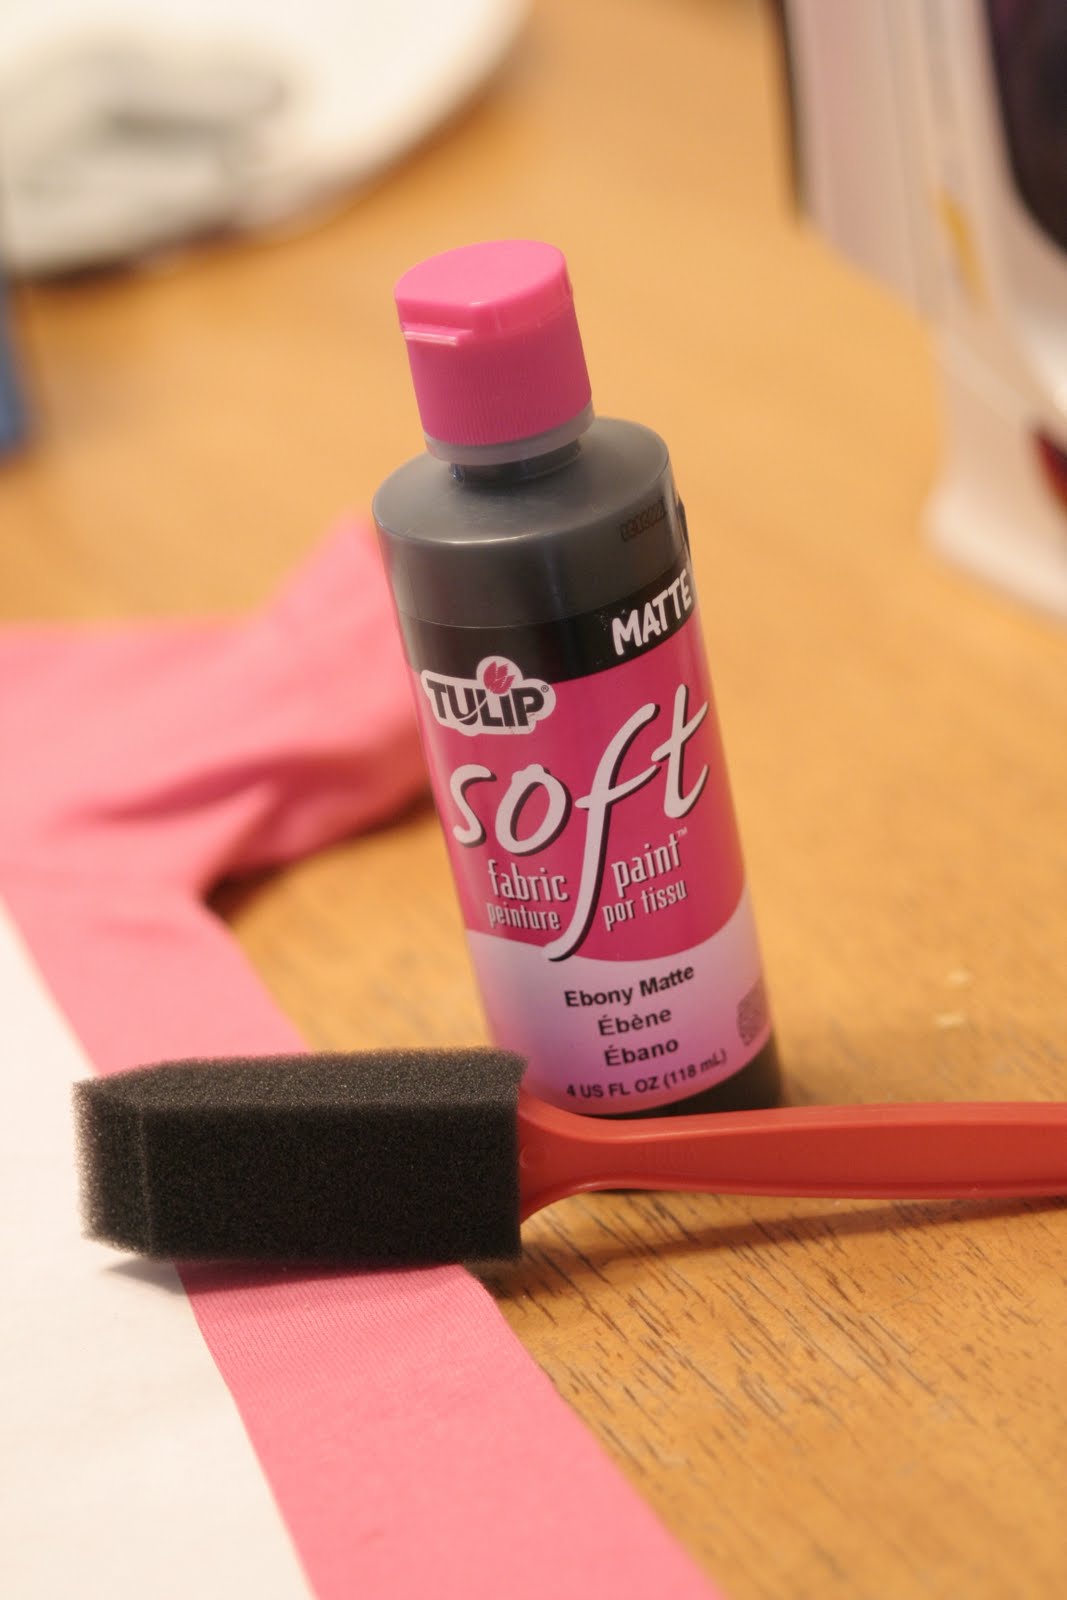
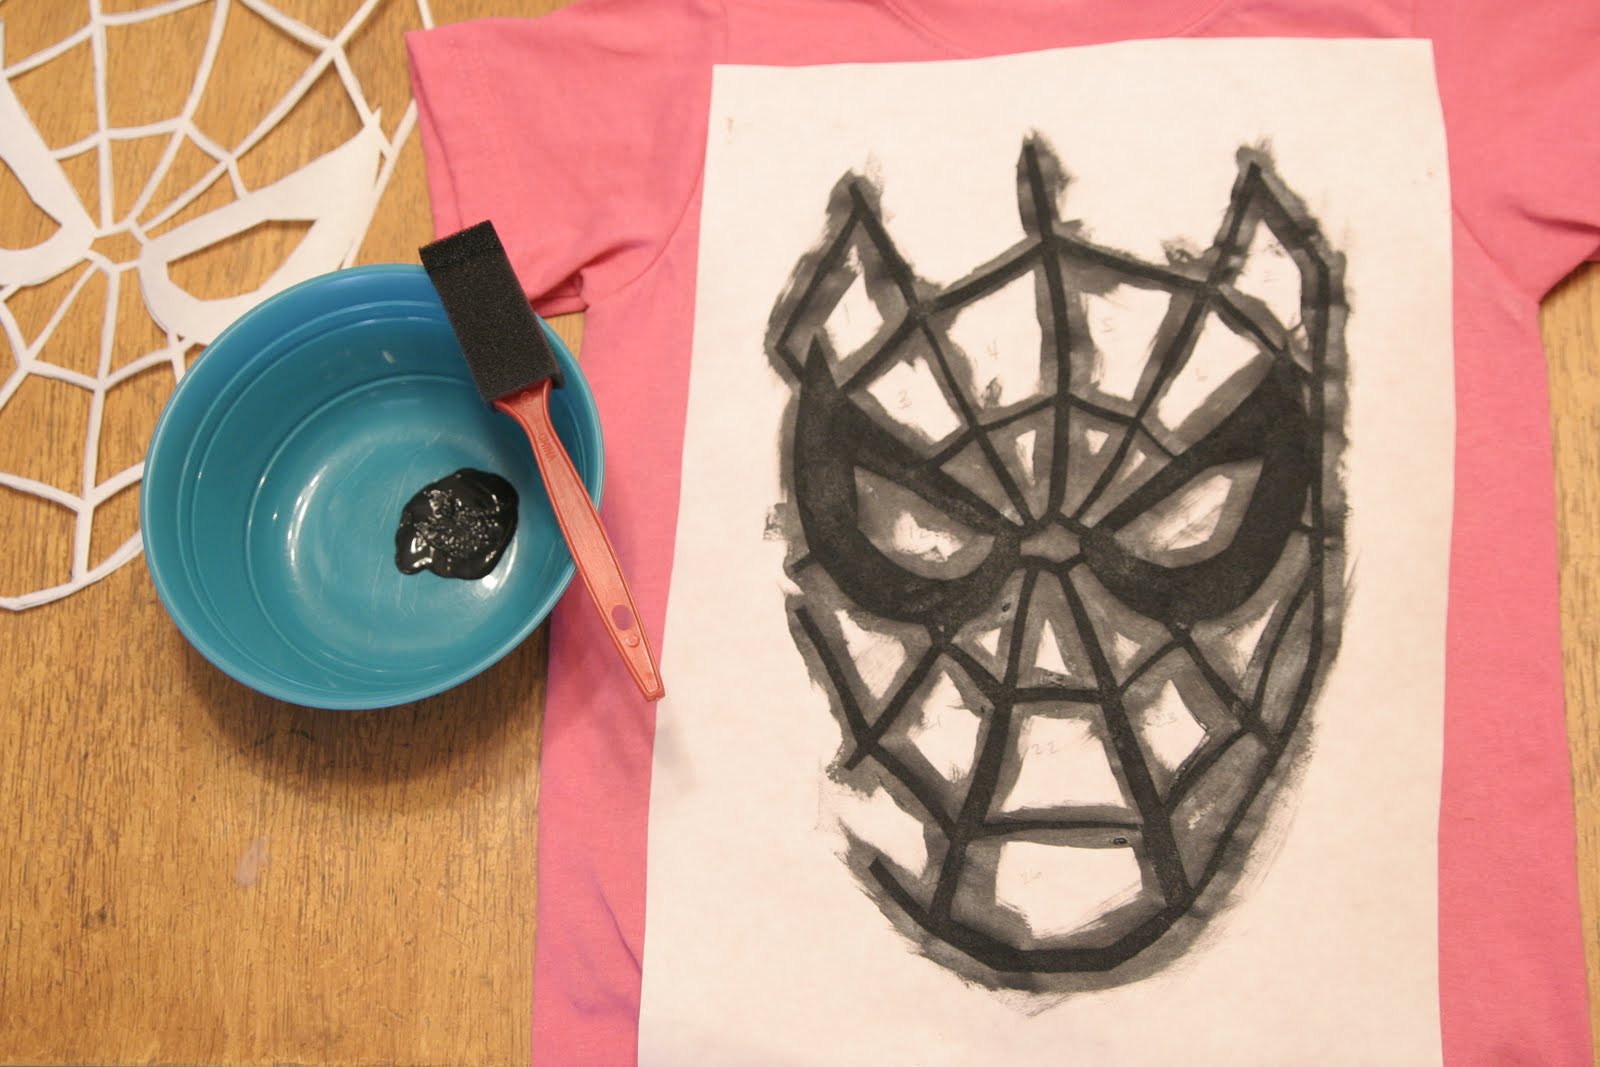
Step Nine: Paint inside your stencil with PERMANENT fabric paint.
I used matte Tulip brand paint which was recommended by the crafty lady at Hobby Lobby 🙂
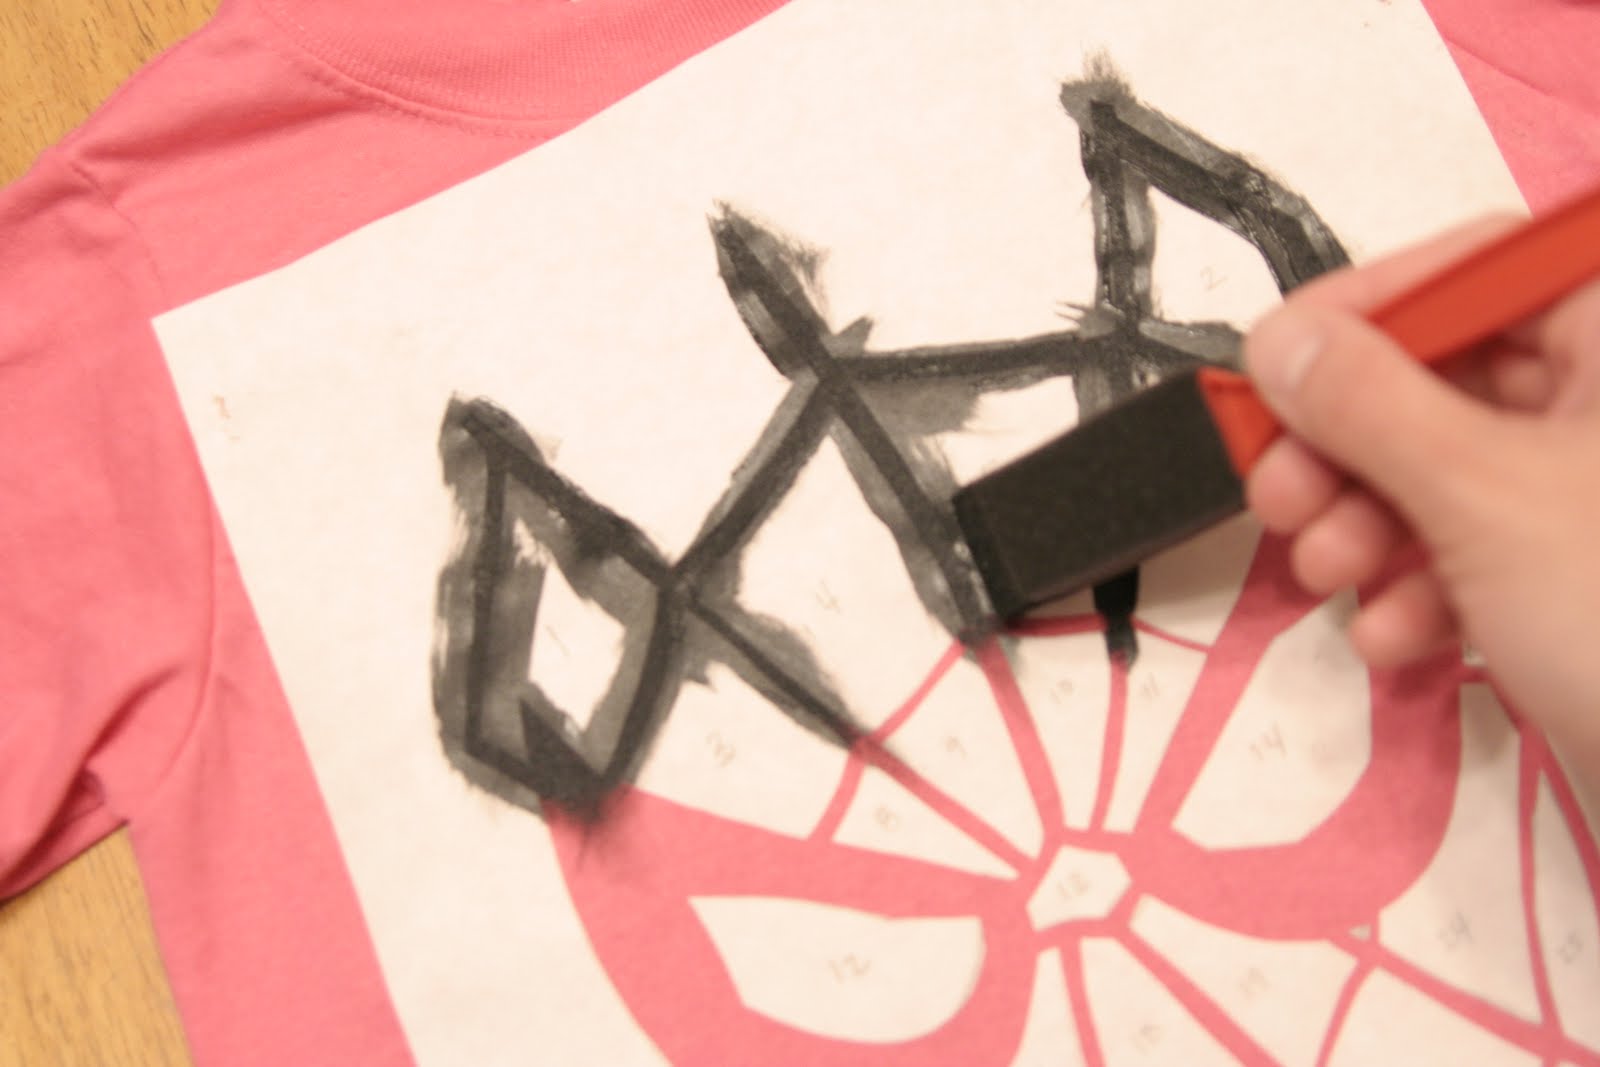
Here is the design completely filled in. You may need to do more than one coat.
Be sure to wait two hours between coats. This black paint only needed one coat
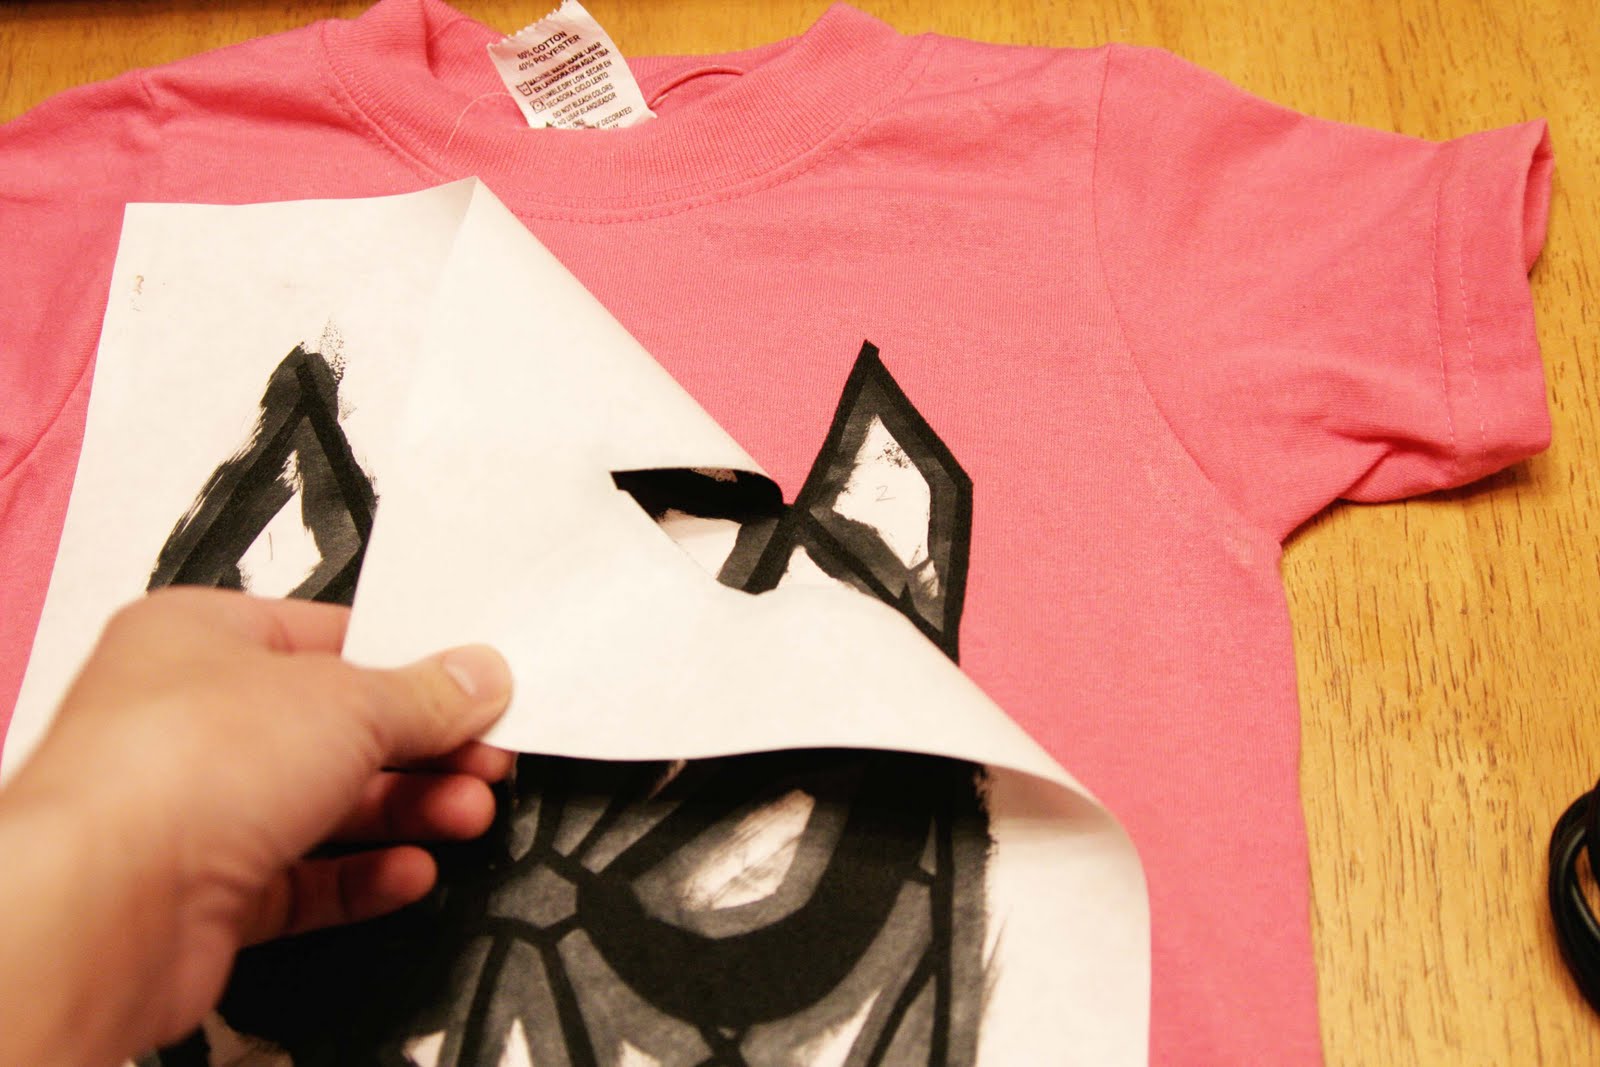
Step Ten: Wait four hours for paint to dry, then carefully peel away freezer paper
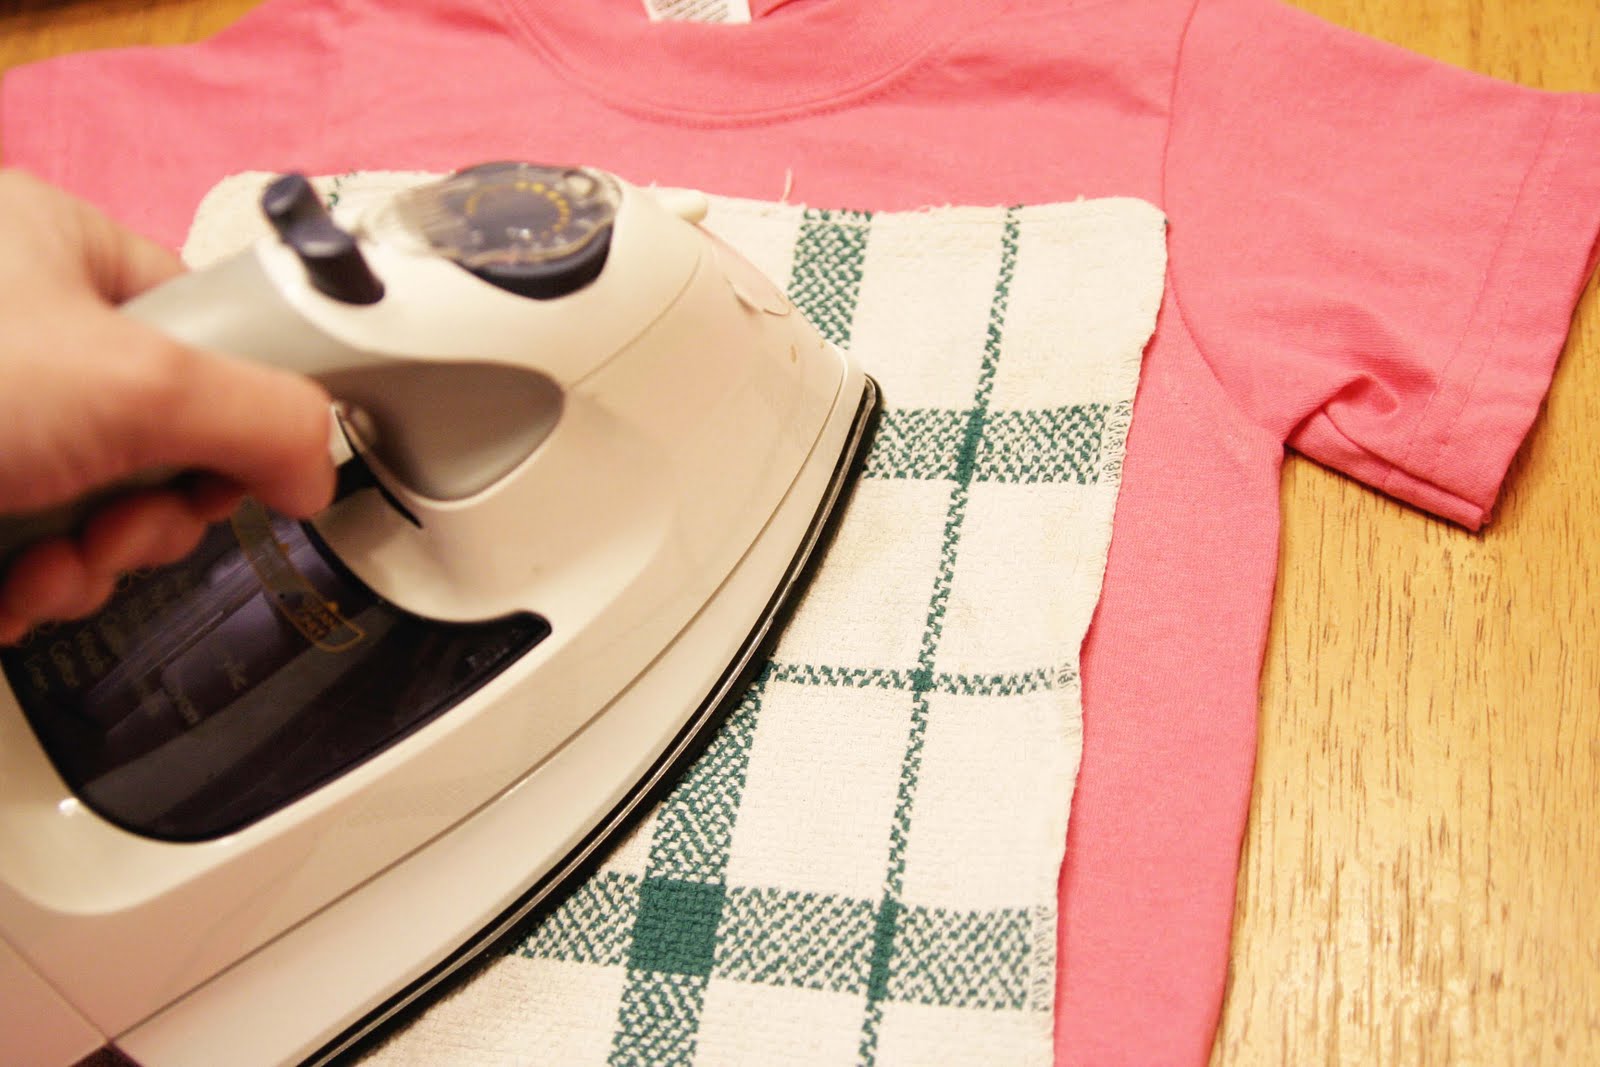
Step Eleven: Once all the paper is gone, cover design with a piece of cloth and iron
Step Twelve: Step back and admire your work!!
Follow any further instructions on the paint bottle, like how long to wait before washing the shirt

Okay, I hope you enjoyed the tutorial!! I had a lot of fun doing it and have plans for a
couple more (not so complicated!) designs 🙂 Our Spidey girl friend got her present today
and seemed to really like it!