My new friend
Hi All! Sorry for the lack of bloggin. The Lord has been doing a lot of great things around here lately (details to come 🙂 and honestly we’ve just been busy! I’ve been wanting to post though, about something new and exciting I’ve been playing around with…the sewing machine!!
Meet my new friend, or new “brother” I guess (hee hee 🙂

Sewing is something I’ve always wanted to do, but didn’t even know where to start.
So a sweet friend of mine agreed to spend a day teaching me (she’s pretty awesome!)
She showed me how to turn on the machine (seriously I really had no idea where to start :o/ how to thread the bobbin, and sew in a relatively straight line (I need a lot more practice 🙂

I had picked out a couple of projects, including a play tent for the boys’ new bunk beds! I didn’t think about it at first, but I took a few pictures and thought I’d put together a little tutorial for you.

There’s no picture, but here is the supply list:
~ 1 twin size flat sheet
~ 2 spools of coordinating ribbon
~ Coordinating thread
~ Velcro
~ Coordinating bias tape
You’ll also need these things, and might already have them on hand:
~ Scissors
~ Measuring tape
~ Iron
~ Pins
~ Sewing machine
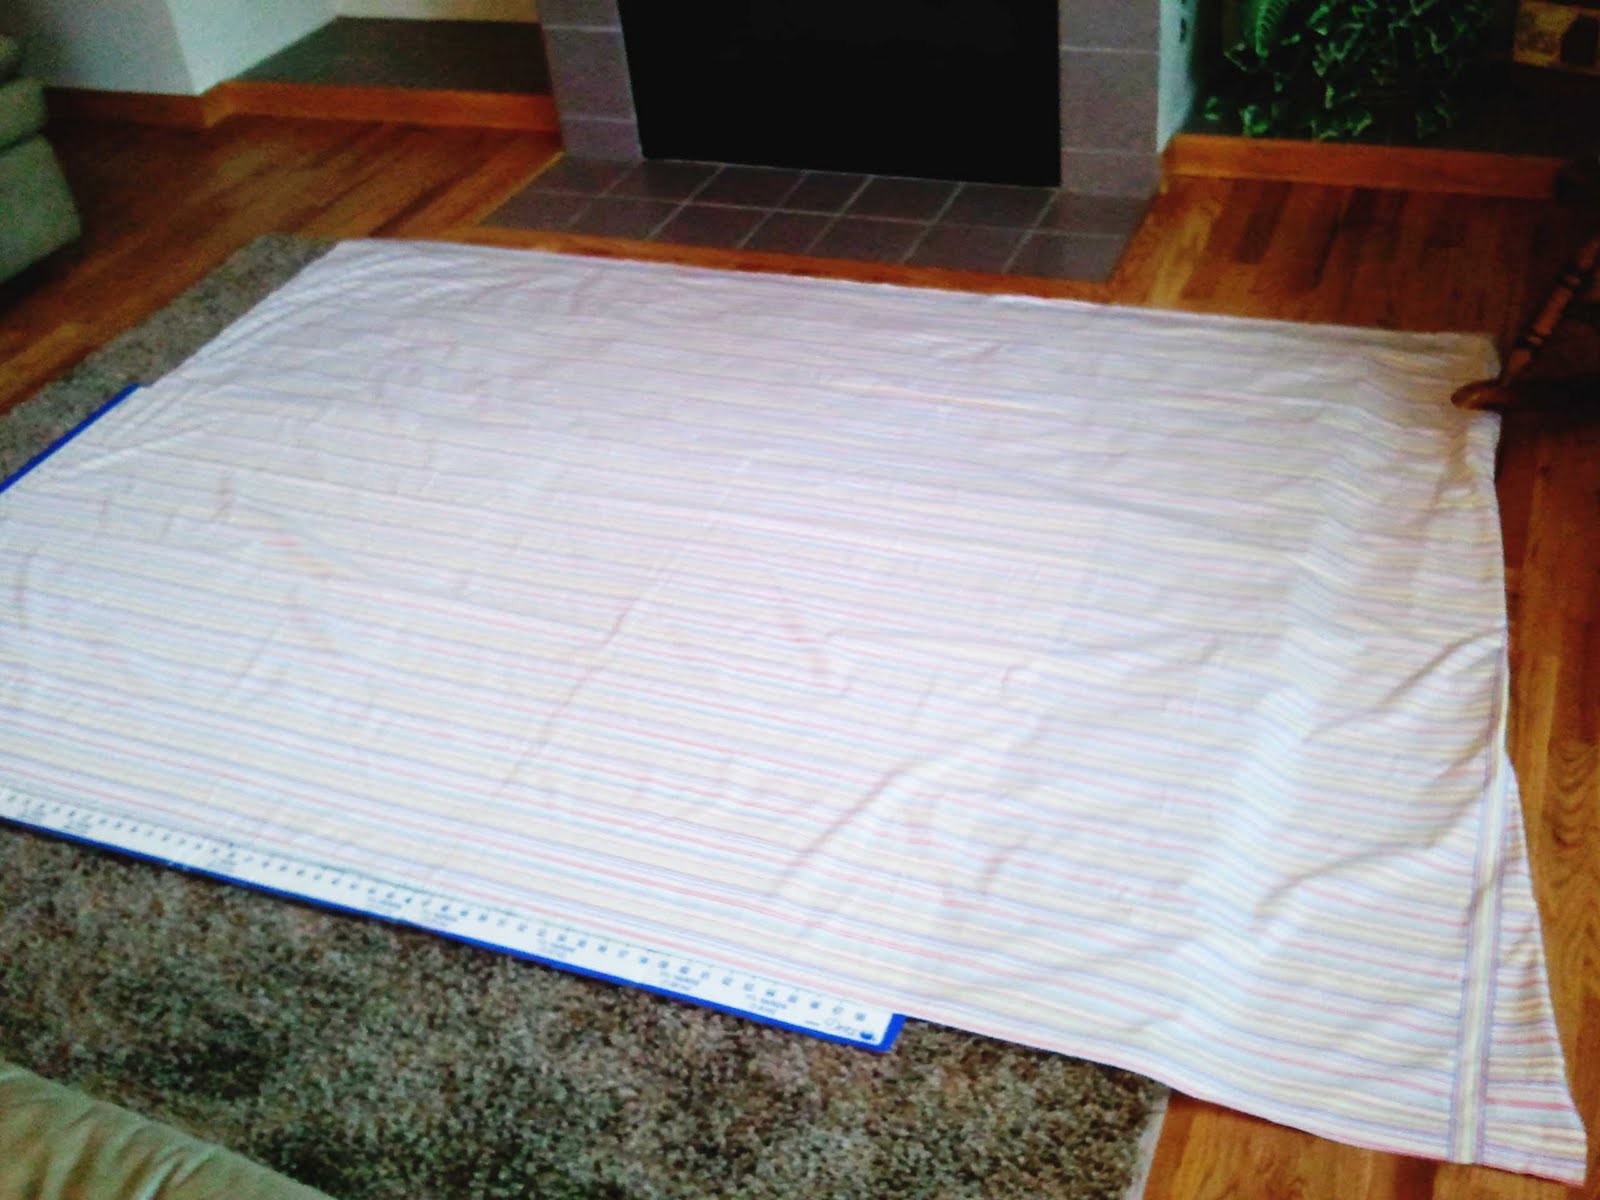
Okay, first, iron and lay out your flat sheet. For the boys’ bunks, I needed the finished piece to be 74″ wide by 37″ tall. What’s great about a flat sheet is that even when you cut it, two sides of your piece are already seemed and finished! So I added an inch to the sides for the seem allowance and went to cutting 🙂

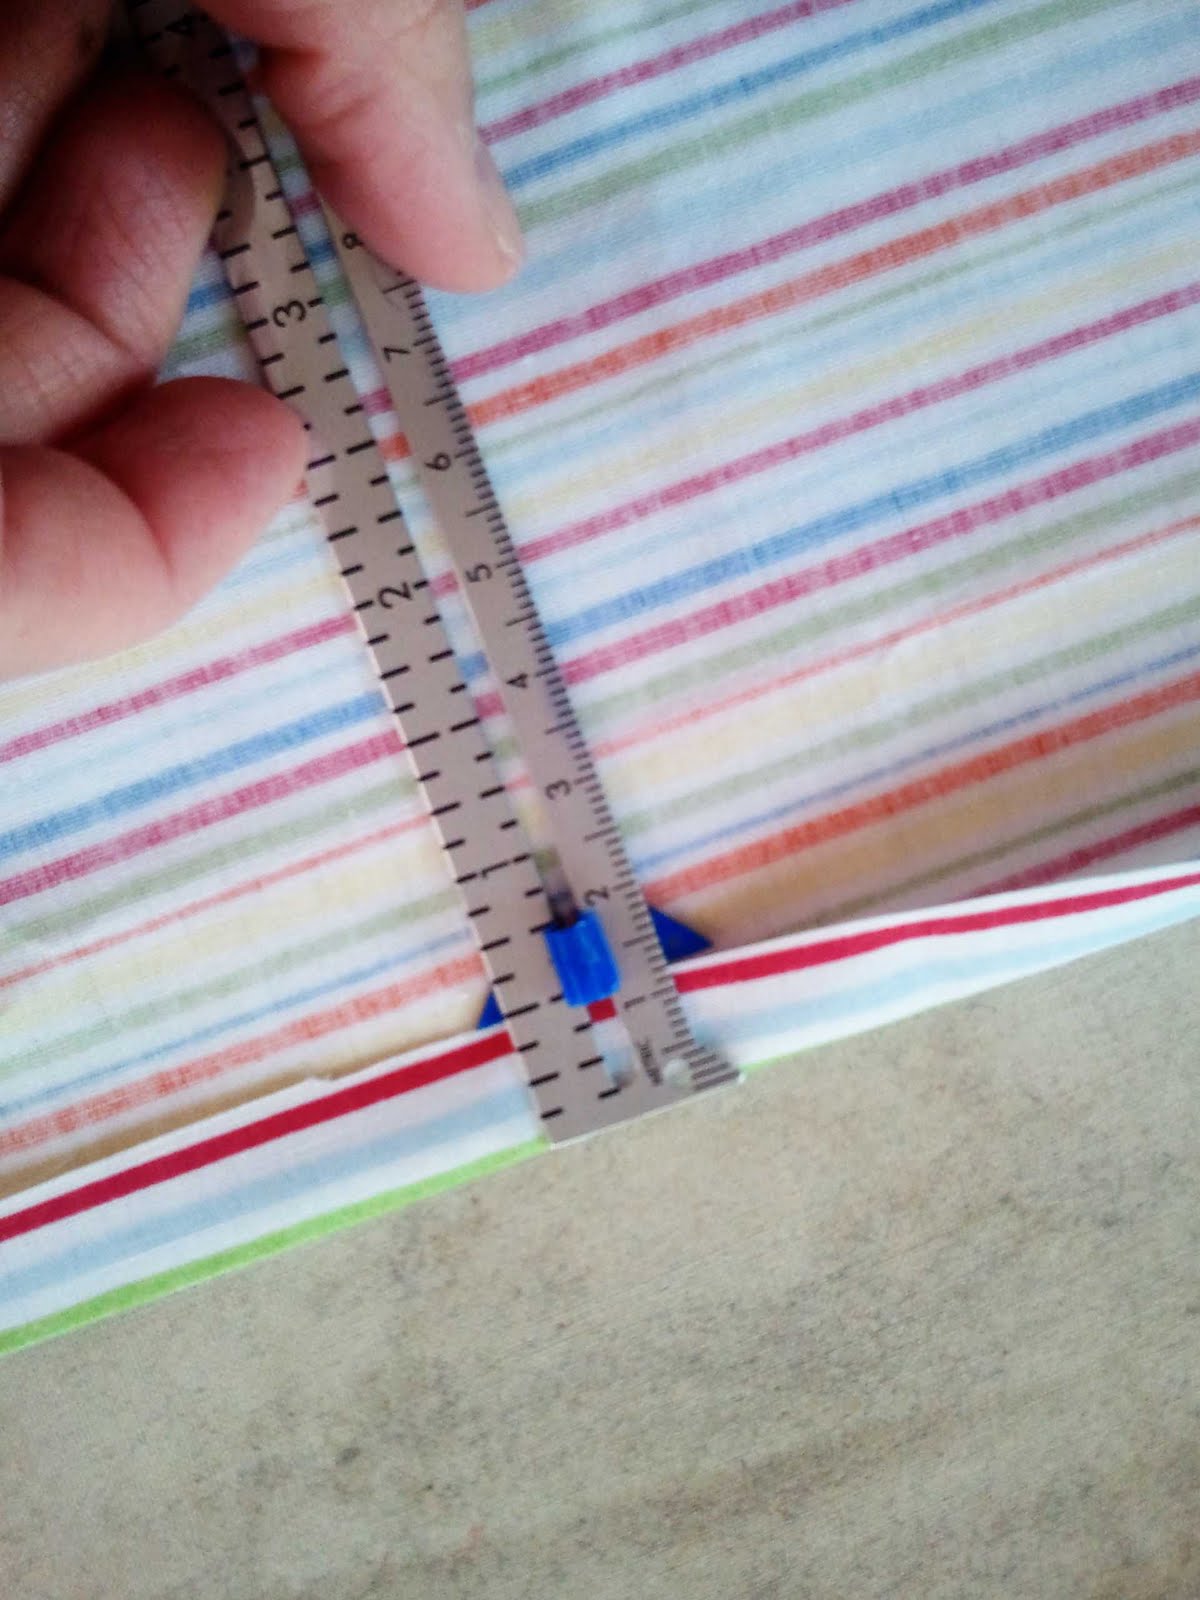
Then fold and iron the unfinished seems. Lori (that sweet and very patient friend I told you about) showed me how to use this handy tool to measure and fold the cut edge at half and inch. After ironing that down, I went back through and folded it over a half an inch again, ironed, pinned, and sewed the seems.

The tent has a door which is really just a flap that I will roll up and velcro open. Lori had a great idea to cut and finish it by edging it with bias tape. I really could have used ribbon, but this worked well too. Here’s where we cut and pinned it before sewing.

We (well really, Lori did this part since the seems needed to be straight and close to the edge, both which I can’t quite do yet 🙂 placed the folded bias tape along the edge of the door. She sewed two seems, one 1/8″ from the edge, the other 1/8″on the other side of the tape.

Next, the ribbon. I bought two spools of coordinating ribbon and cut 6 strips of each, a little over a foot long. I used these to tie the tent to the bunks and also to hold the tent when rolled up.

I sewed the ribbon in opposite directions along the top edge of the tent. I just divided the length of the tent by 6, from one end to the other and placed and pinned the ribbon where I needed it. The ribbon going up would tie to the slats of the top bunk. The ribbon going down would be to tie around the tent when rolled up.

Next we measured about where the velcro would need to be to keep the door in place when rolled up. I sewed two pieces to the inside above the door, and two pieces on the outside where they would hook up when the door was rolled.

Here is the rolled door from the back after the velcro is in place. Yes, I wore socks the same color as the bias tape 🙂

Okay, here’s the finished project on the bunks. Sorry, the boys’ room is kinda crazy :o/
The boys love it though! I put it up and Branden and I immediately got invited inside for a meal and also to avoid “bad guy robots.” Silas said he made my favorite breakfast, pizza and spaghetti 🙂 I do love my pizza and spaghetti!
Alright, there you go, my first sewing tutorial! I think the tent came out pretty cool. We had enough material left over to make a matching valence for their window (love custom drapes that tie a room together!) This project probably came to about $10 and took a couple hours, not too shabby I think!
I’m sure there’s probably some important sewing info I left out, so please let me know if you have any questions, ideas, suggestions, etc. Thanks for checking it out! This was a great started sewing project!