tutorial – diy matching game
Well, things are finally starting to slow down around here 🙂 I’ve been finishing up orders and trying to get things squared away so we can relax and enjoy Christmas. Last weekend I was shooting a wedding in Las Vegas (sounds big time right?) I’ll post pics soon; it was good and I learned a lot, but it was definitely different than any other wedding I’ve done before!
Anyways, we’ve been keeping up with our advent calendar and enjoying celebrating Christmas a little each day! I wanted to share a little tutorial of the matching game we made for Branden. The idea was pretty simple and would make a great gift for pretty much anyone, especially little ones. I really had the kids in mind when making this, even though it’s for Branden, something he’ll enjoy playing with them!
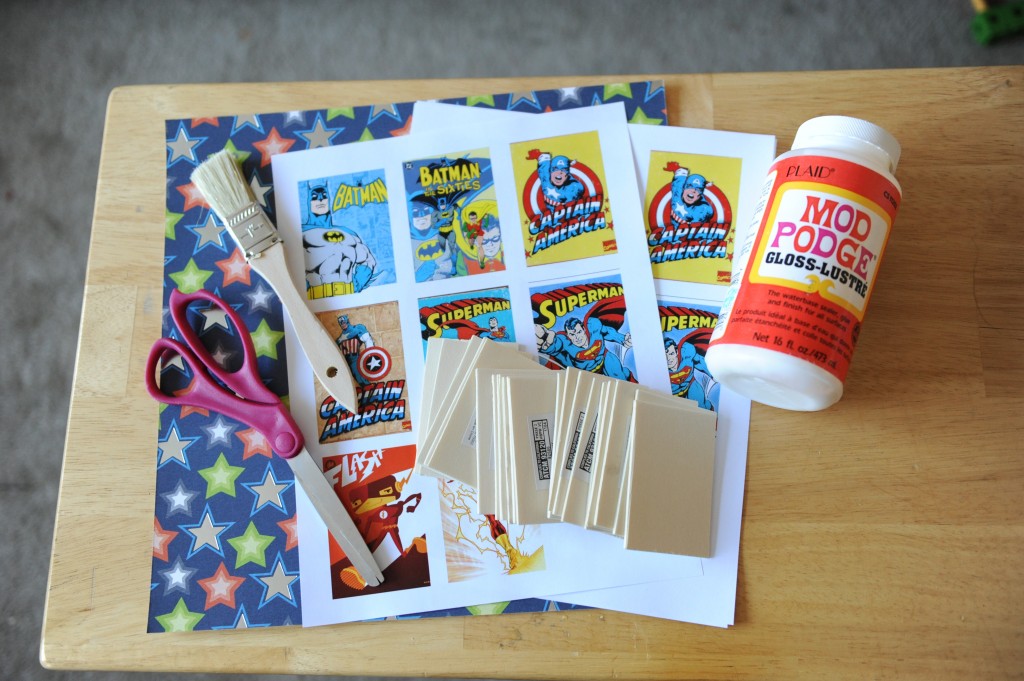
Okay, here’s the supply list:
- Scissors
- Paint brush (I got mine 3/$1 at Home Depot)
- 2 Pieces of 12×12 scrapbook paper (same design)
- Mod podge (I used glossy, but matte is fine)
- 20 Wooden squares (I got mine at Michaels for 20 cents a piece)
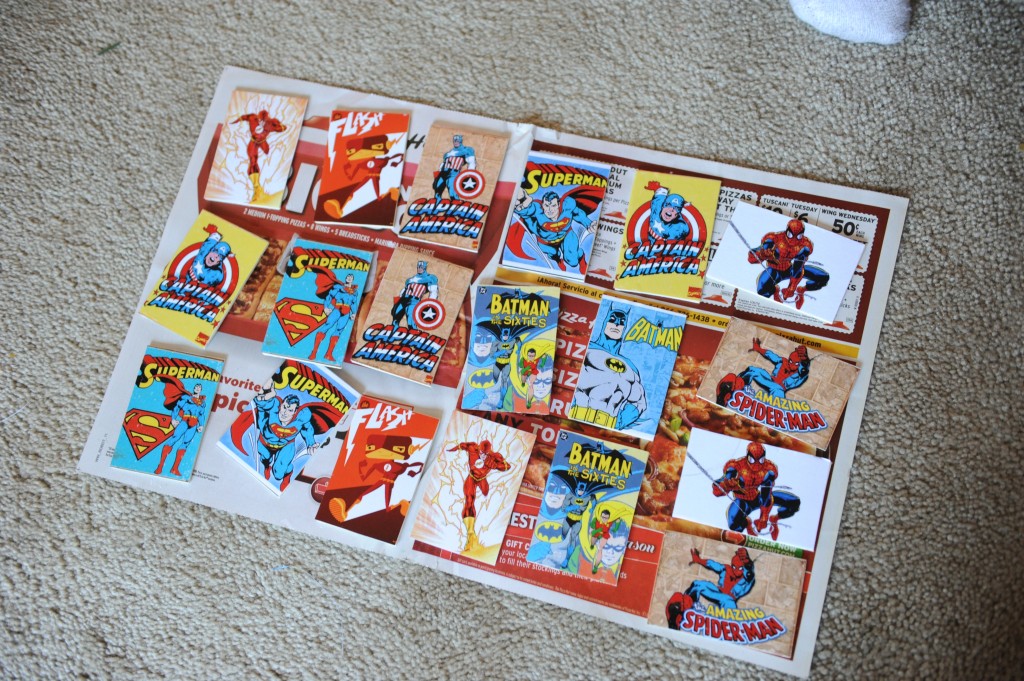
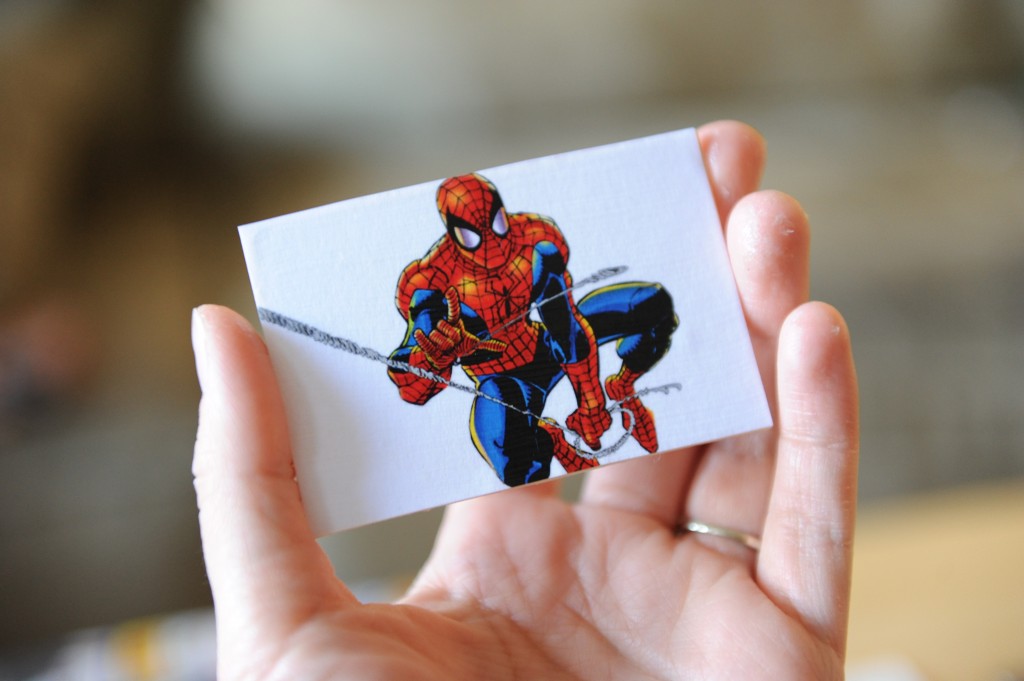
- Images to put on the cards (I used images of vintage comics that I pulled off the internet since Branden and the boys are into comics. You could use whatever images you like! I resized mine to fit the squares on the computer before printing them. Just measure the squares, mine were 2×3 inches, and resize. Also, I printed mine on a laser printer. I thought an ink printer might make the colors run) You will need two of each image (hence the matching game 🙂
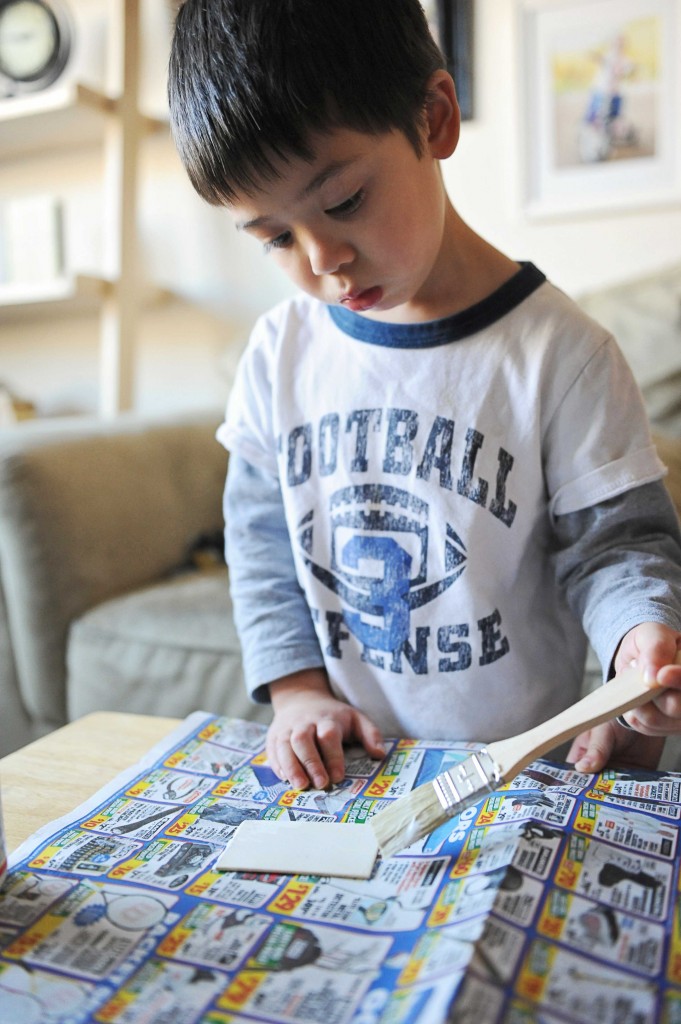
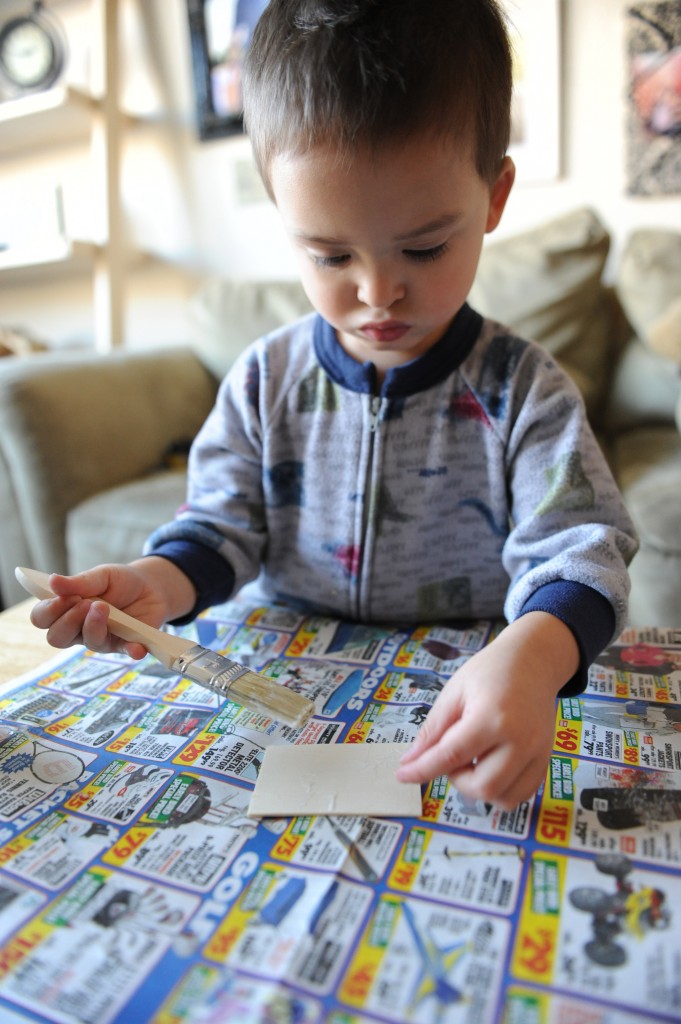
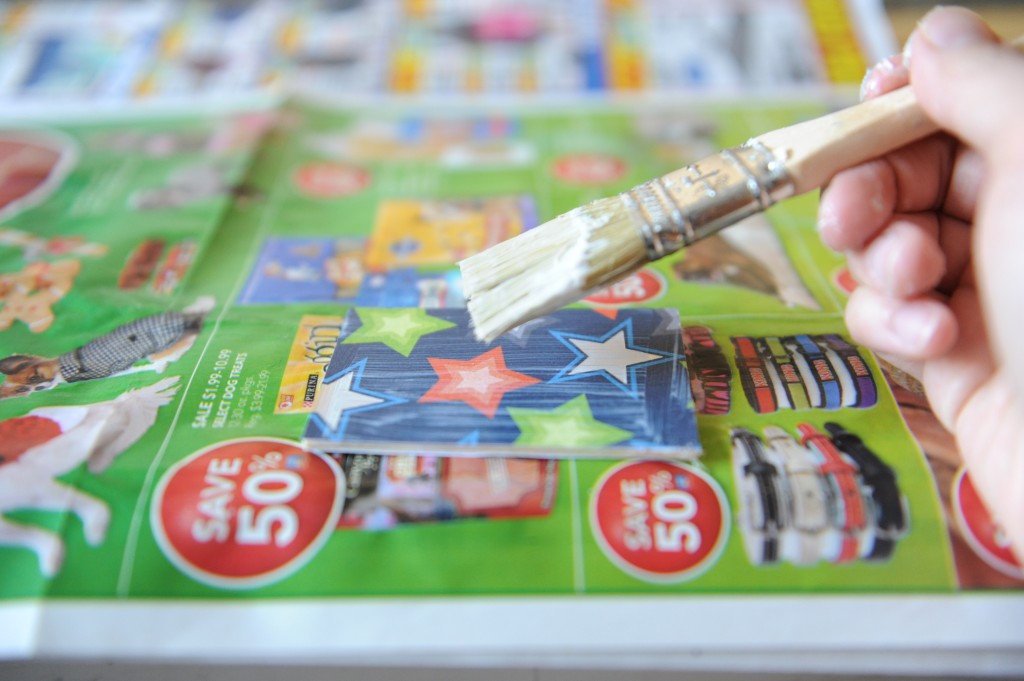
After cutting your images and scrapbook paper to fit the squares, take your paint brush and spread a layer (not crazy thick, but not too thin either) on one side of the wooden square.
Seriously, I love this little boy’s lips 🙂
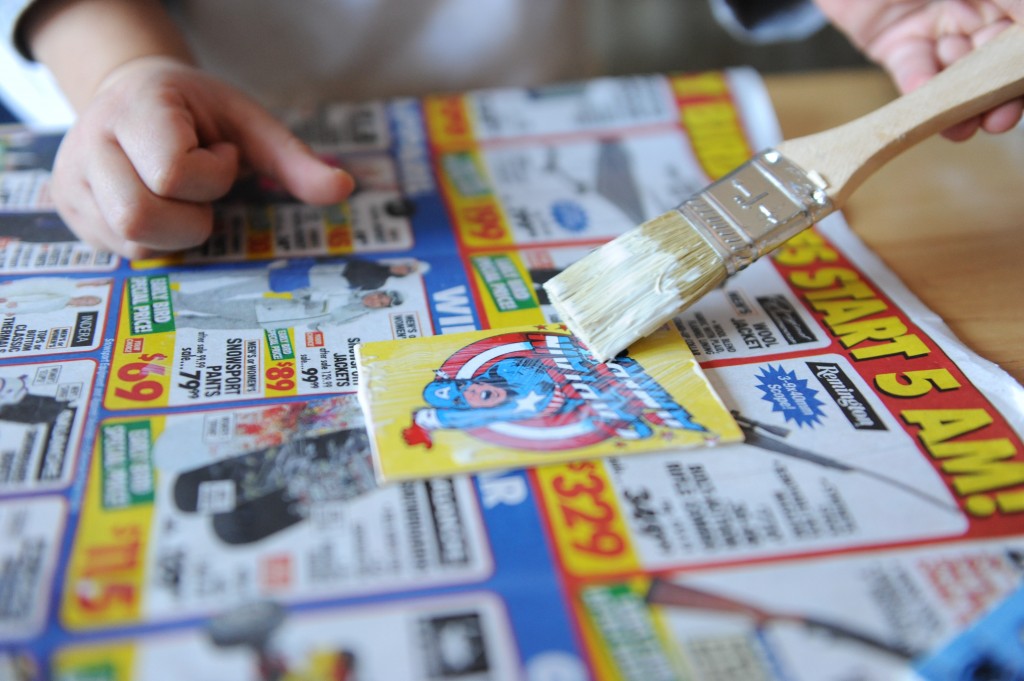
Place your cut out image on the mod podged square, making sure to line it up. After it’s dried for a couple minutes, spread a thin layer of mod podge over the image. This will seal it and give it a nice textured, finished look.
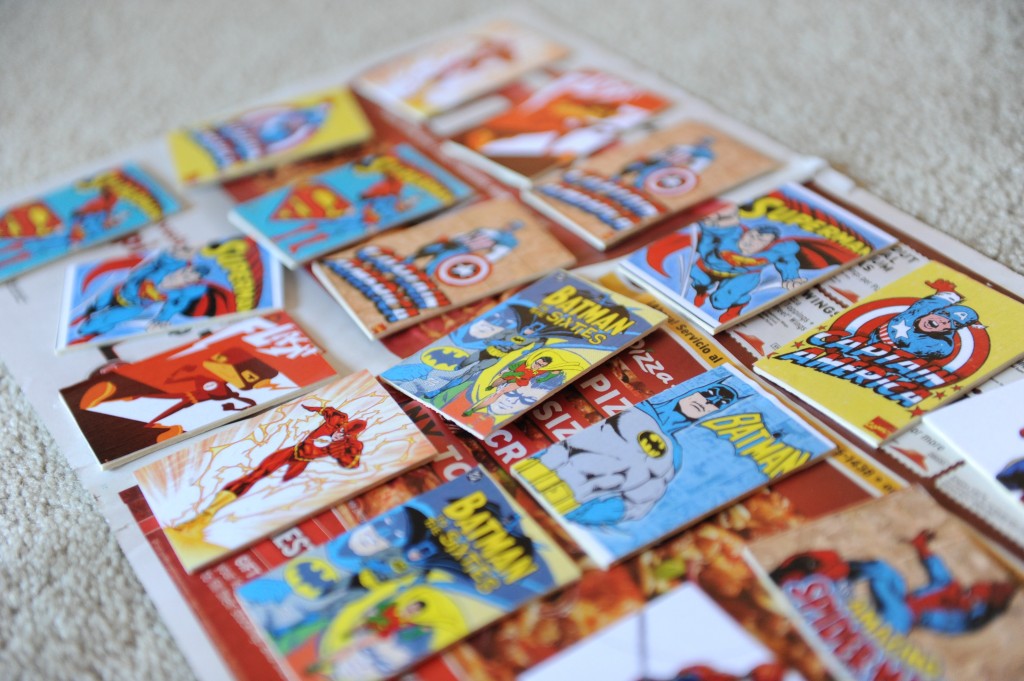
Here are all our vintage super heros drying 🙂
Don’t worry about the white mod podge when you brush it over the image. It dried clear! I like how the glossy mod podge made the colors pop!
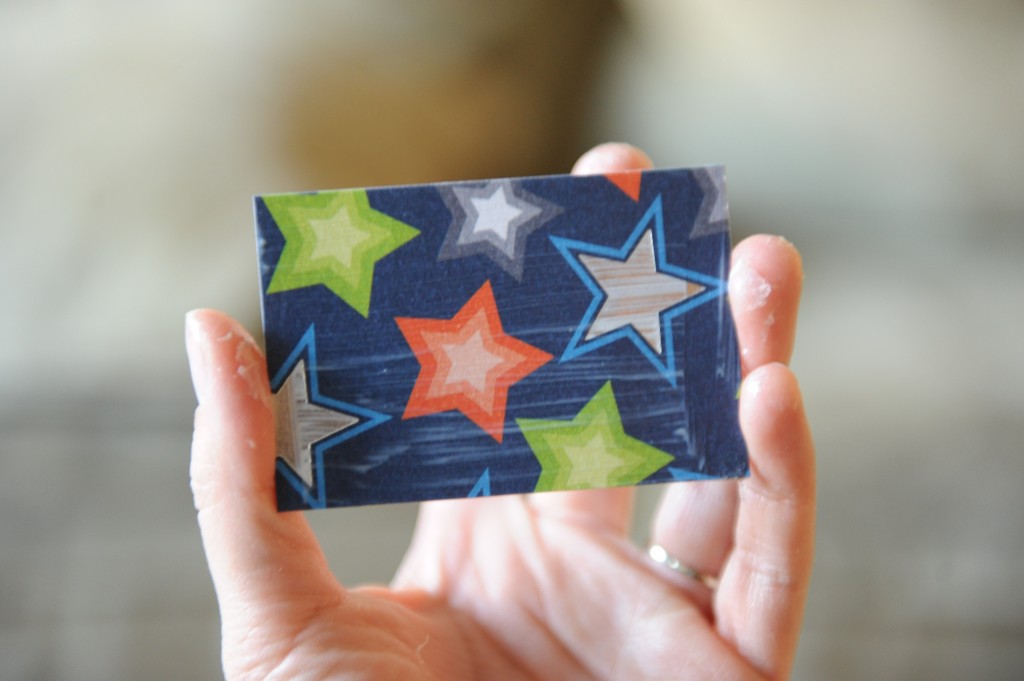
Okay, give those a couple of minutes and do the same to the backs of the cards using the scrapbook paper. These should all match.
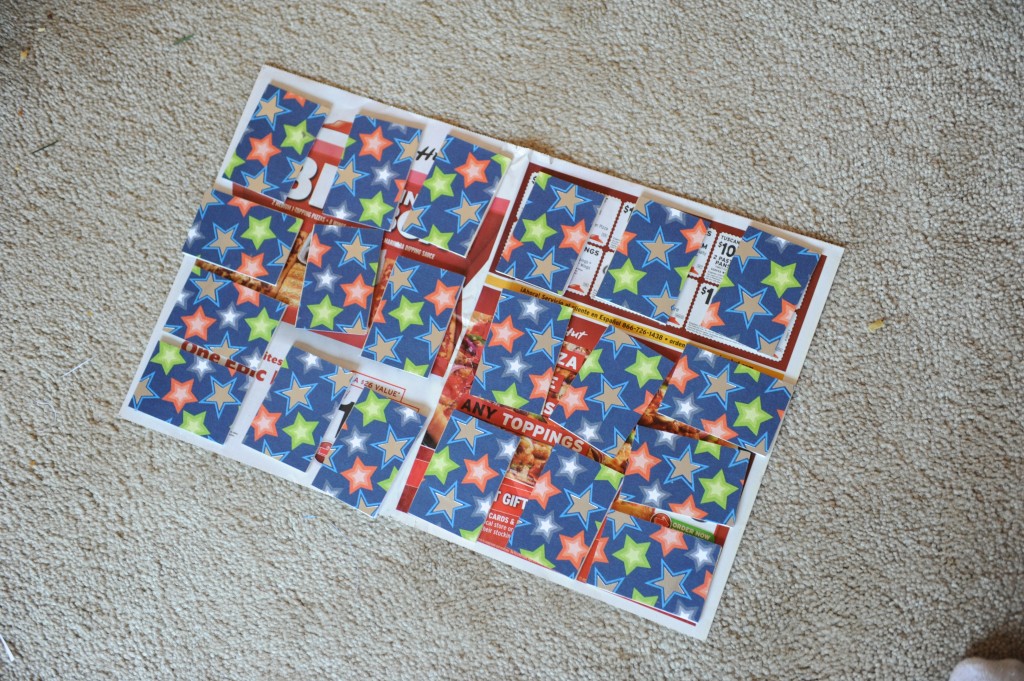
Here they are drying. Once everything is done drying, you can package them and put them under the tree, or even in a stocking! If there’s anyone who hasn’t played a matching game, it’s pretty easy. You turn all the cards face down (like they are in the pic below) and turn two over at a time, trying to find pairs of images! Easy peesy!
Okay Friends, until next time, hope you are getting to relax for the holidays!
