diy rocket launcher
wanna make your own rockets and rocket launcher? i thought so 🙂 it’s really easy and promises at least an hour of good, outside fun with the family! here’s how we made ours…
i got instructions for the launcher here and made up the instructions for the rockets, and they turned out great! seriously, our rockets flew like 30 yards!
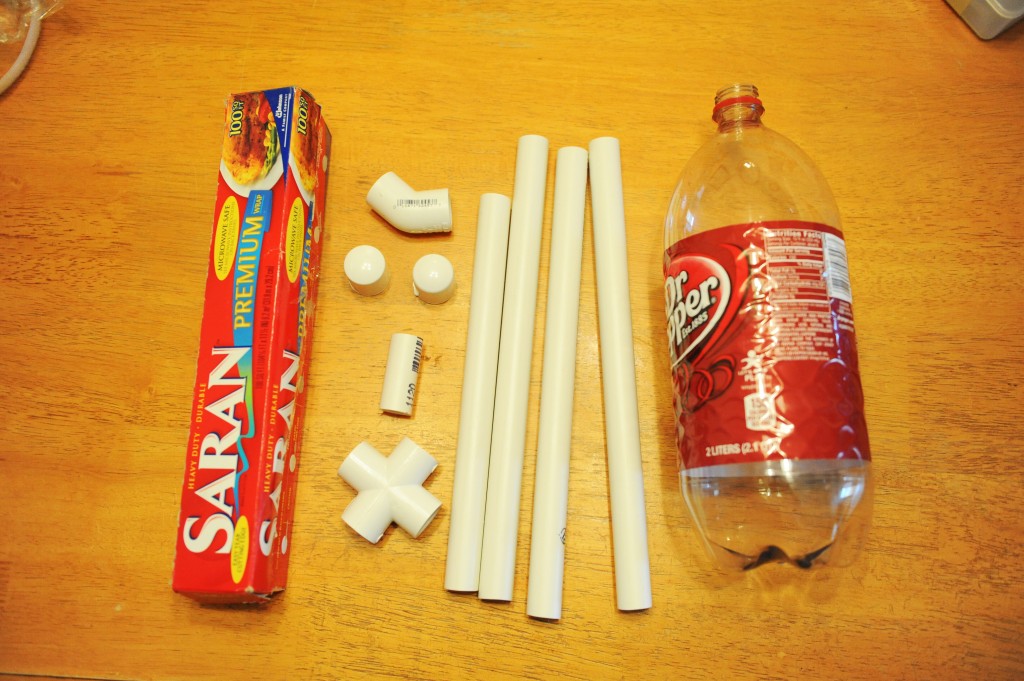
okay, to make the launcher, here’s what you’ll need (btw, our dining room table is “honey” colored, which means super yellow apparently. sorry about that.):
- plastic wrap
- an empty 2 liter bottle
- 1/2″ pvc interior pipe fittings, slip style – (2) caps, (1) cross, and (1) 45 degree elbow
- (2) 2 foot length pieces of pvc pipe (4 feet all together) cut into: (3) 12-inch pieces, (1) 10-inch piece, and (1) 2-inch piece
- you’ll also need electrical tape, but i forgot to put it in the picture, sorry
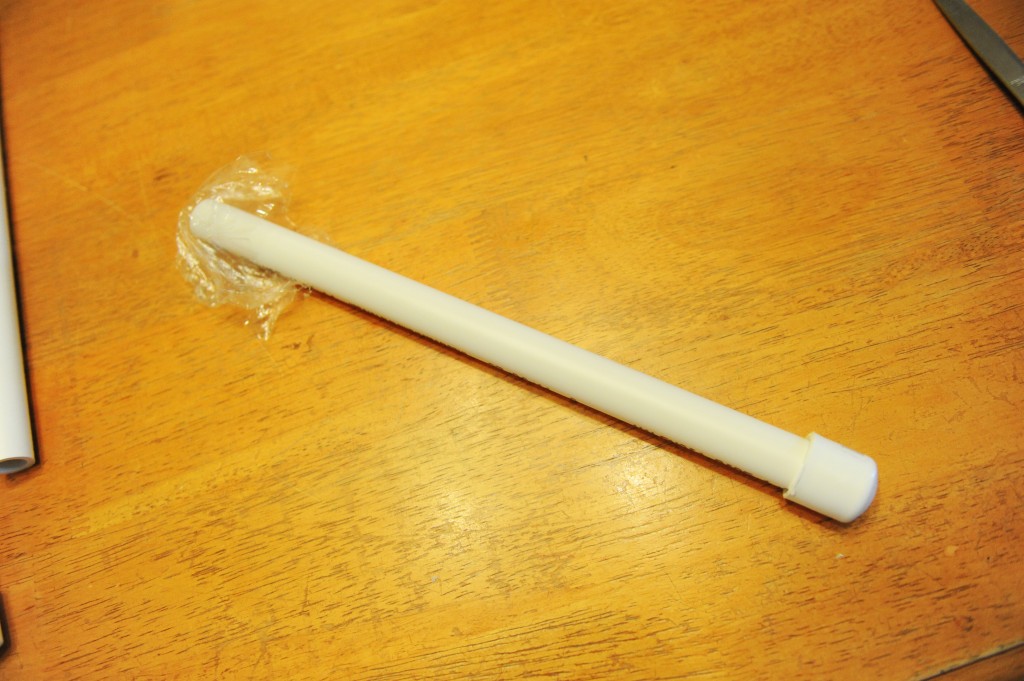
1. okay, put a cap on one end of one of the 12-inch pieces of pipe.
2. cover the other end with a small piece of plastic wrap.
3. repeat with another 12-inch piece
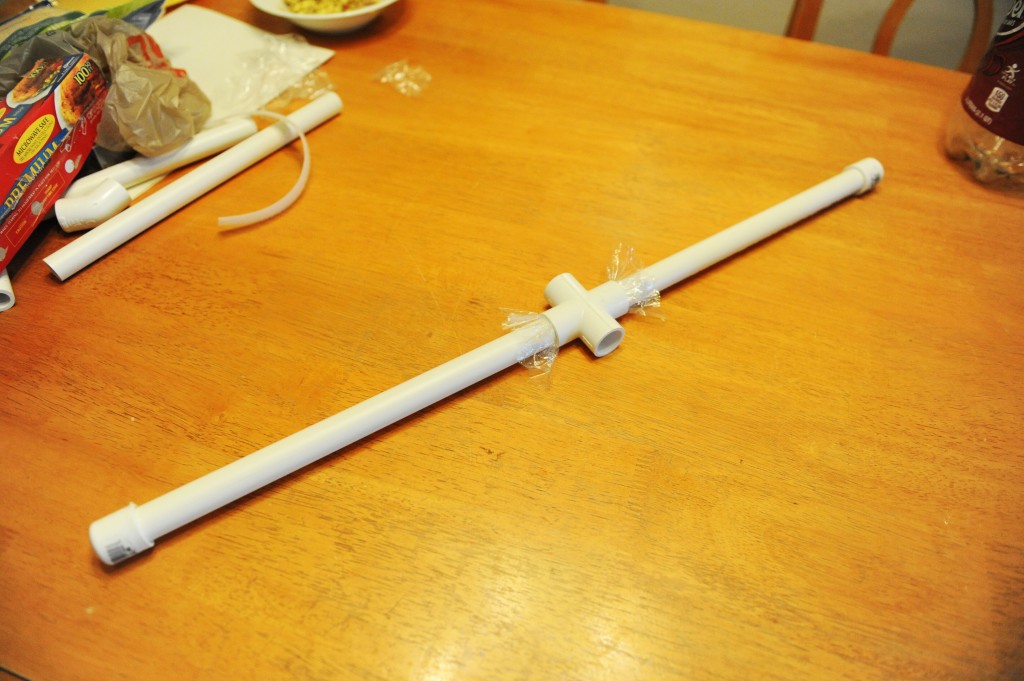
4. insert plastic covered ends into opposite sides of the cross fitting piece
5. insert last 12-inch piece into one of the other cross openings. this should form a “T” shape.
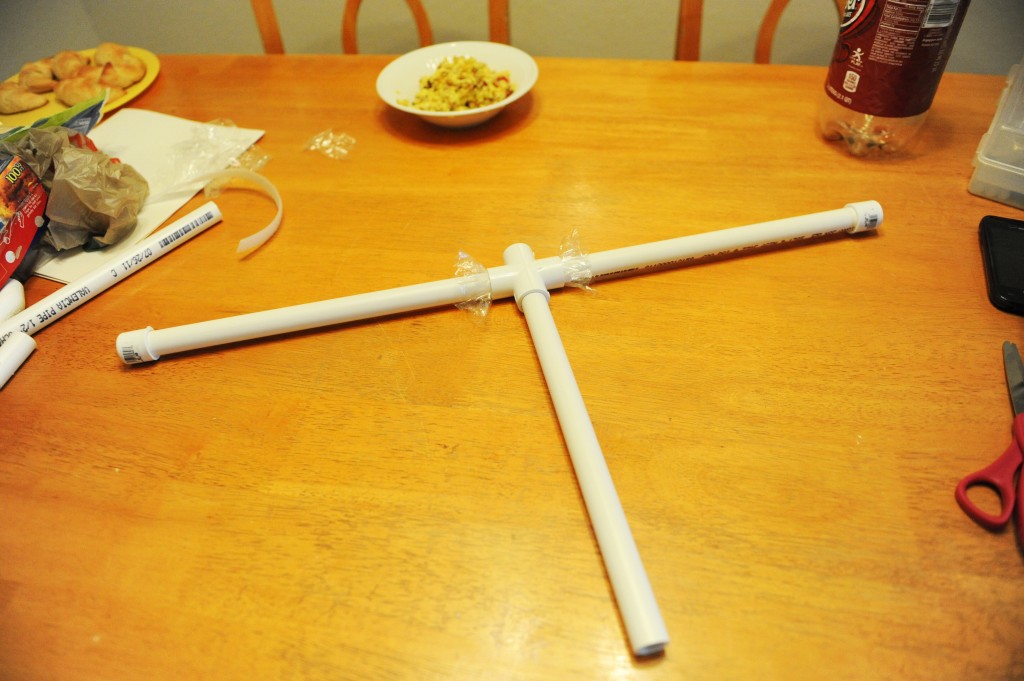
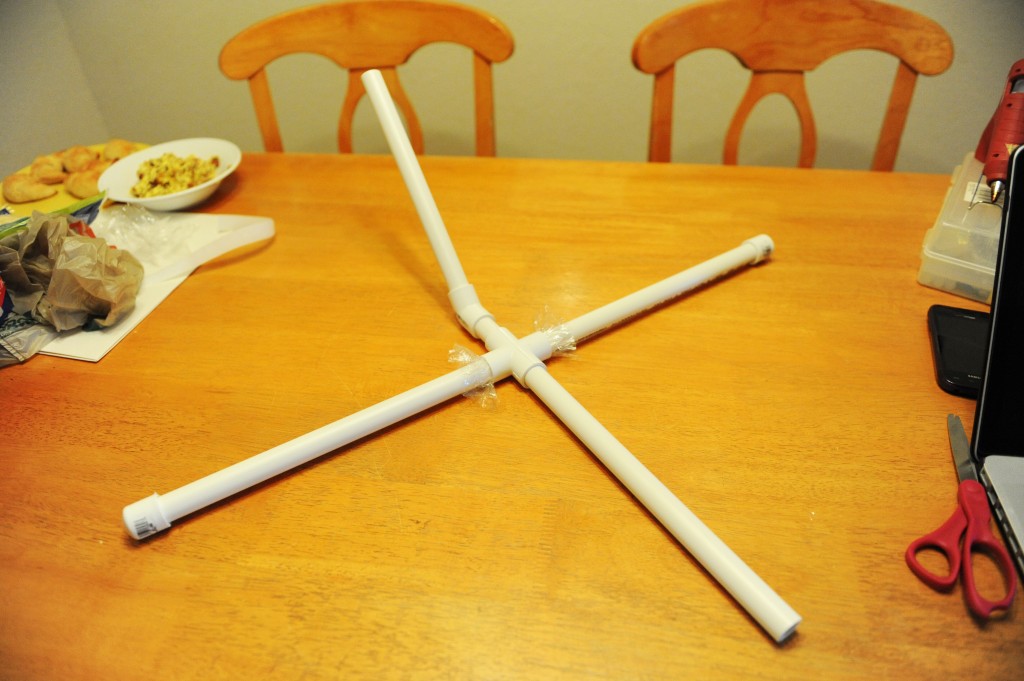
6. attach2-inch piece, elbow and 10-inch piece of pipe to last open end of the cross. your launcher is finished! it should look like this:
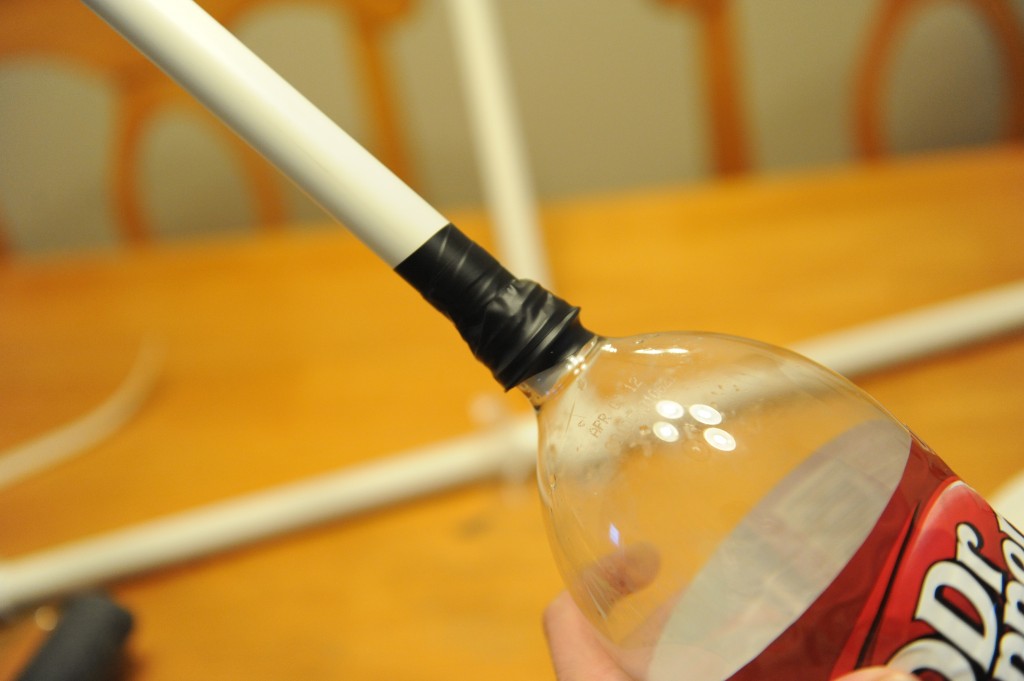
7. tape the empty soda bottle to the open end of the uncapped 12-inch piece.
here’s the breakfast my hubby was busy making while i built the boys a rocket launcher. is that weird? him cooking and me working with pvc pipe? he’s really good at making breakfast, i must say 🙂
alrighty, now for the rockets! you’ll need a piece of pipe insulation that already has adhesive in the openings. it was too big and awkward to lay on the kitchen table, so here it is:
apparently i close my eye when i take pictures, even if i don’t have to. you’ll also need more electrical tape (we went through like half a roll for this whole project) and some card stock.
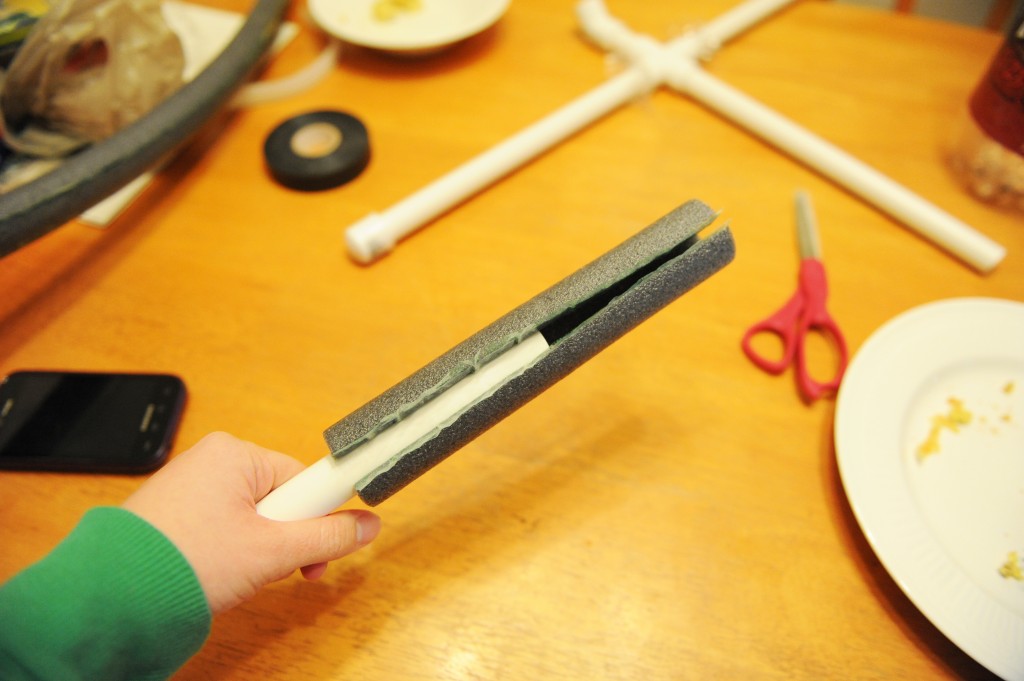
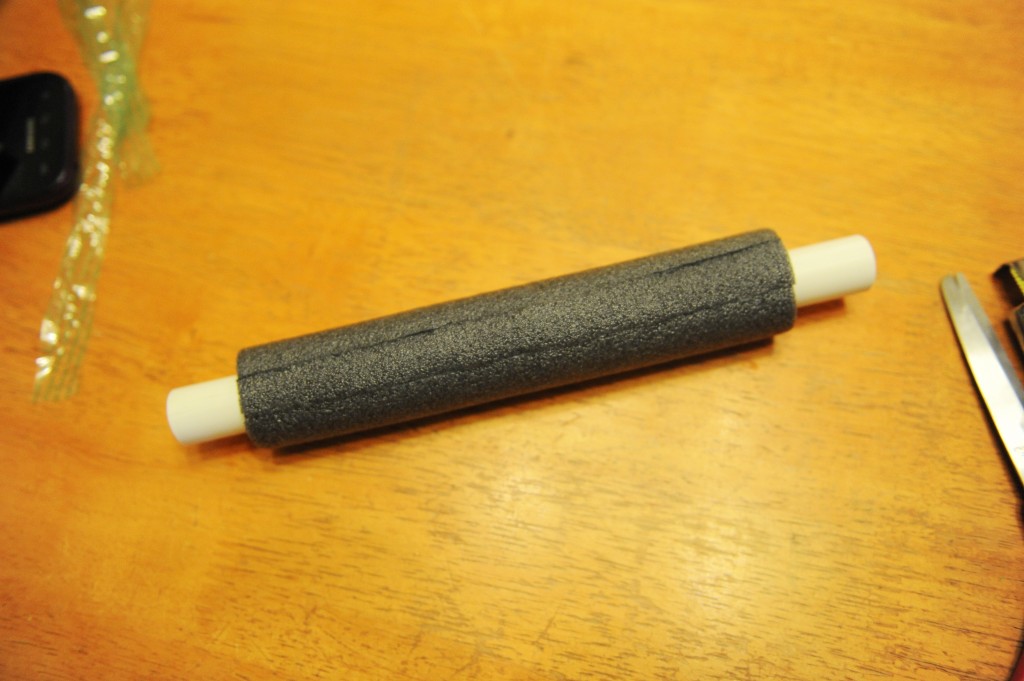
1. cut a piece of pipe insulation that’s about 7-8 inches in length. place it around a piece of pipe. there should be a gap, like this…
2. cut another piece of insulation the exact same length.
3. cut a strip off of the second piece about 1-inch in width.
4. insert the strip into the gap. here’s where you peel away the plastic that’s keeping the sticky adhesive from touching everything. fit the strip into place and secure it onto the sticky sides of the insulation. now you should have a tube of pipe insulation.
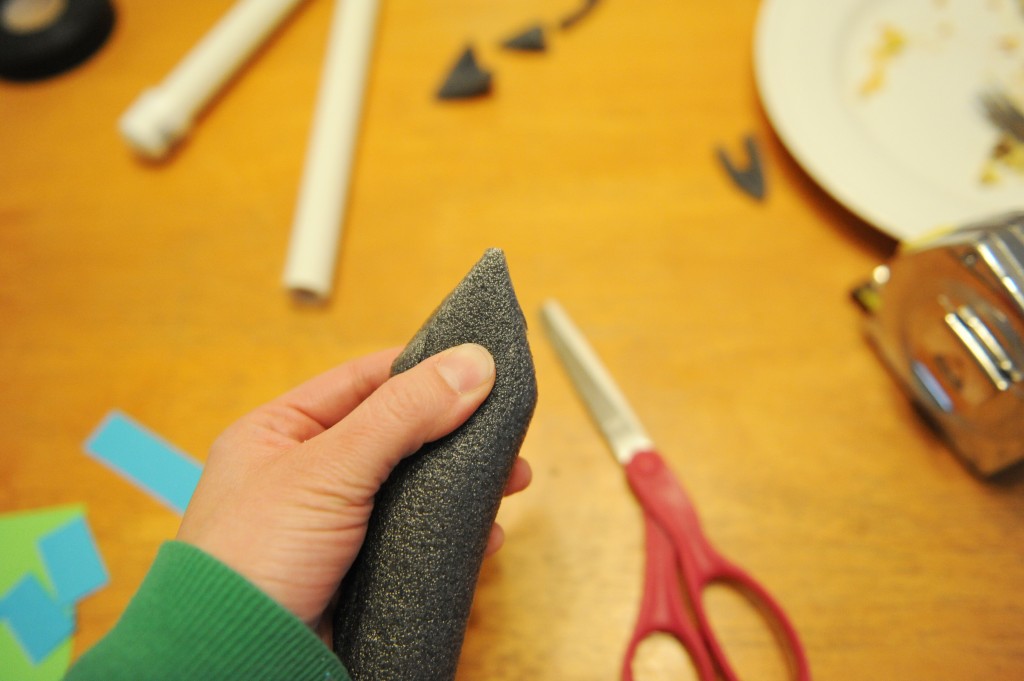
5. take the tube off of the pipe and cut one of the ends into a point.
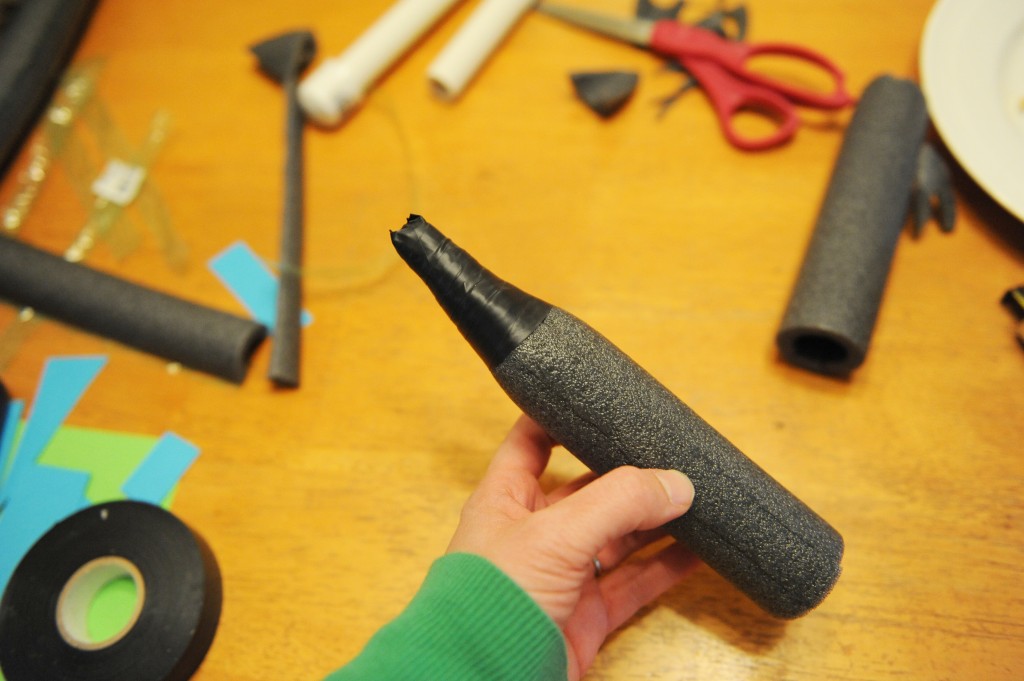
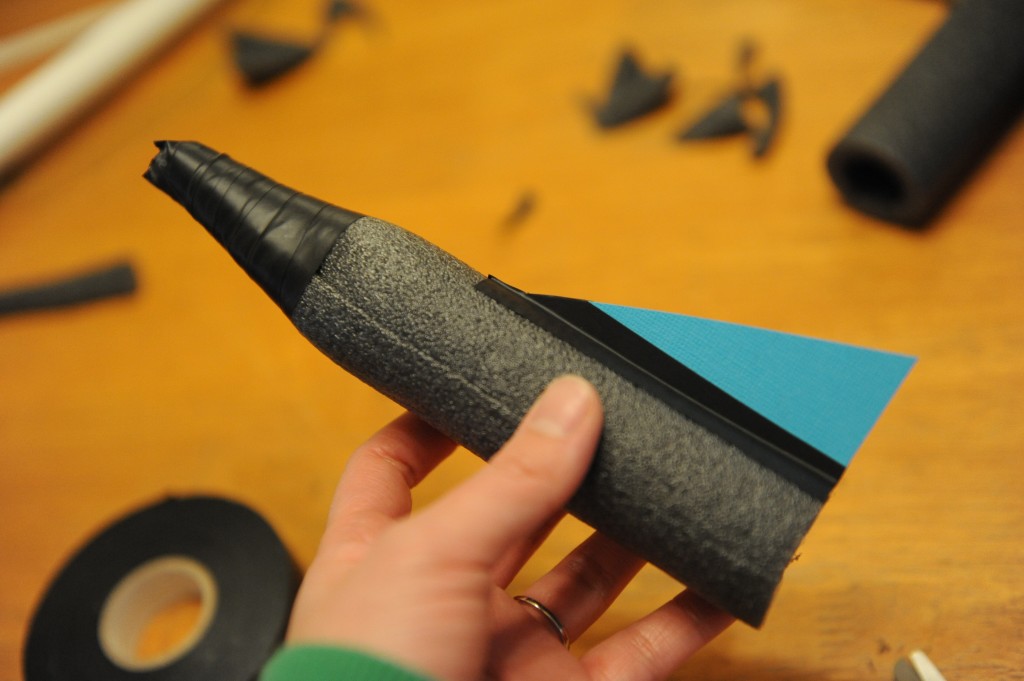
6. wrap the pointed end with electrical tape for reinforcement. use plenty of tape; you want to add some weight to this end.
okay, now for the fins.
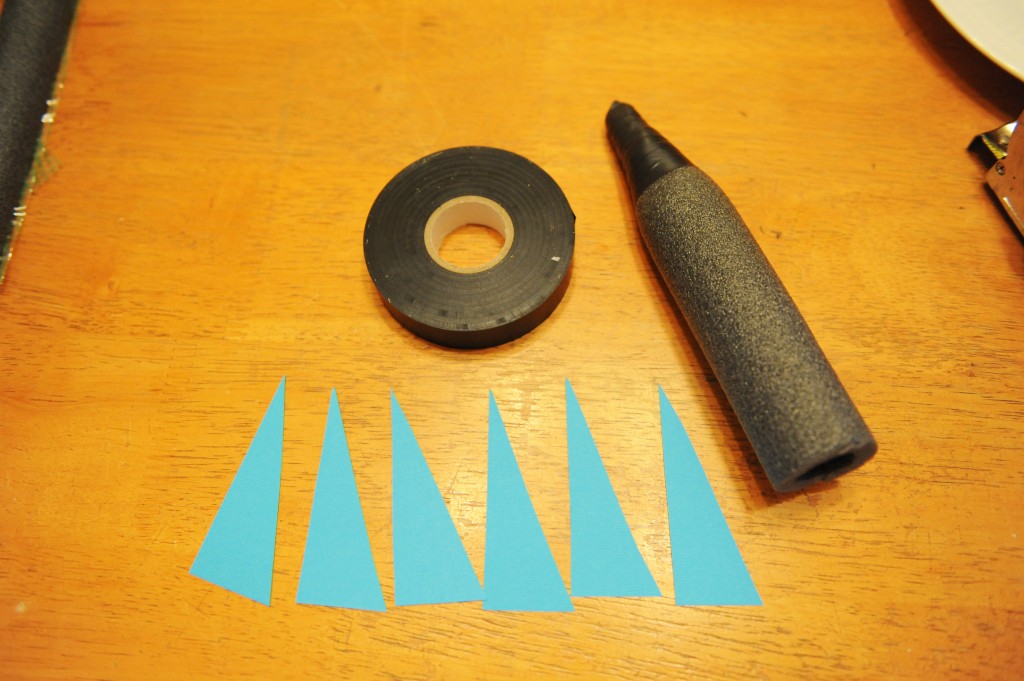
7. cut 3 equal triangles from card stock (i know there are 6 in the picture, but we didn’t use them all)
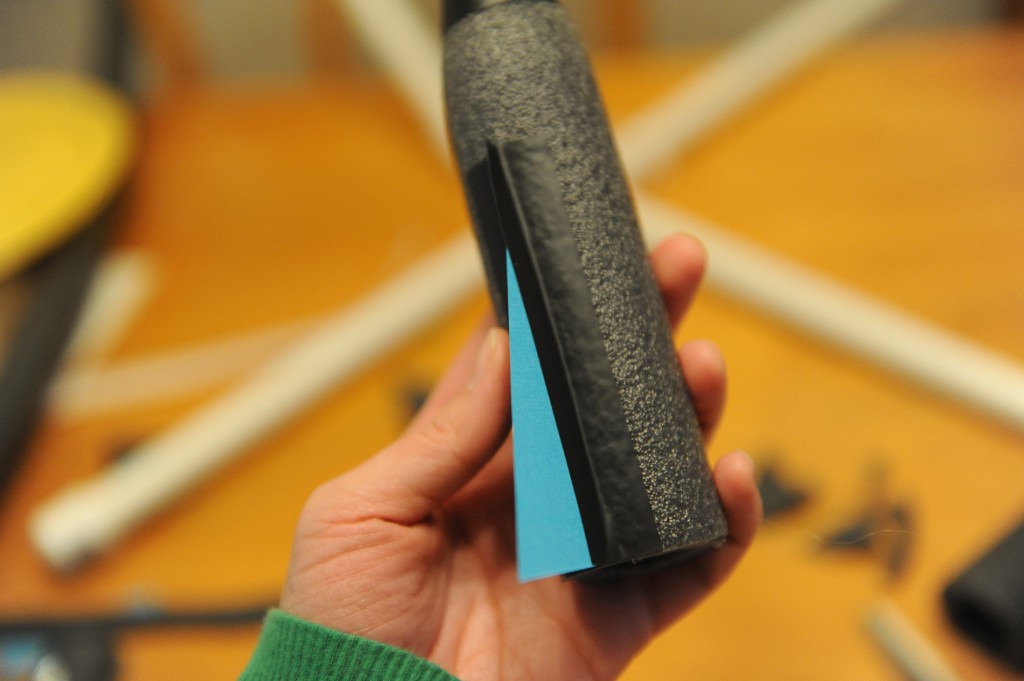
8. sandwich a piece of card stock between two pieces of tape and attach to the side of the rocket.
9. trim the tape
10. repeat with other two pieces of tape so that there are 3 fins spaced equally around the rocket
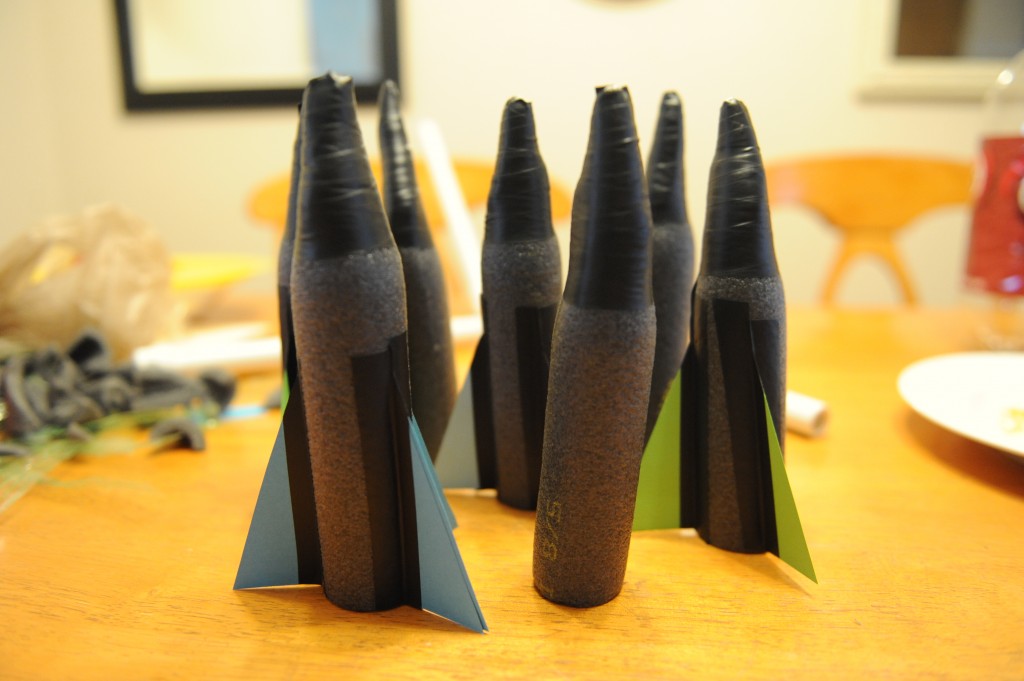
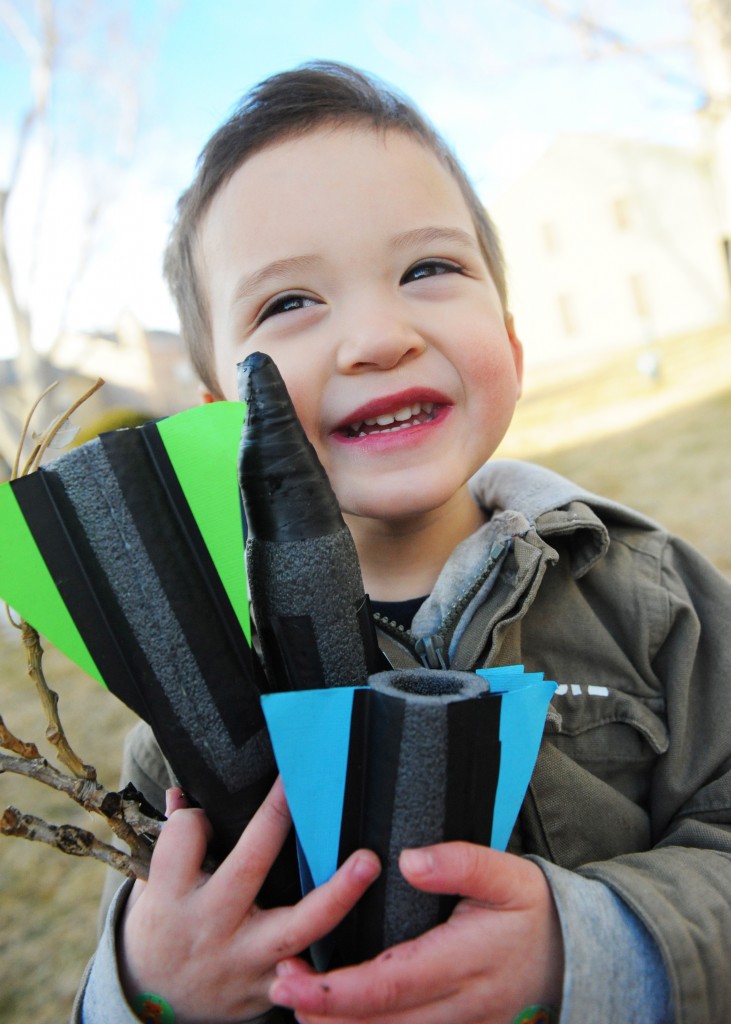
here are our rockets! i thought we’d try some without fins too. the ones with fins flew a lot better!
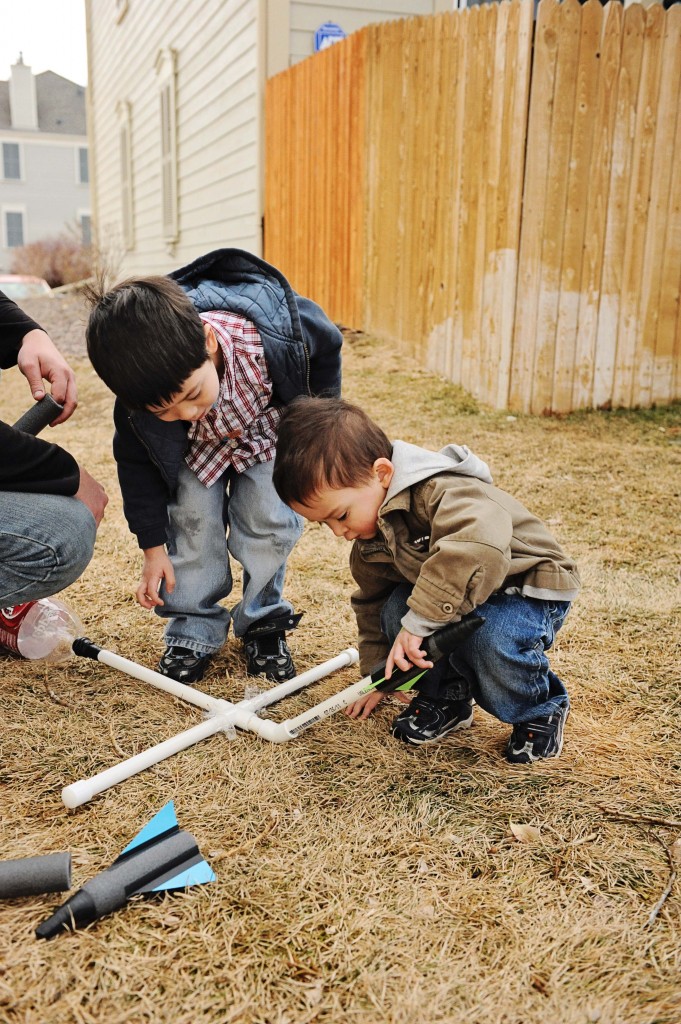
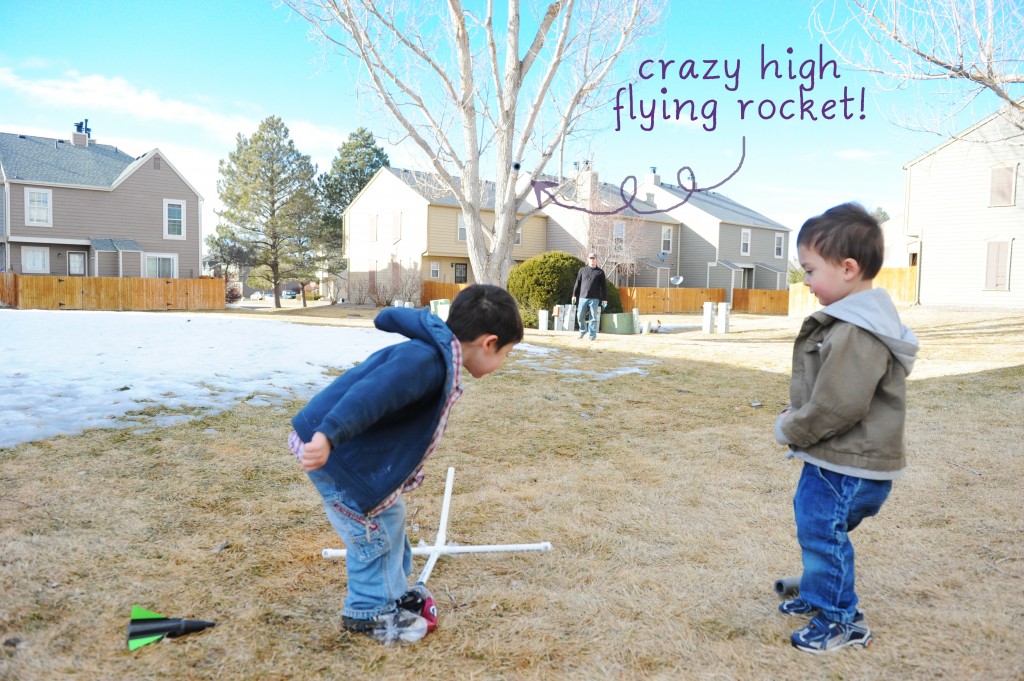
alrighty, take your rockets, launcher, and kiddos outside for some fun! first load the launcher by putting a rocket on the end that’s sticking up
next, stomp on the soda bottle and watch your rocket fly!
then collect your rockets and relaunch to your heart’s content!
here are a couple videos of us launching. beware, i make a horse sound in the first one 🙂 oh, make sure to turn off the music on the right before playing.

